
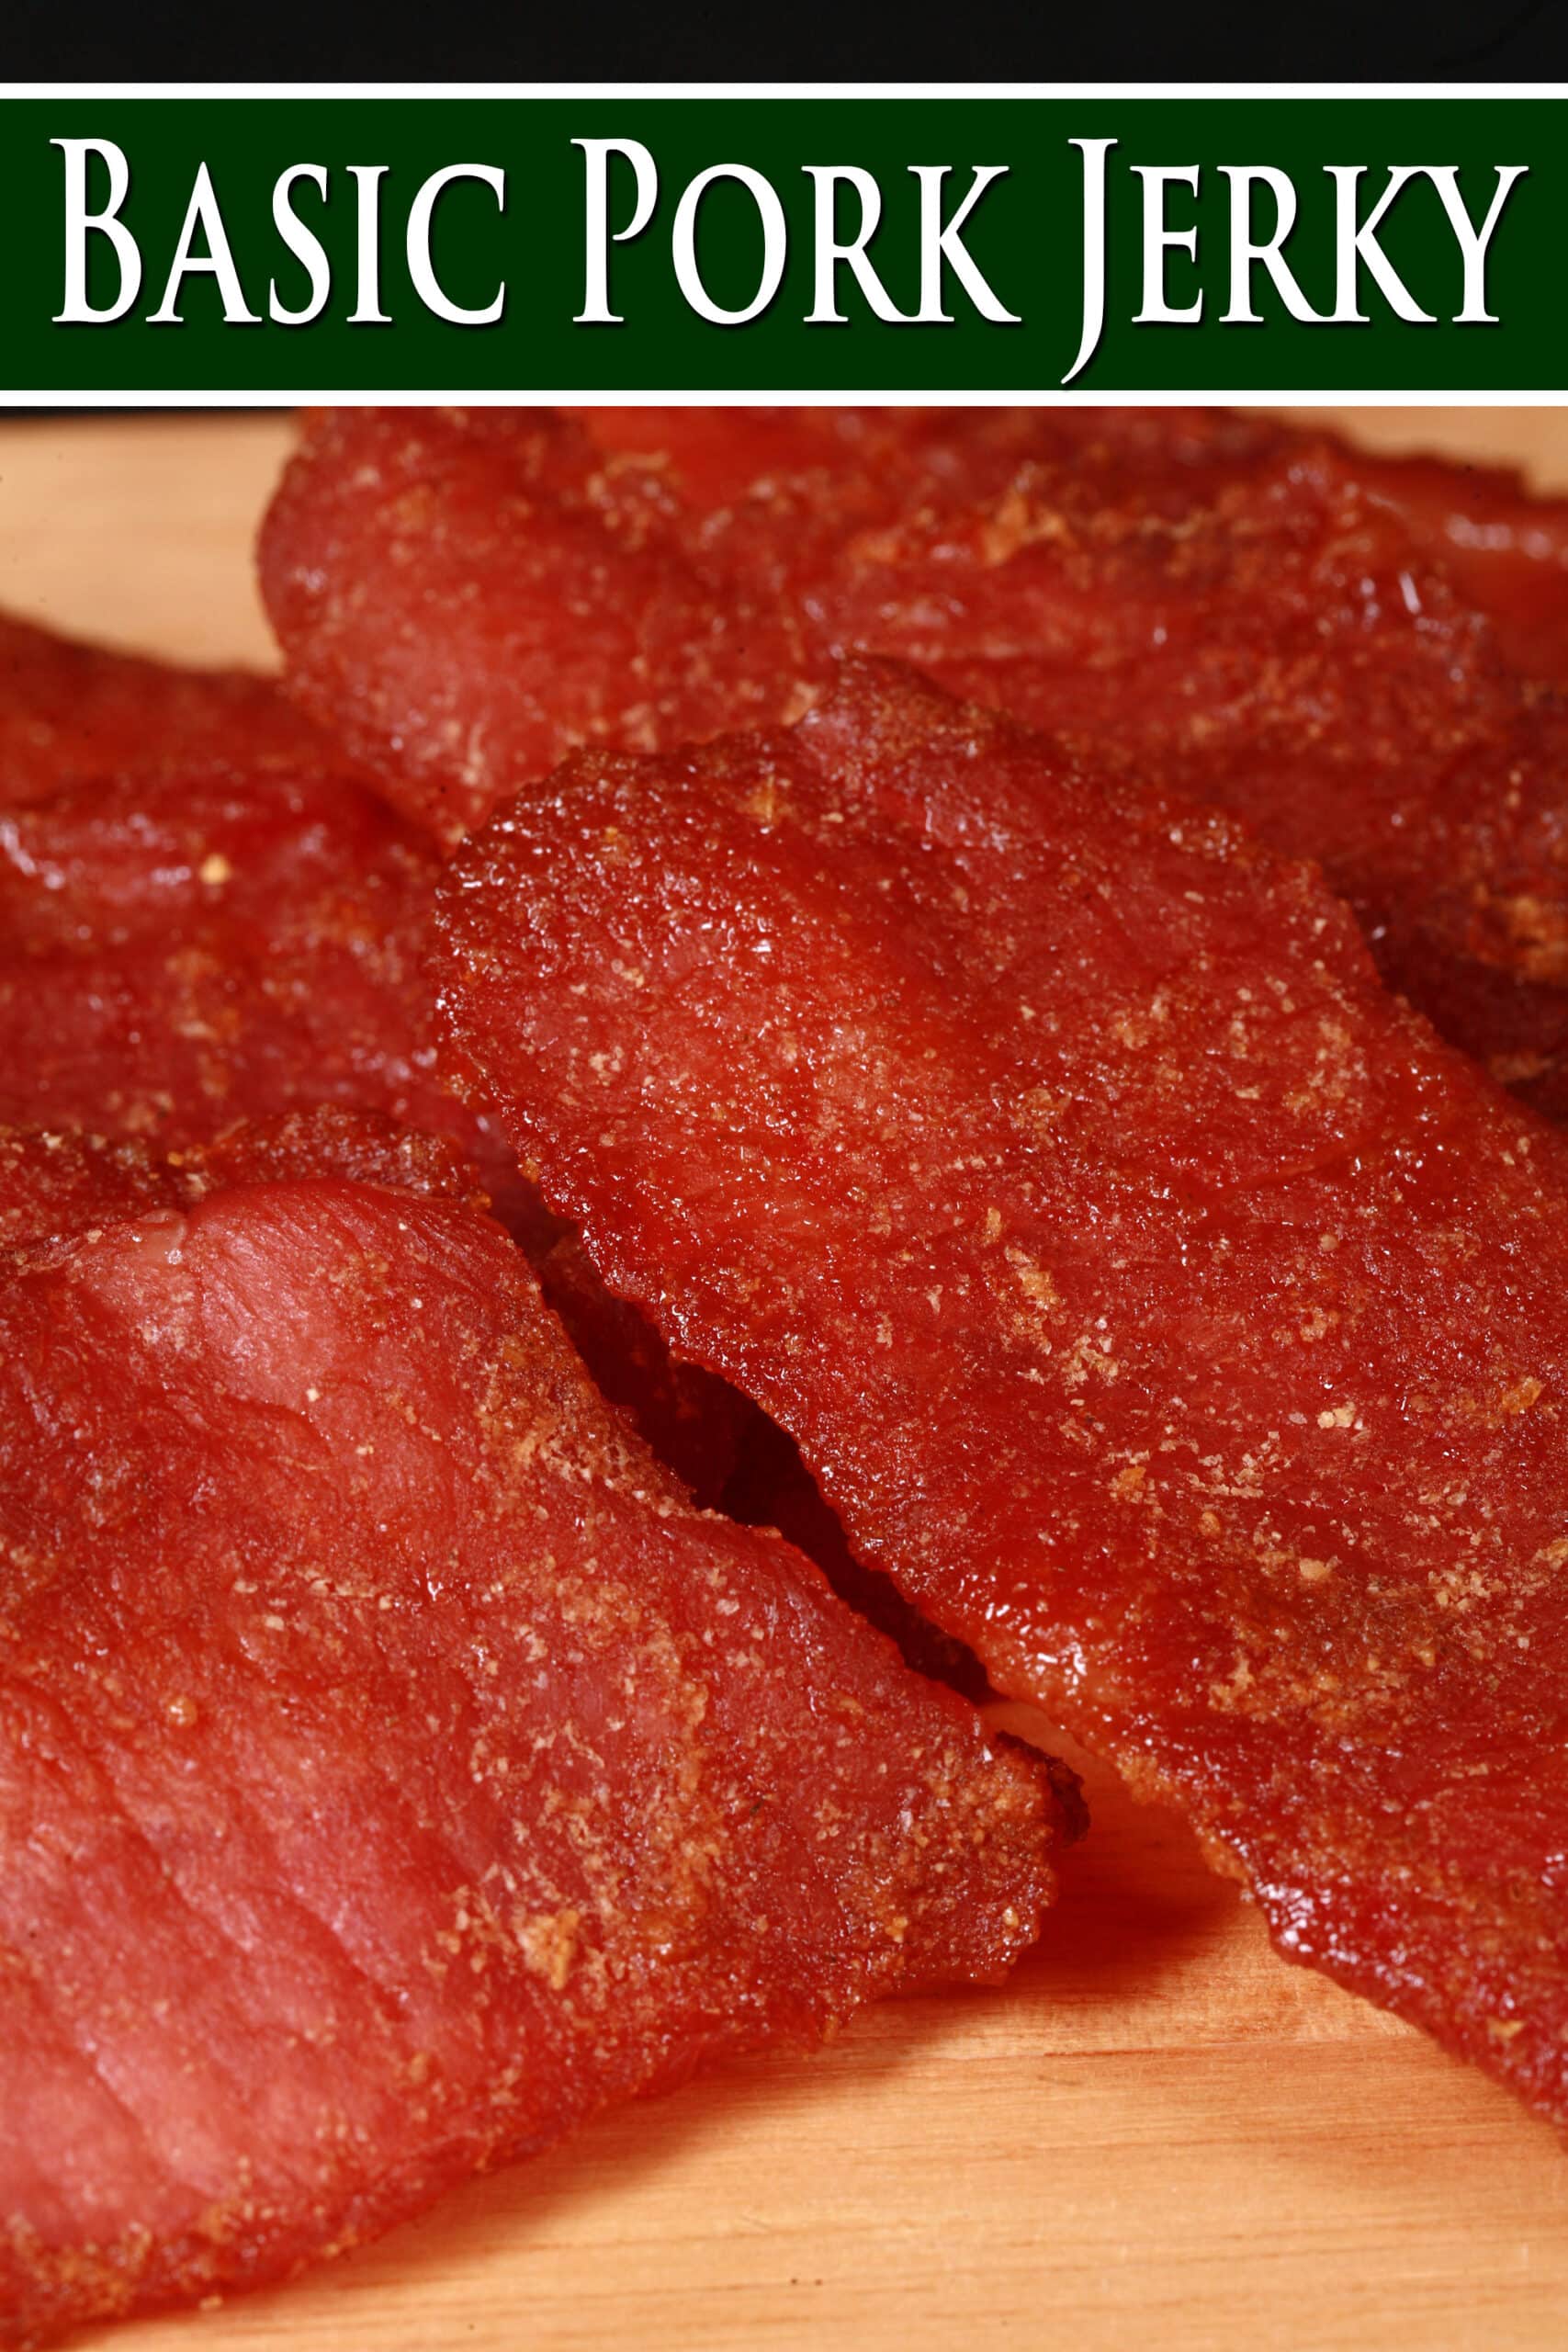
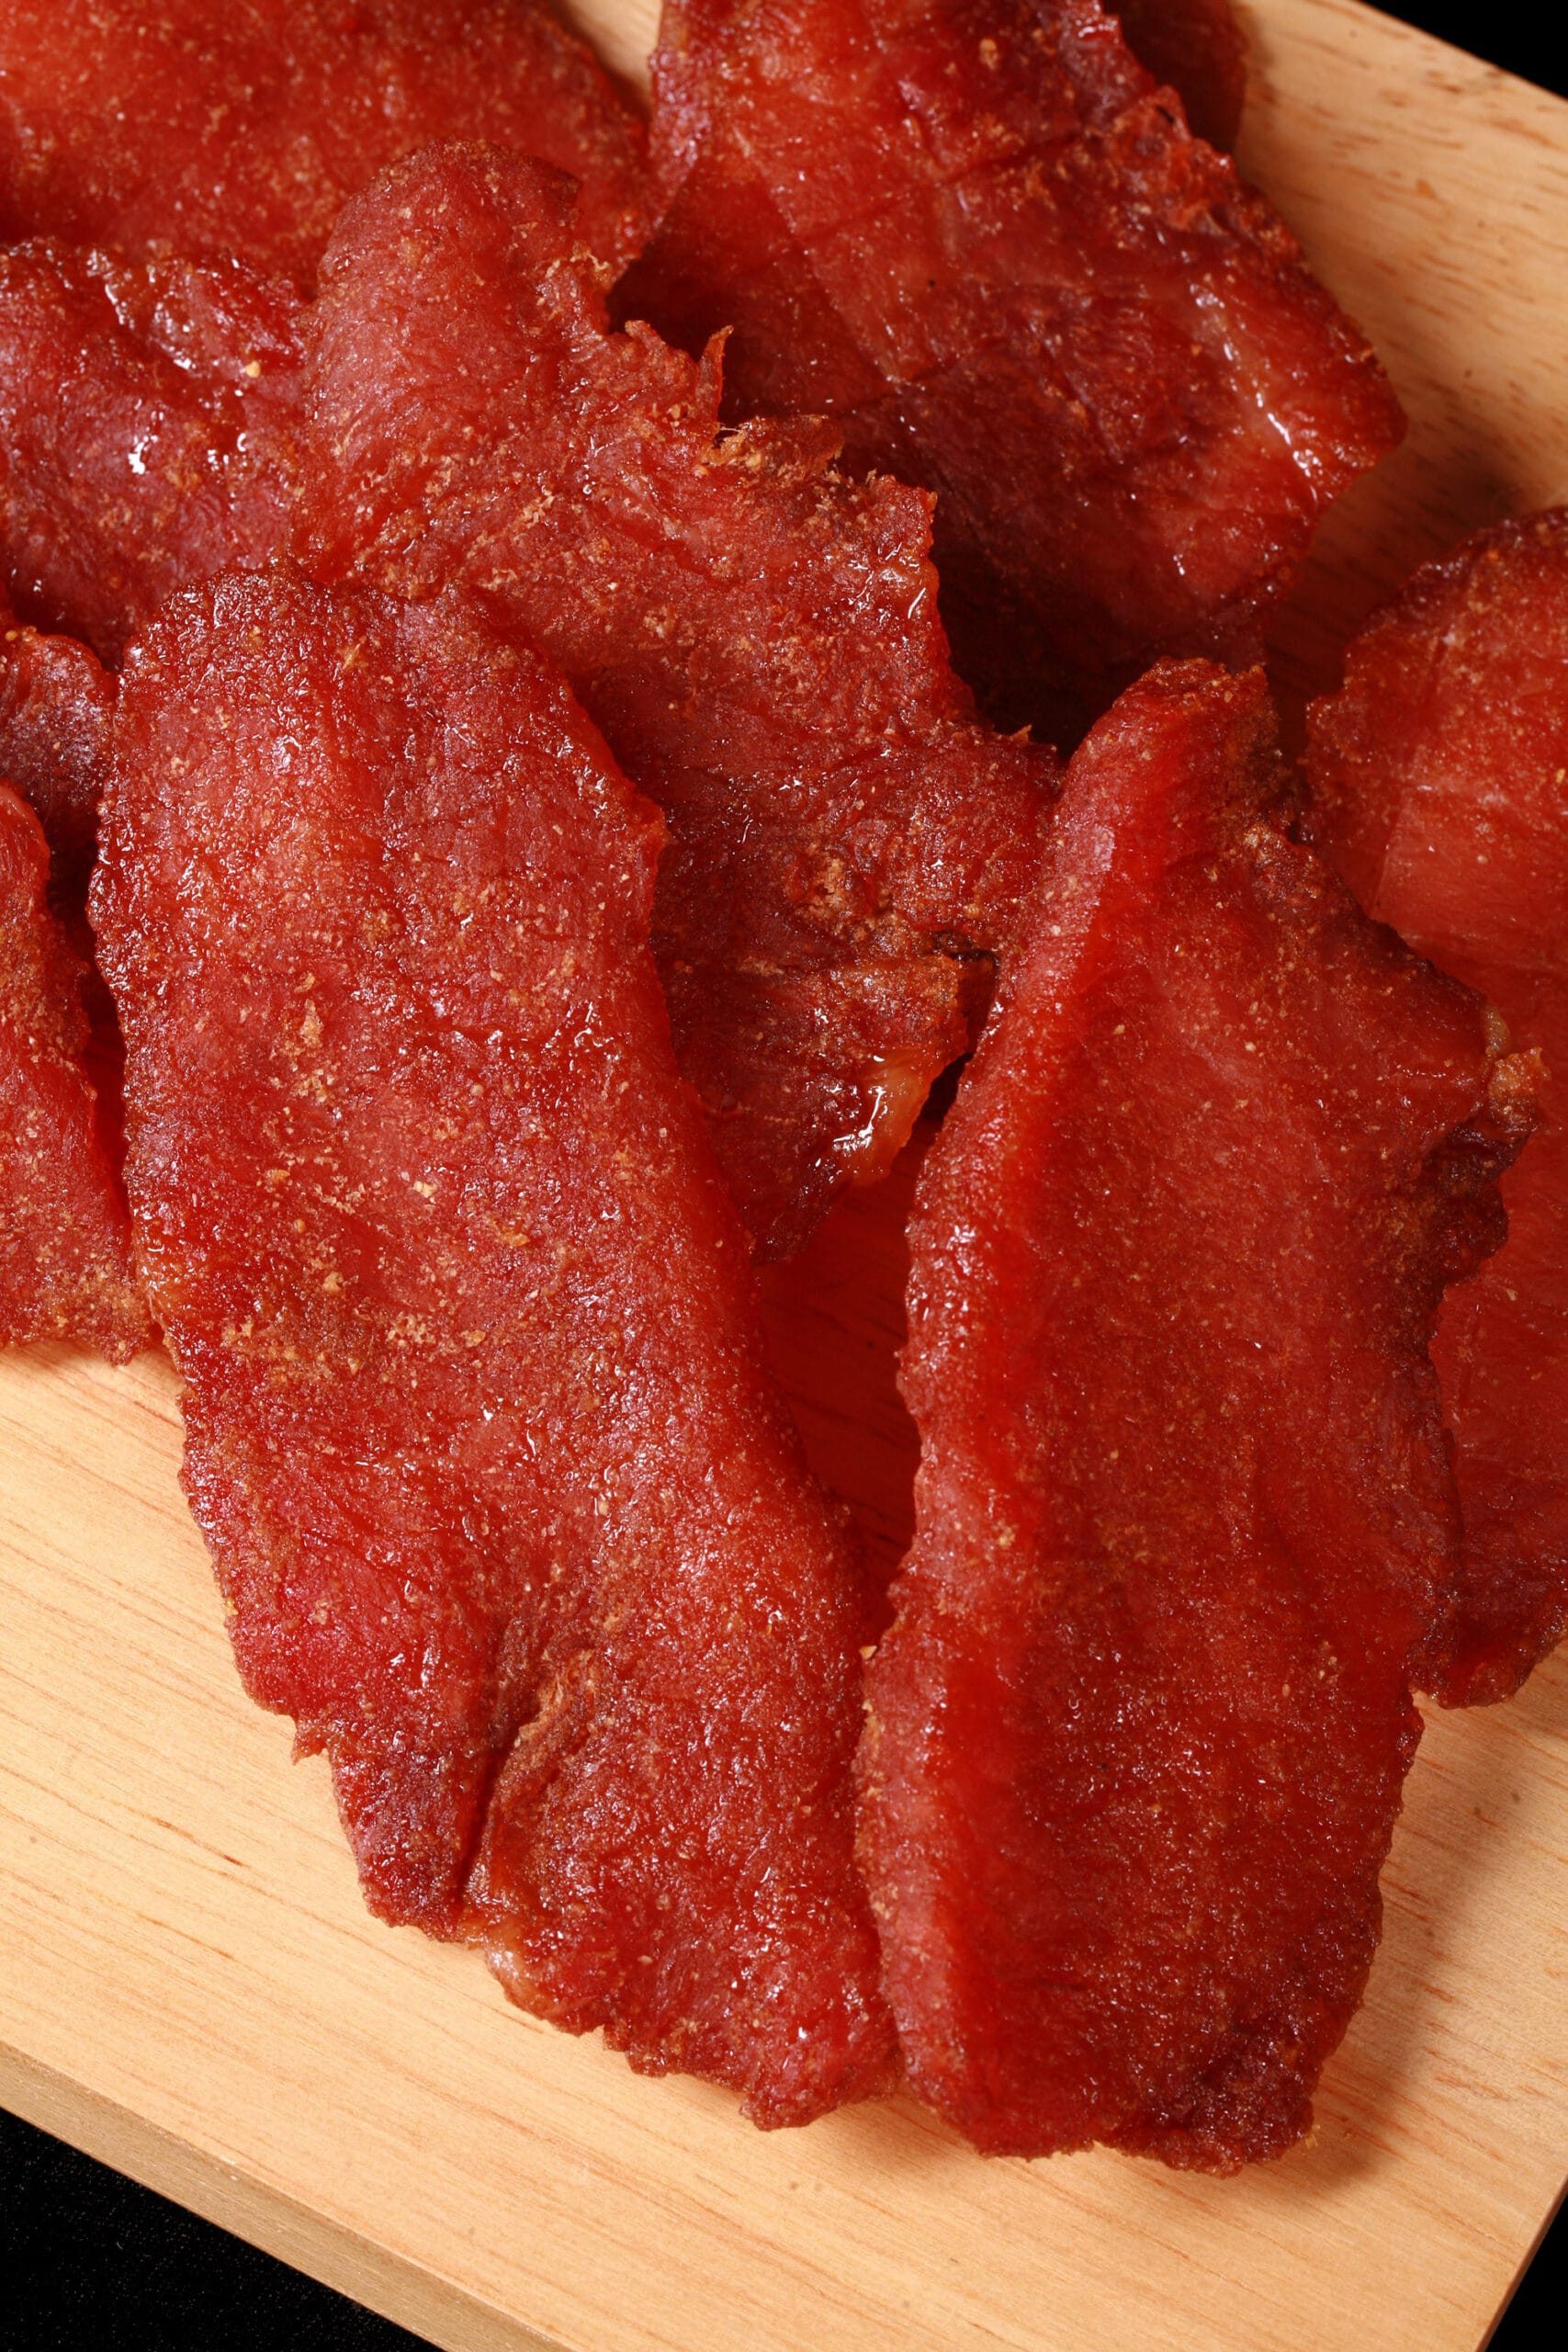
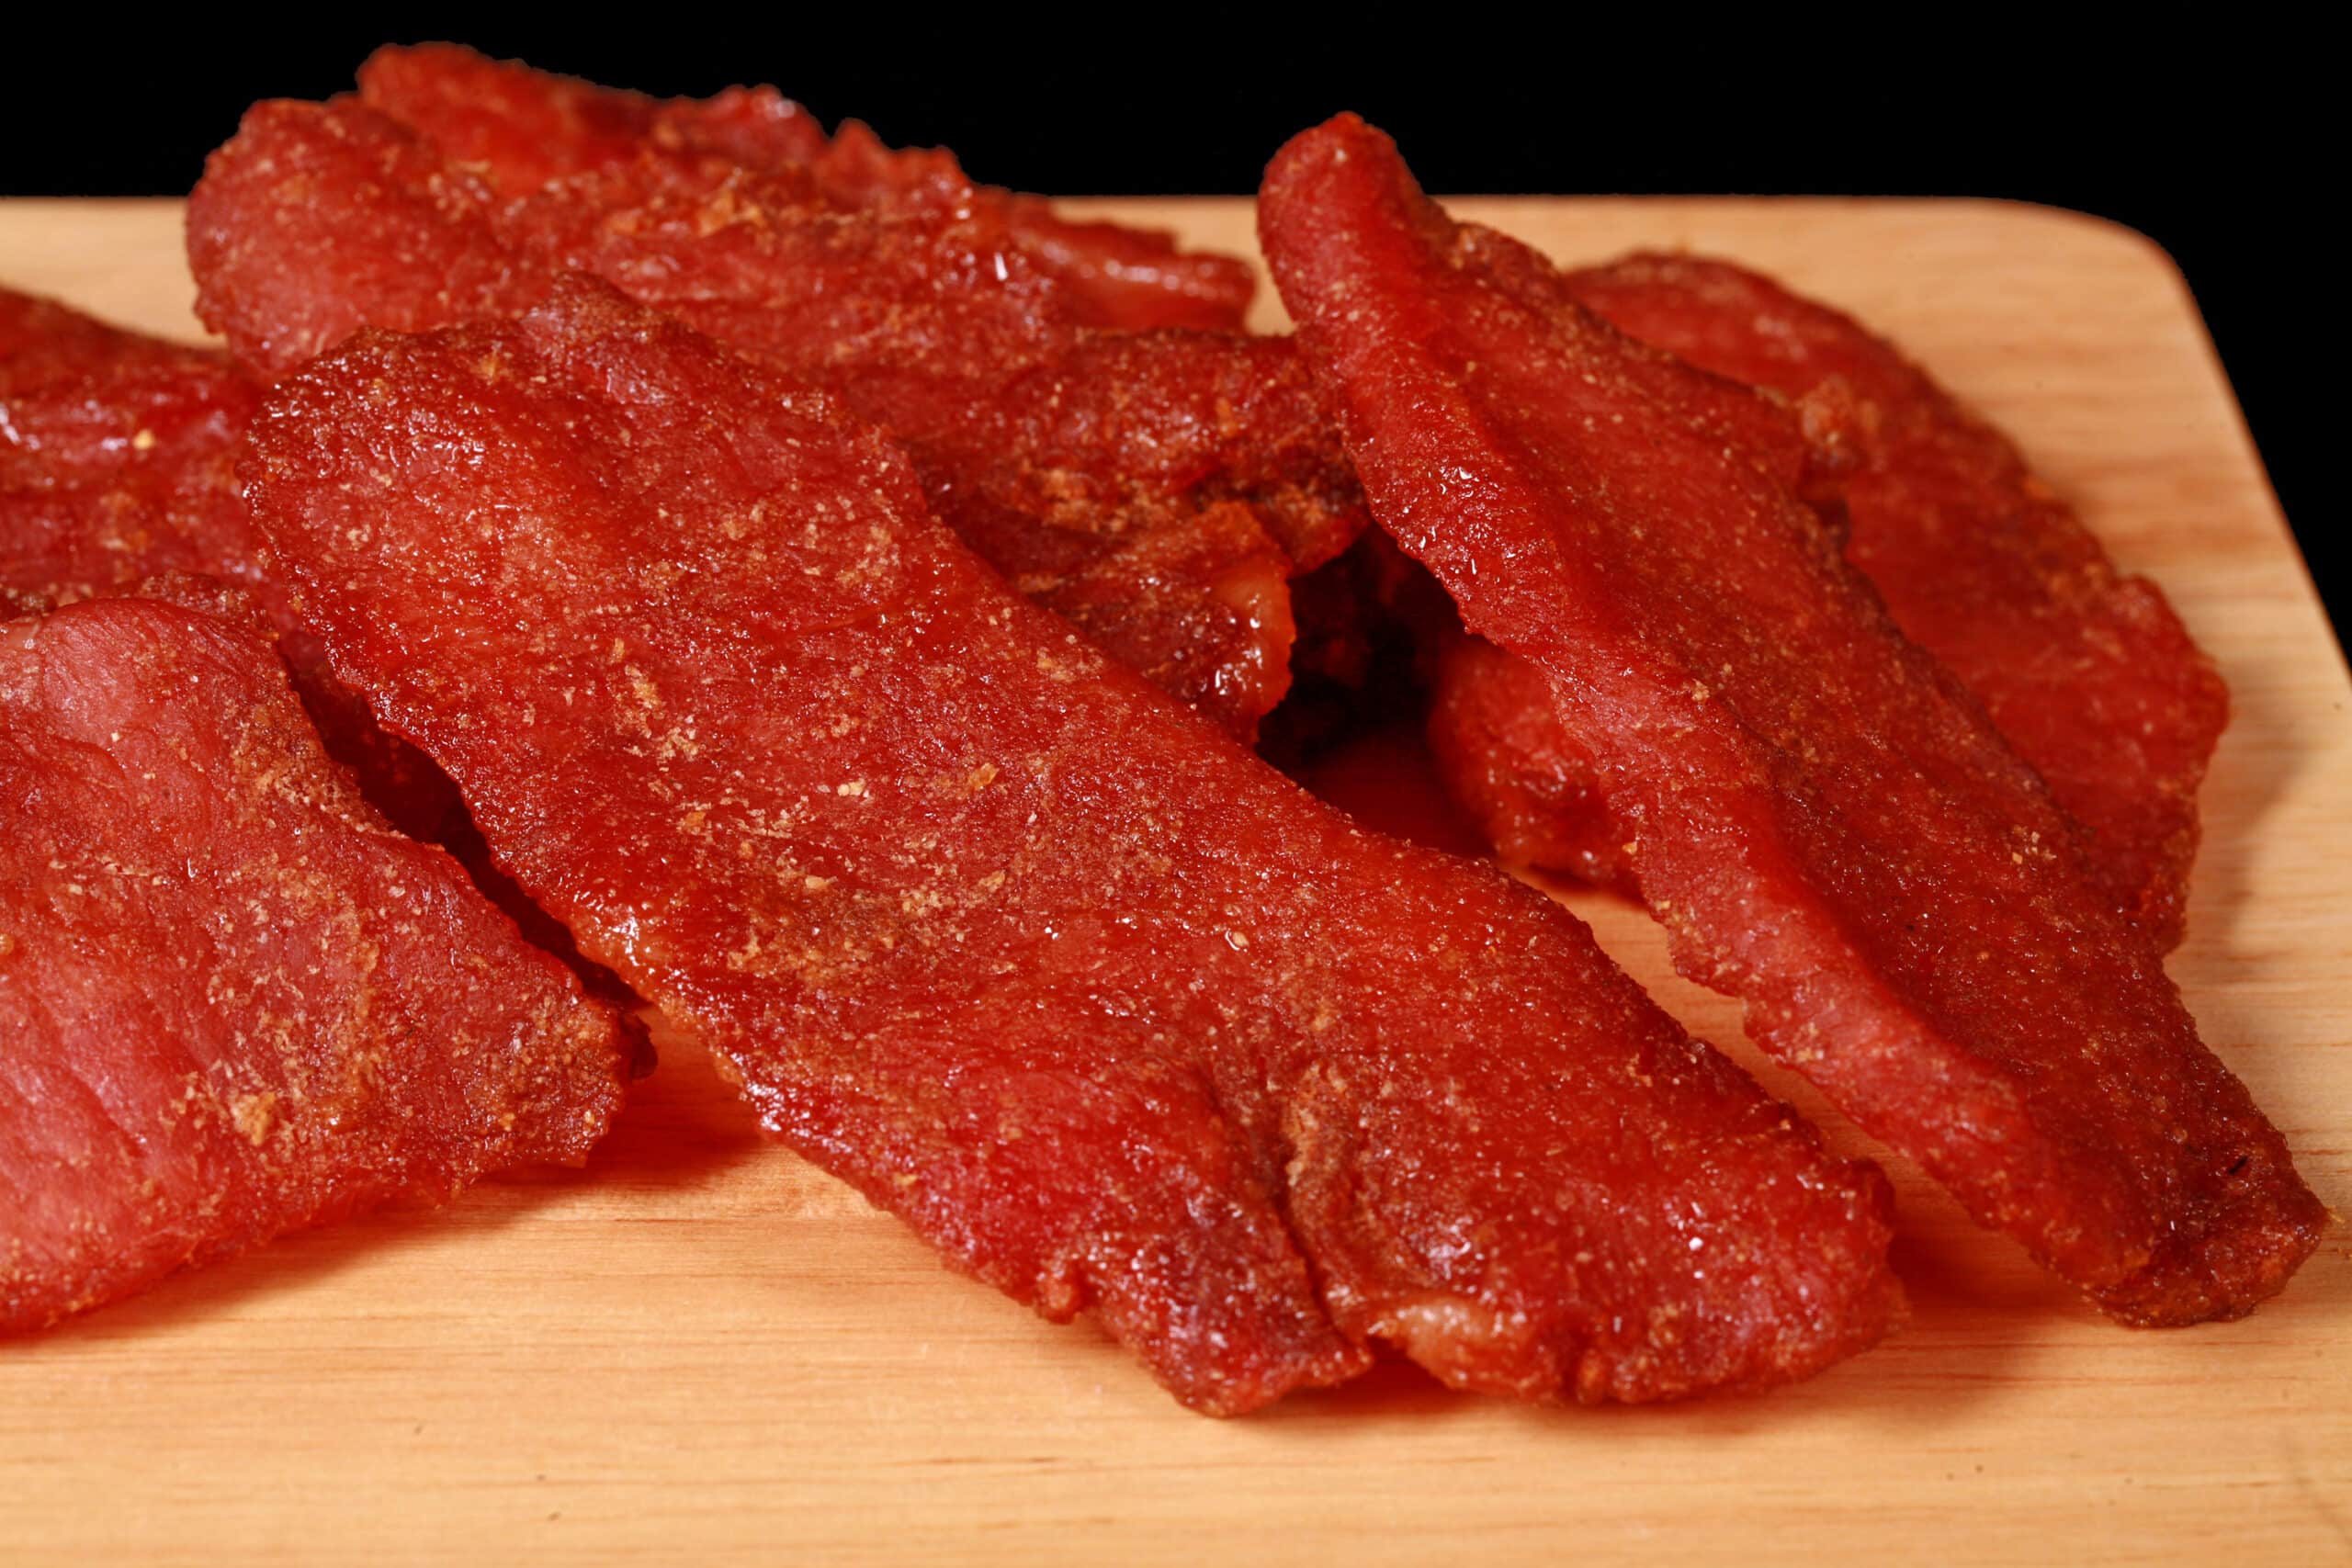
This basic pork loin jerky recipe starts with a regular pork loin roast, & makes for a delicious pork jerky! A fantastic alternative to beef jerky.
“Learn to walk before you run”, and all.
Realistically, though, that recipe isn’t any more difficult than this one, it just includes ingredients specifically designed to make that jerky taste like back bacon.
This “basic” version has great flavour as well, it’s just designed to be more of a generic “jerky” flavour.
As a pork loin jerky, I find it easier to cut than beef roasts... and it’s an easier jerky to make, than my ground beef ones. (Also easy, but require the added steps involved with piping out the meat mixture!)
It’s a great way to take advantage of pork loin sales - which can make this recipe quite a bit cheaper to make than some whole-muscle beef jerkies.
Whatever your reason for making pork jerky, your taste buds will thank you!
Let’s look at what you’ll need for a batch of your own pork loin jerky!
Equipment
Beyond the basics - like spoons, bowls, and measuring cups - you will need a food dehydrator.
While you can apparently make homemade pork jerky in a regular home oven, I’m not a fan of running one for hours on end.
I’ve had food dehydrators before - the basic kinds with no time or temperature controls, - and I’d always been too nervous to try making jerky in them. I need more control over - and knowledge of - the drying process, when meat is concerned.
I’ve since upgraded to a Cosori 6 Tray Food Dehydrator, and LOVE it.
It was only like $200 Canadian, and it’s paid for itself MANY times over, between all the Maple Cinnamon Apple Chips and jerkies I’ve been making!
Think of it this way - The same size of jerky that I tend to make goes for about $4 in a gas station. (Really, more for something specialty, like pork loin jerky!)
I get about 10-15 strips out of a batch (varying by recipe) - let’s average that out to 12. That’s $48 worth of jerky, for $8 or less. Make 5 batches, that’s your $200 in savings!
Anyway, we’re using a dehydrator a LOT more, now that we have a nice one. Having the control over the temperature really opens up the possibilities.
Ingredients
With only 2 exceptions, the ingredients in this pork jerky recipe are super simple - you probably even have them on hand!
As for those last two, they may be specialty, but I use them in pretty much all of my jerky recipes. They’ll definitely get used, if you’re a jerky fan!
Some notes for you:
Pork Loin
IMHO pork loin is the best cut of pork for using in this recipe - not the smaller pork tenderloin. Always buy high-quality pork that looks and smells fresh, and ideally has a few days before the expiration date.
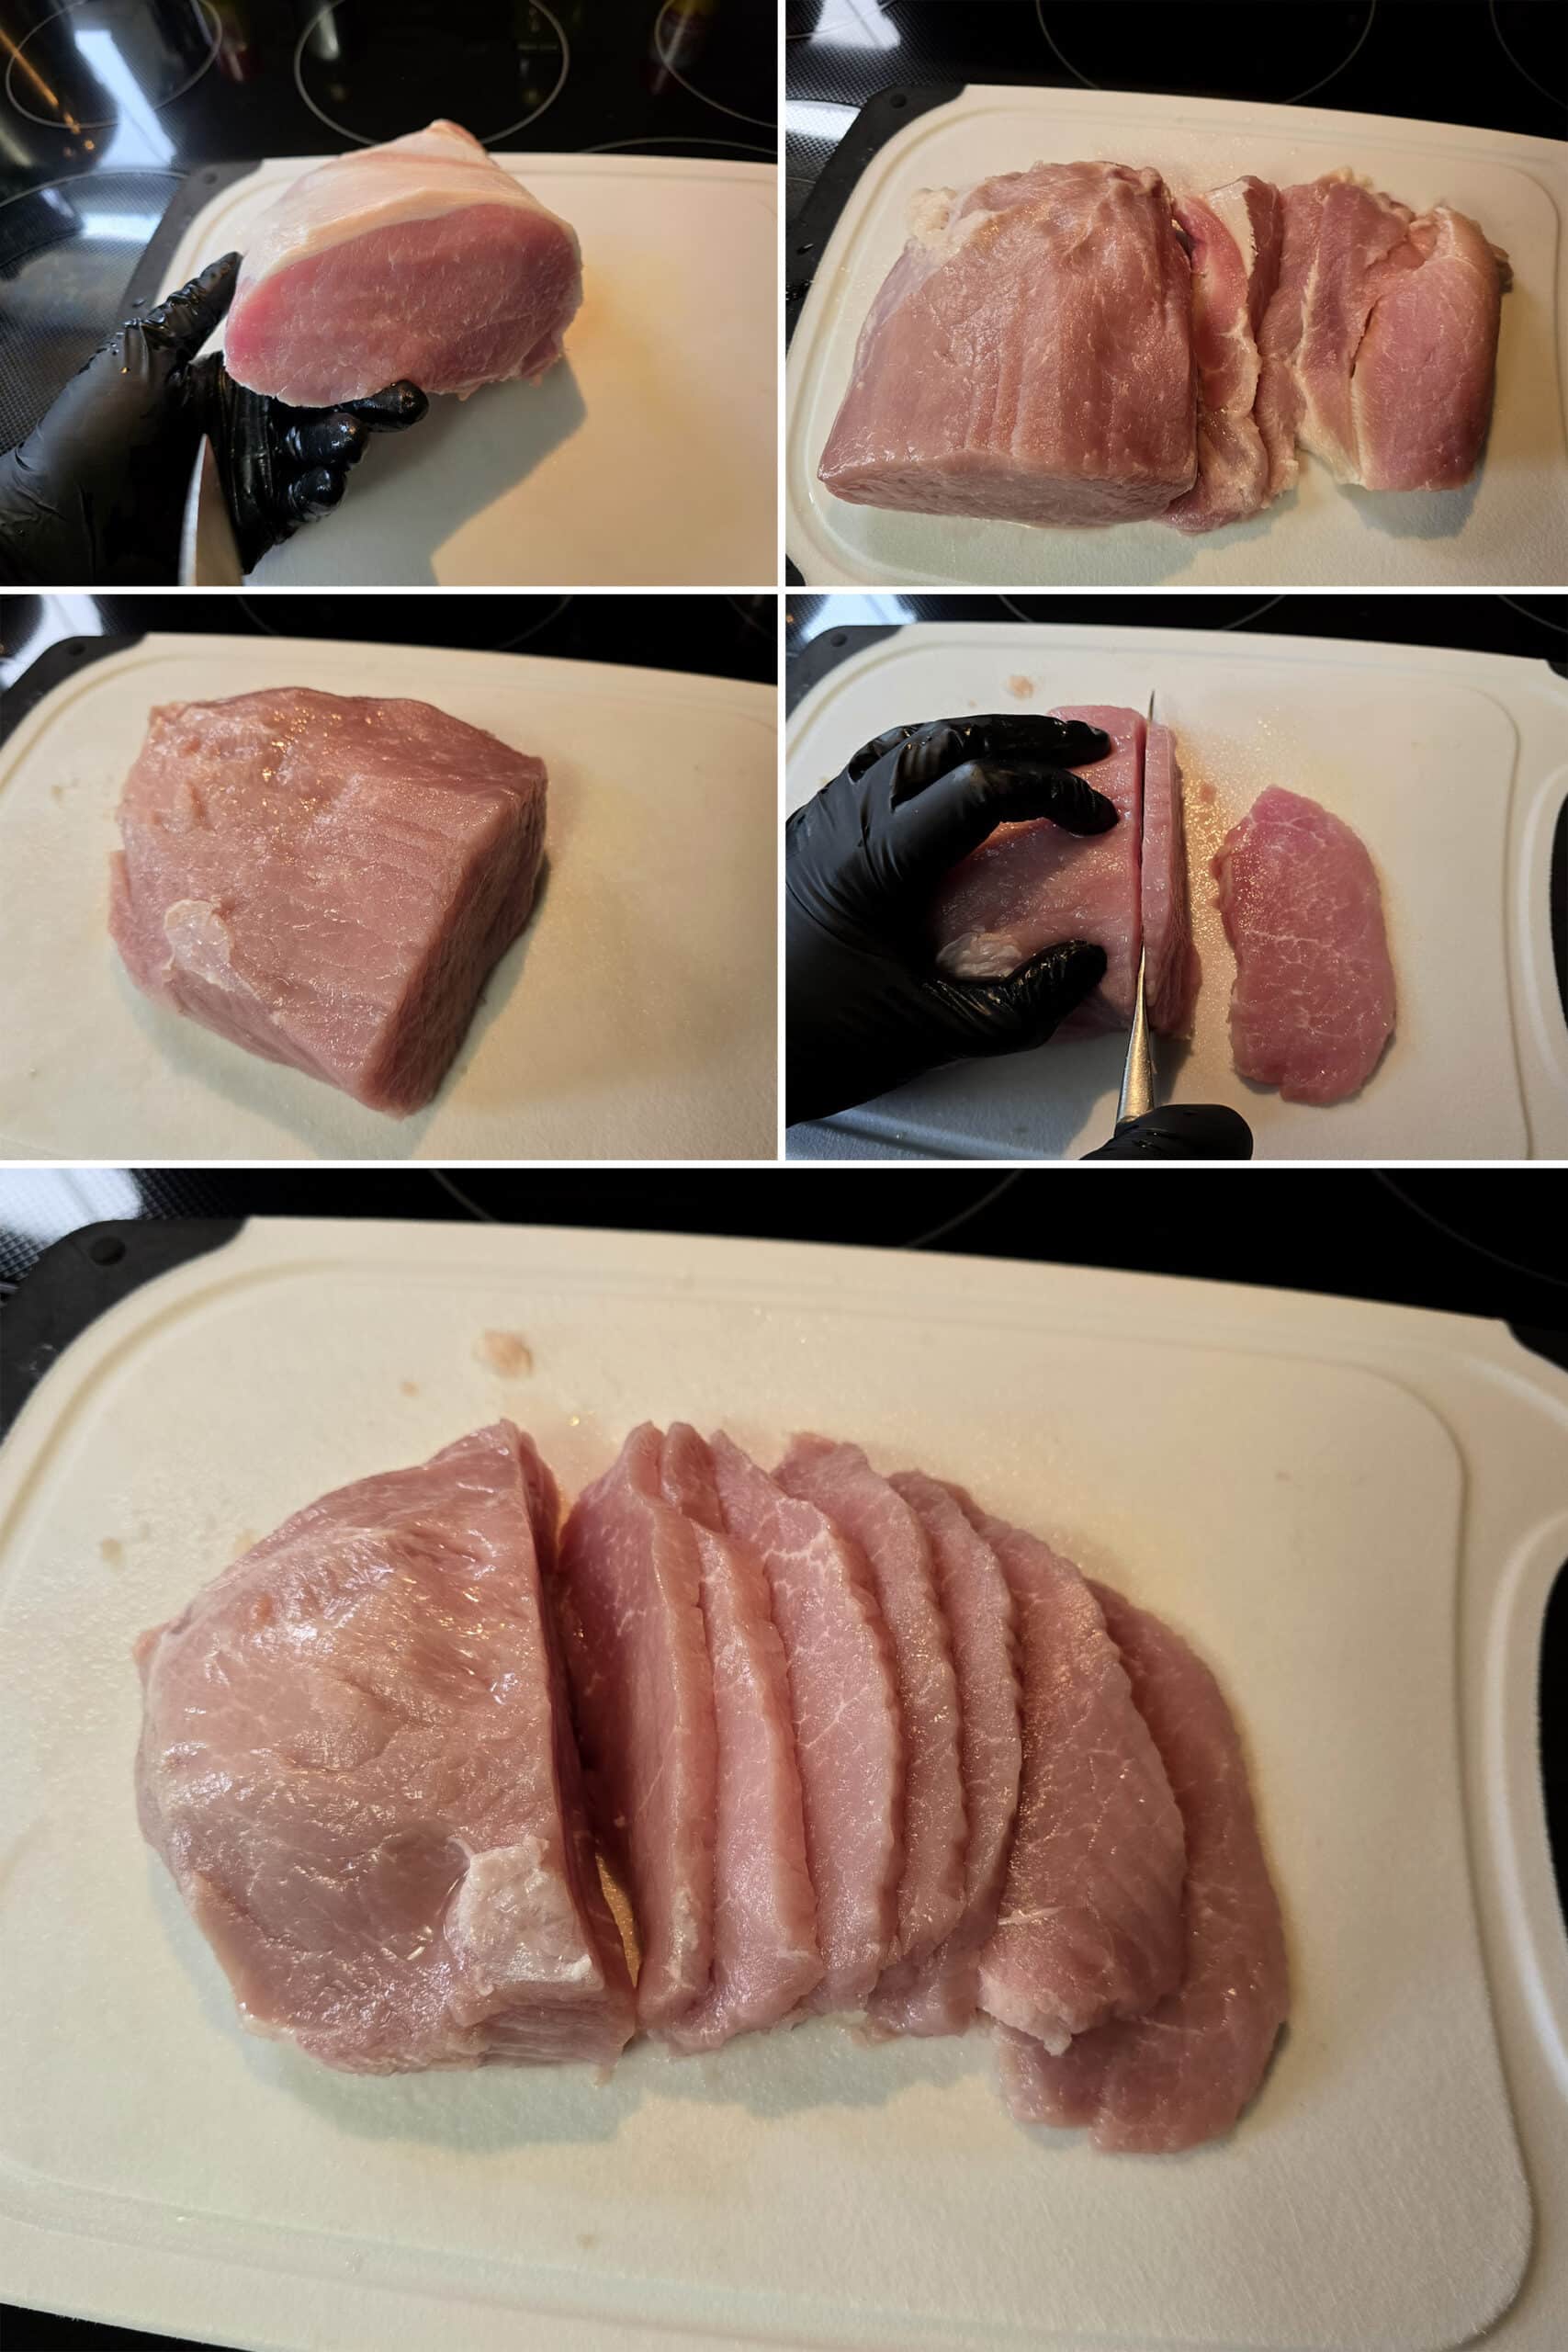
Before slicing the pork loin up for this recipe, you’re going to want to cut off ALL the excess fat off the lean muscle mass with a sharp knife. This will give you the best shelf life, as fat can go rancid.
Also - if you freeze it for 10-15 minutes before slicing it, it firms up a bit and makes it easy to cut nice, even slices.
One of these days, I’m going to try this recipe with wild boar - if you do, let me know how it goes, in the comments!
Liquid Smoke
As with all of my jerkies, you’ll need some Liquid Smoke - a little goes a lot way!
I only use a small amount in this basic pork jerky recipe, to give it a traditional “jerky” flavour - it’s not at all overpowering, just an accent.
Prague Powder
Prague Powder is one of a few different curing salts out on the market. It’s not something you’ll normally cook with, but it’ll last a long time - a little goes a long way!
I use Prague Powder #1 Cure, same as I use for my Montreal Smoked Meat Recipe, Back Bacon Recipe, Homemade Corned Beef Recipe, and Peameal Bacon Recipe.
Beyond aesthetics, it also contributes to giving dehydrated meat that iconic jerky flavor, AND helps ensure that your homemade meat snack will be good to eat for a long time. It does this by preventing the growth of bacteria, during and after the drying process.
A couple of things to note:
1. Prague Powder is pink, but it is NOT the same thing as Himalayan pink salt!
2. Prague cure is only to be used in small amounts for curing meats, and should never be consumed as-is. The measurements are important - if you want a saltier XX chicken jerky, add some regular salt, rather than increasing the curing salt.
Everything Else
Rounding out this recipe, you will need:
Frank's Red Hot Sauce
Garlic Powder
Granulated Sugar
Ground Black Pepper
... as always, I don’t really have anything to add, when it comes to these last few ingredients!
Everything Else
Rounding out this pork jerky recipe, you will need:
Coconut Aminos, Soy Sauce, or Tamari
Apple Cider Vinegar
Honey
Garlic Powder
Onion Powder
Salt
... I just don’t have anything to add, as far as these last few ingredients go. Simple stuff!
Share the Love!If you’ve made one of our recipes, be sure to take some pics of your handiwork! If you post it to Bluesky, be sure to tag us - @CelebrationGen. We're also on Pinterest, so you can save all your favourite recipes to a board! Also, be sure to subscribe to our free email newsletter, so you never miss out on any of our nonsense. Well, the published nonsense, anyway! |
How to Make Basic Pork Jerky
The full recipe is in the printable recipe card at the end of this post, here is the pictorial walk through:
Trim ALL visible fat from the pork loin. Fat will go rancid, so - for best results - remove as much as you possibly can!
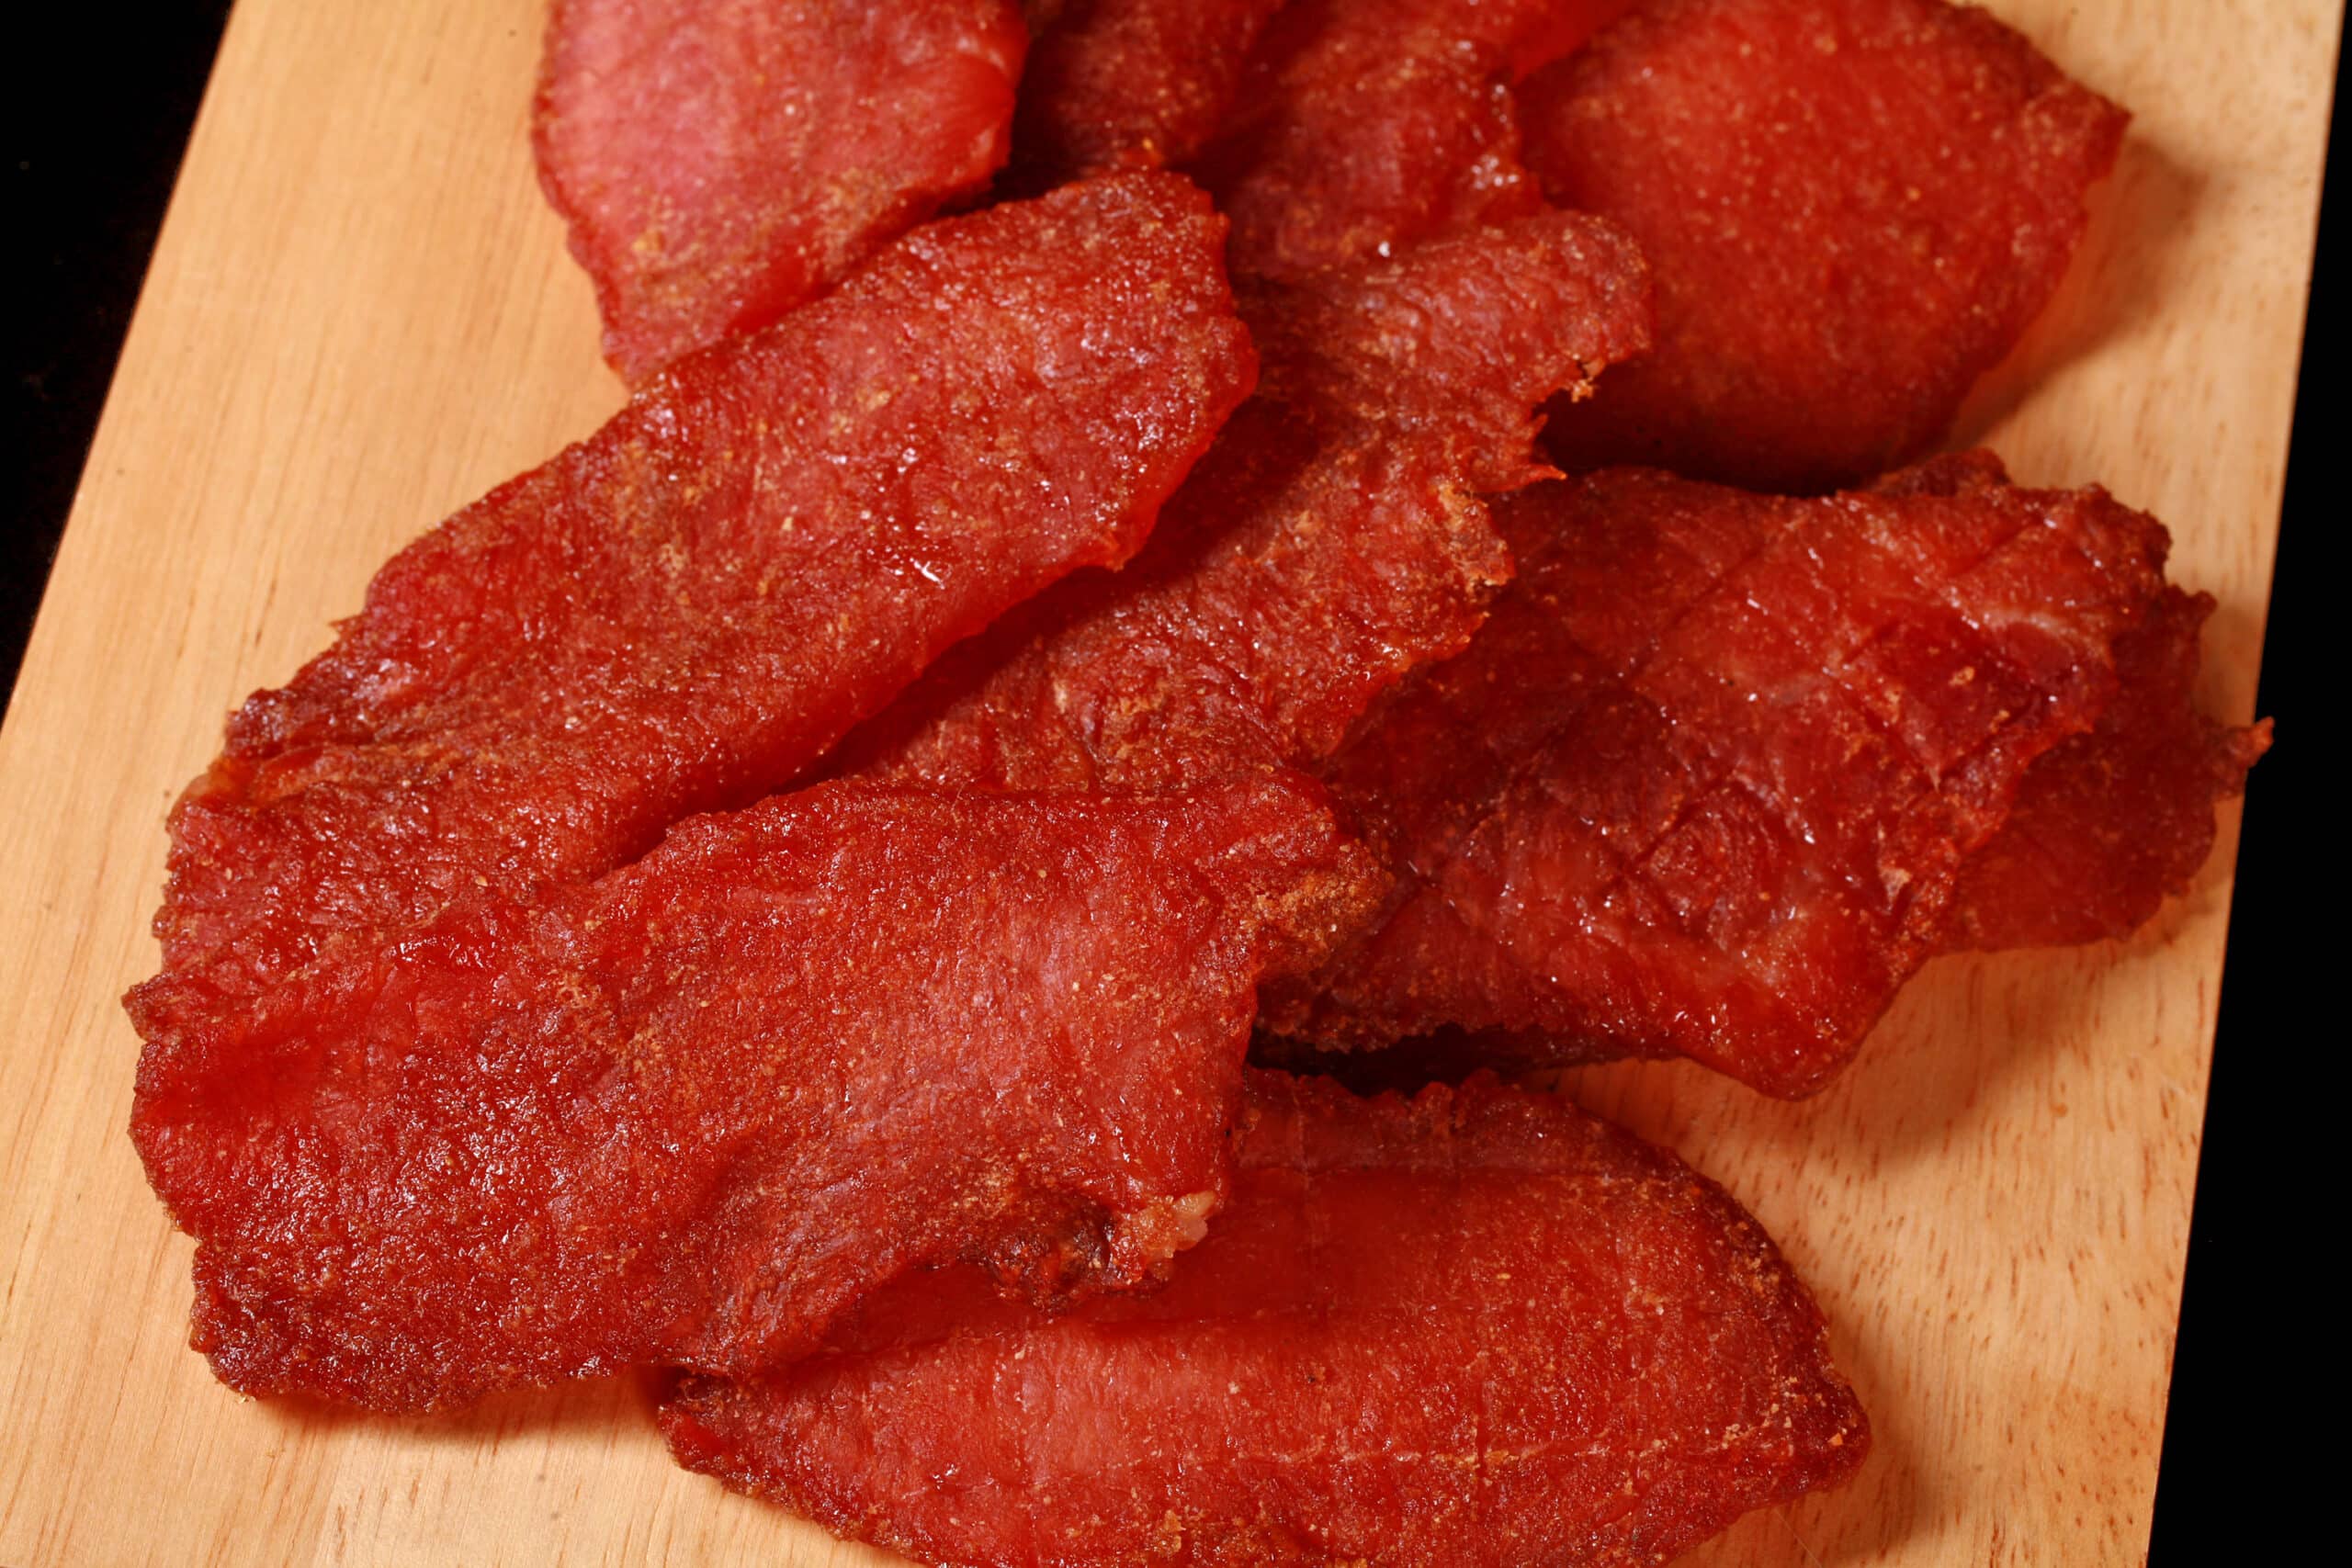
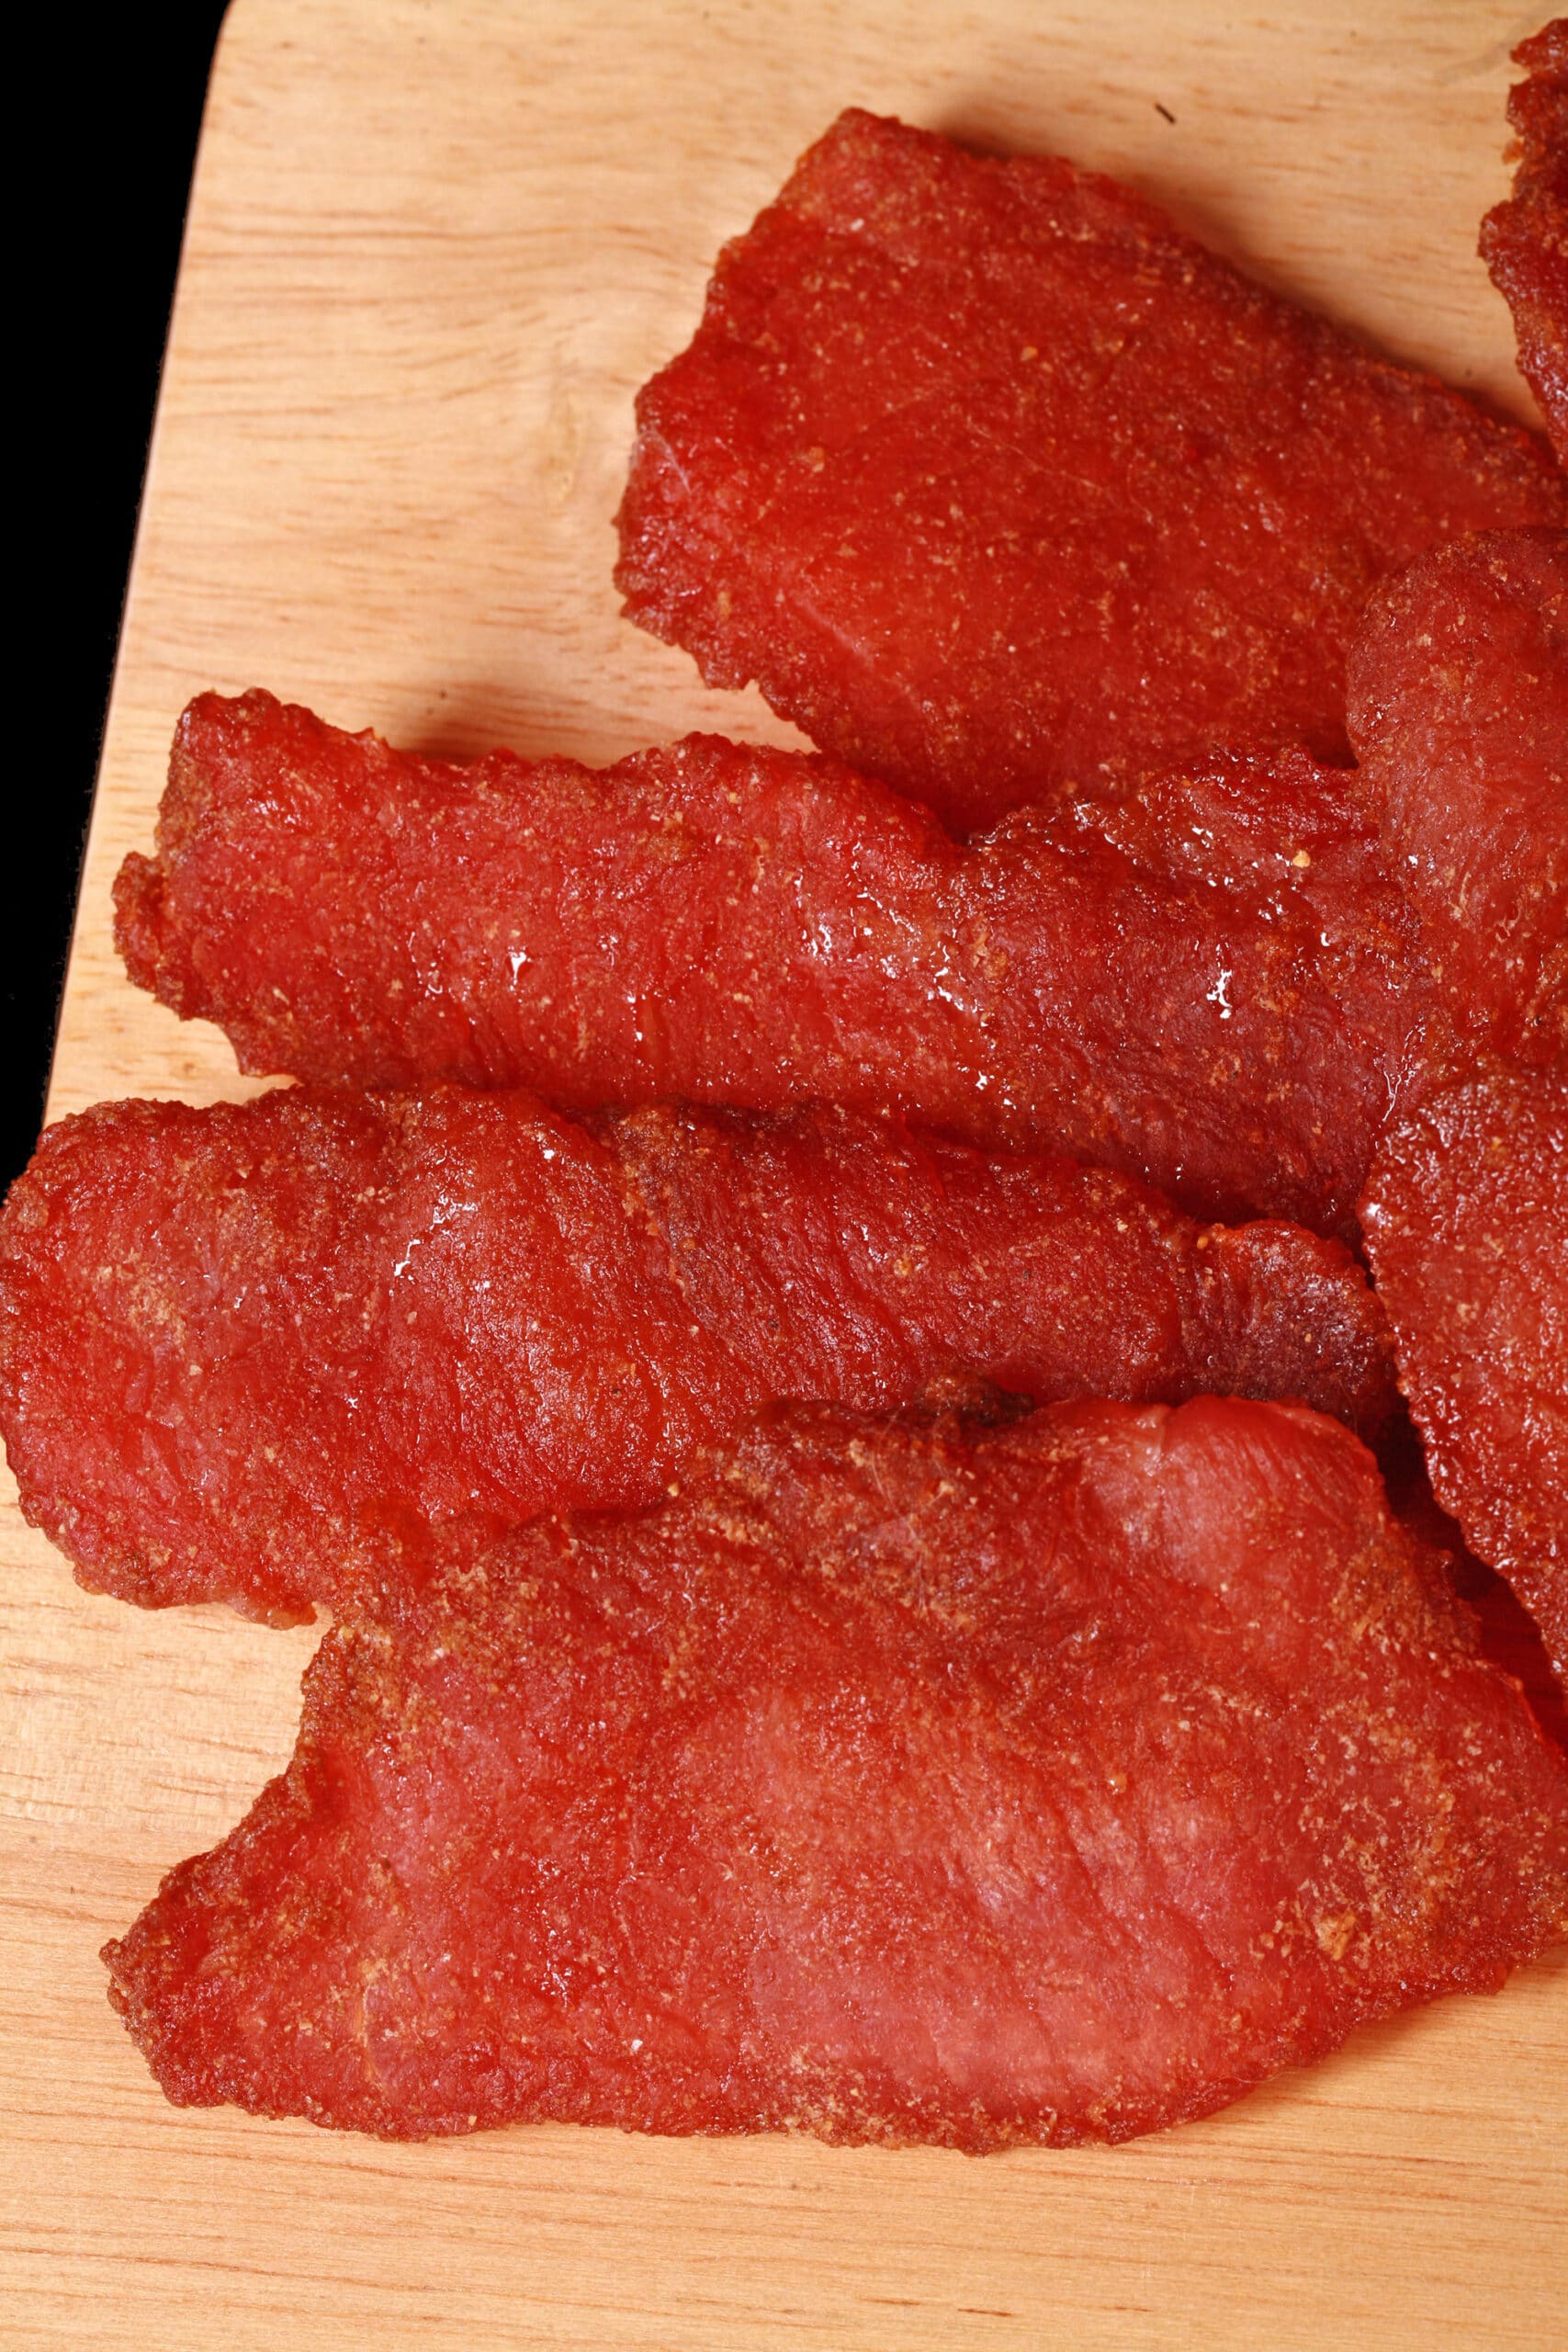
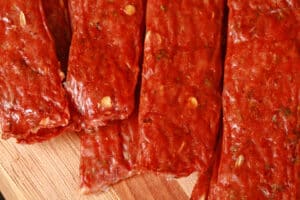
Slice pork across the grain. I like to aim for 3/16-¼" thick slices. You want to have the slices be relatively even thickness, for uniform drying.
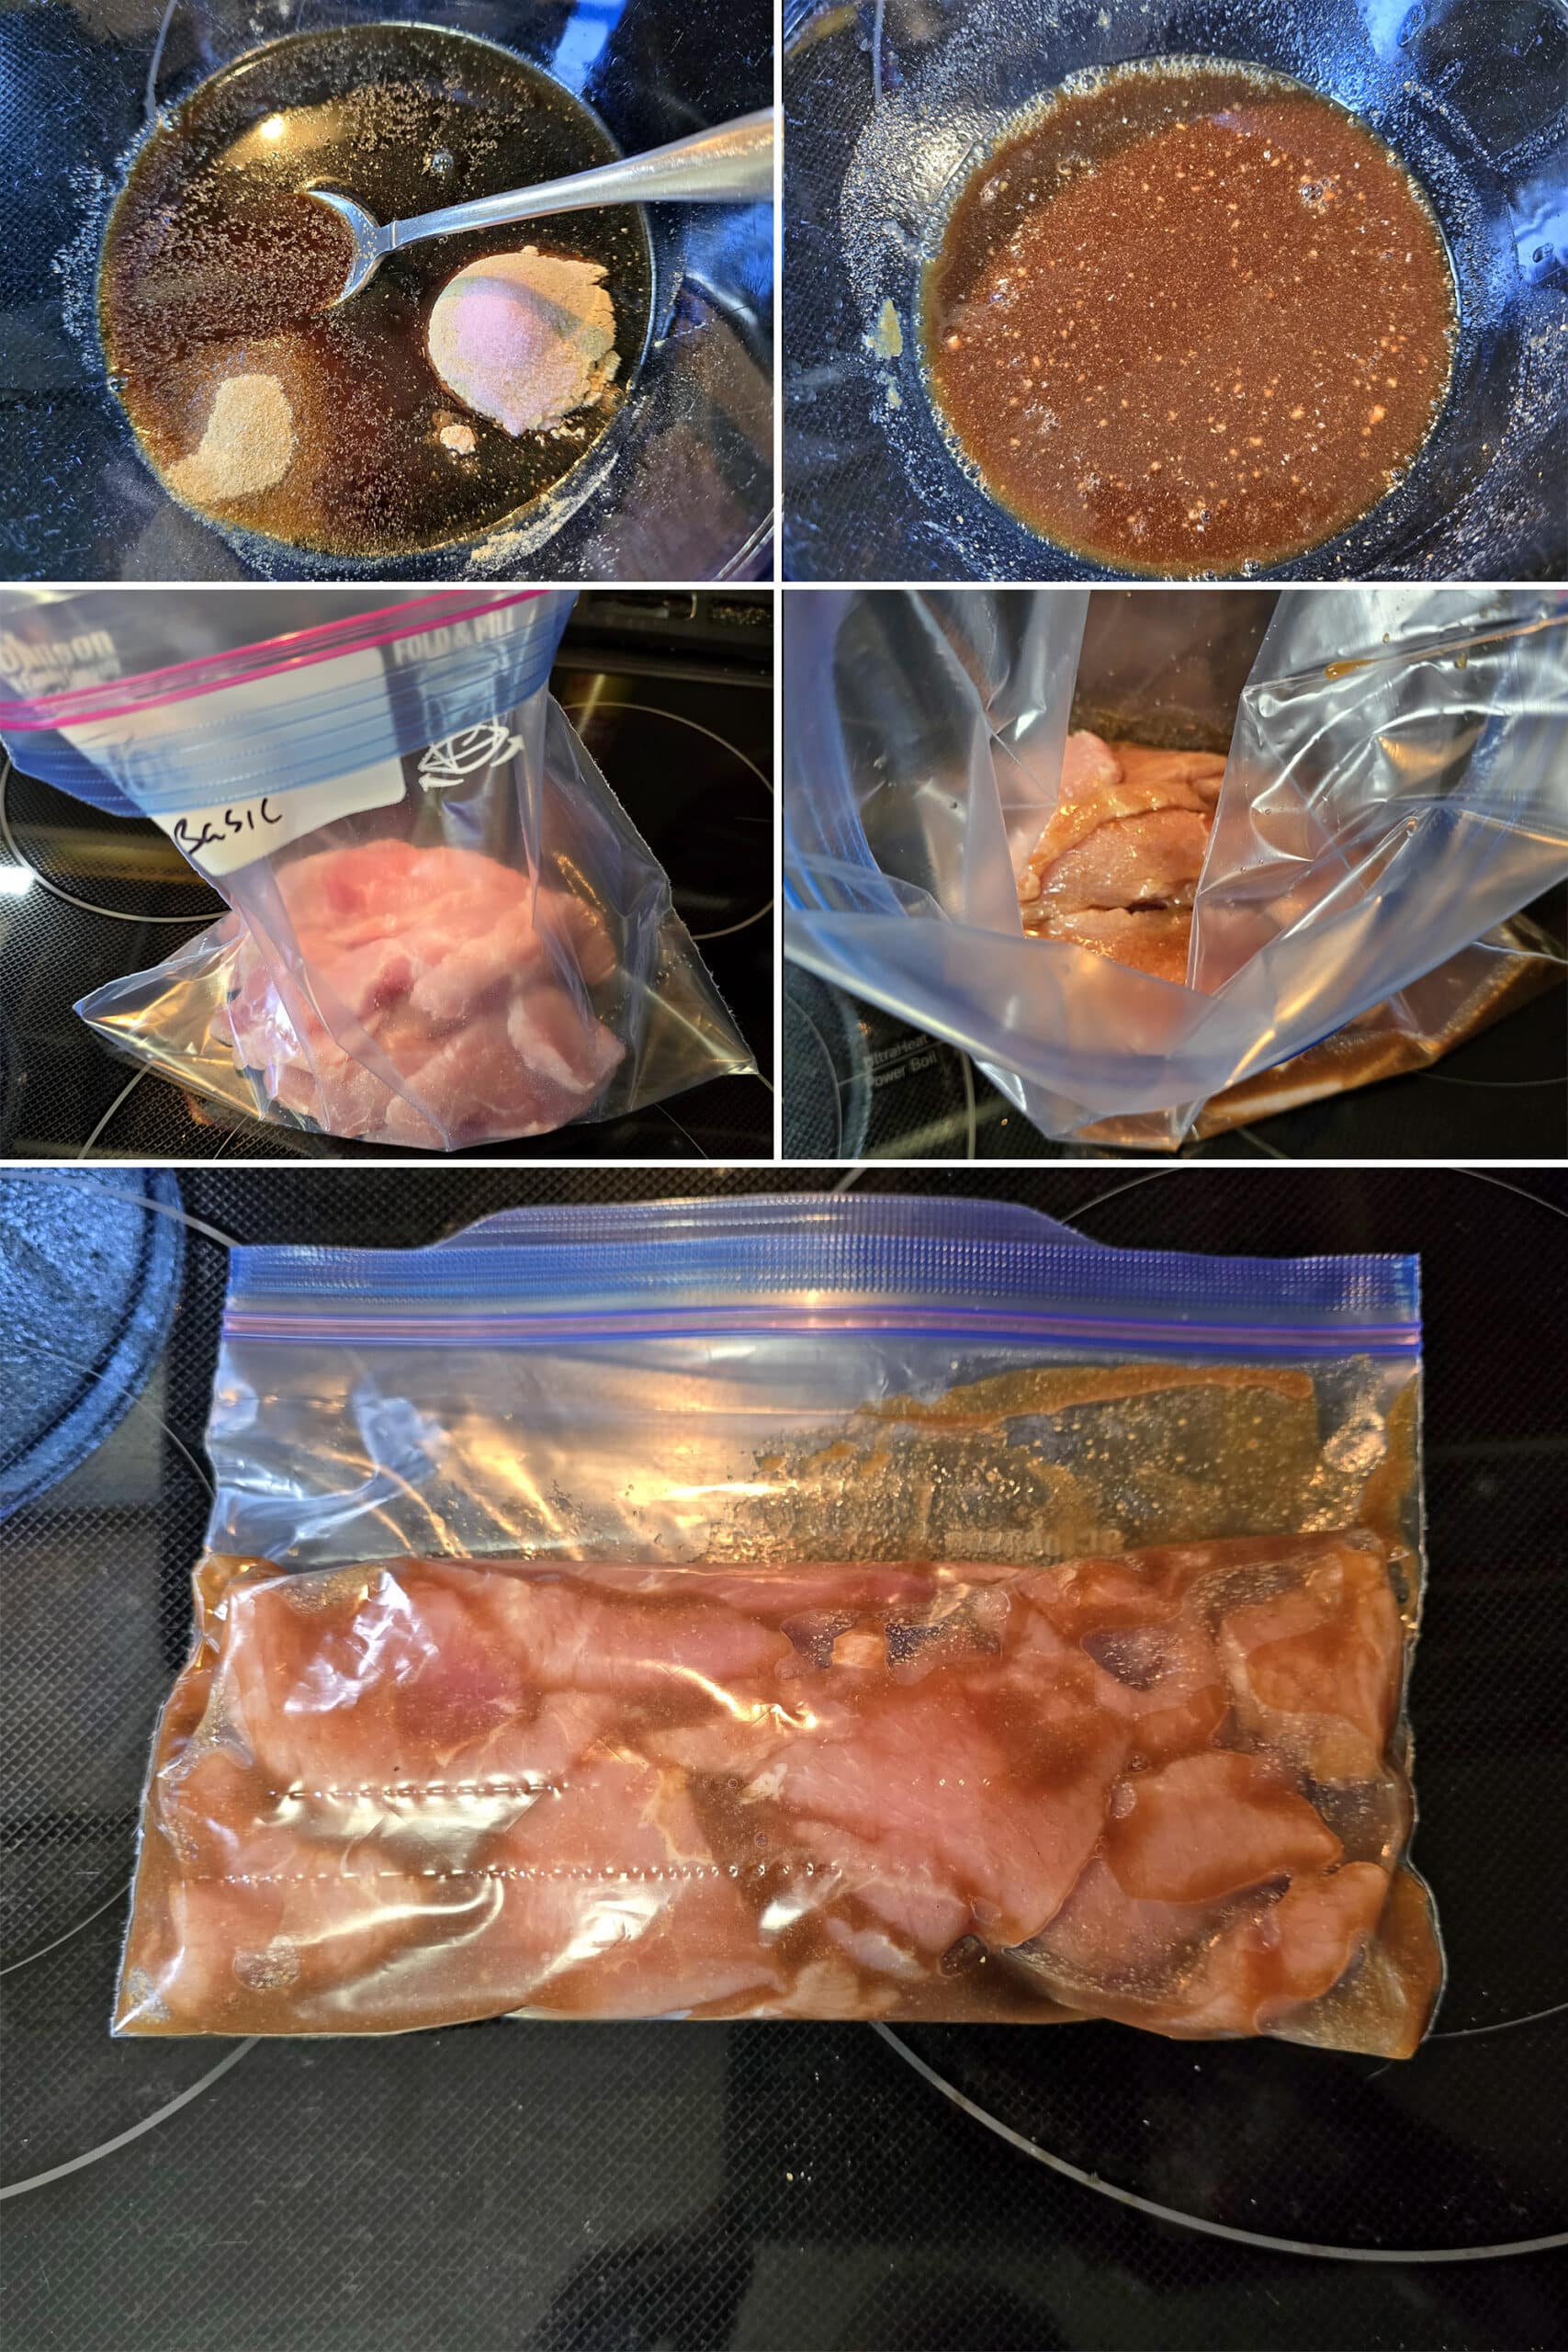
In a medium bowl, whisk together the remaining ingredients, then pour this jerky marinade over the pork slices.
Push out most of the air, seal the bags, and put them in the fridge – I like to put the bag in a loaf pan, just in case of leakage.
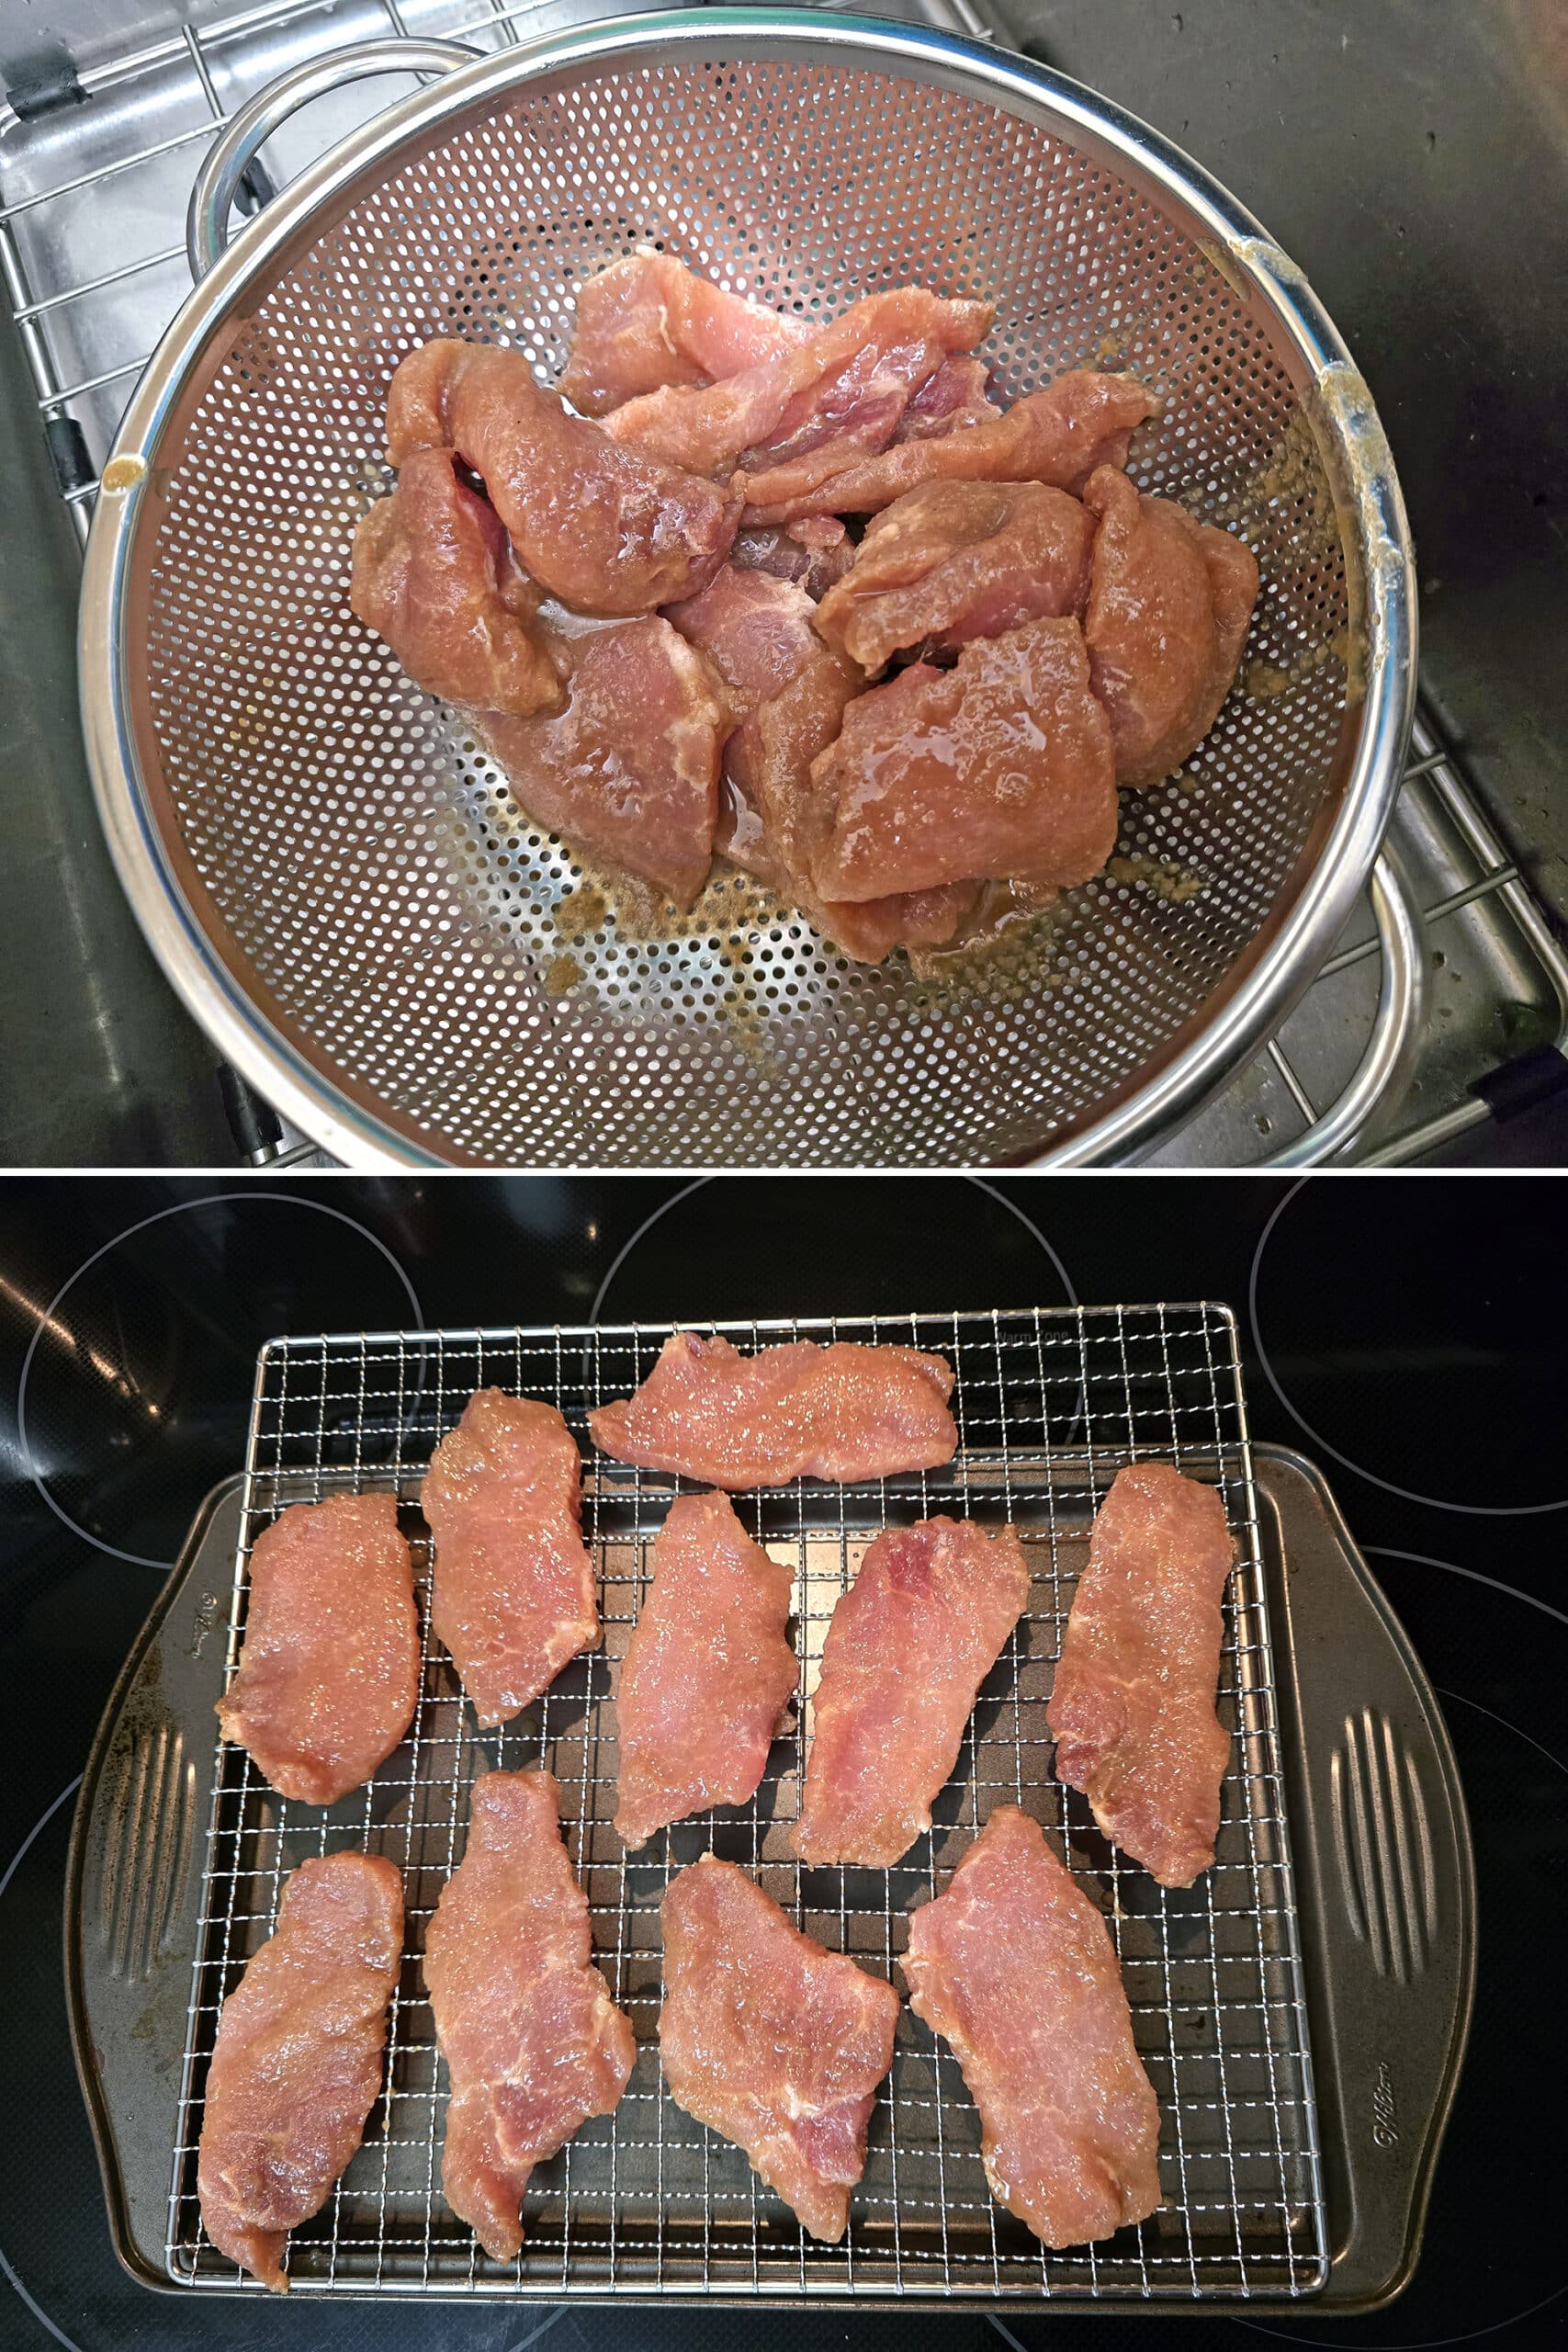
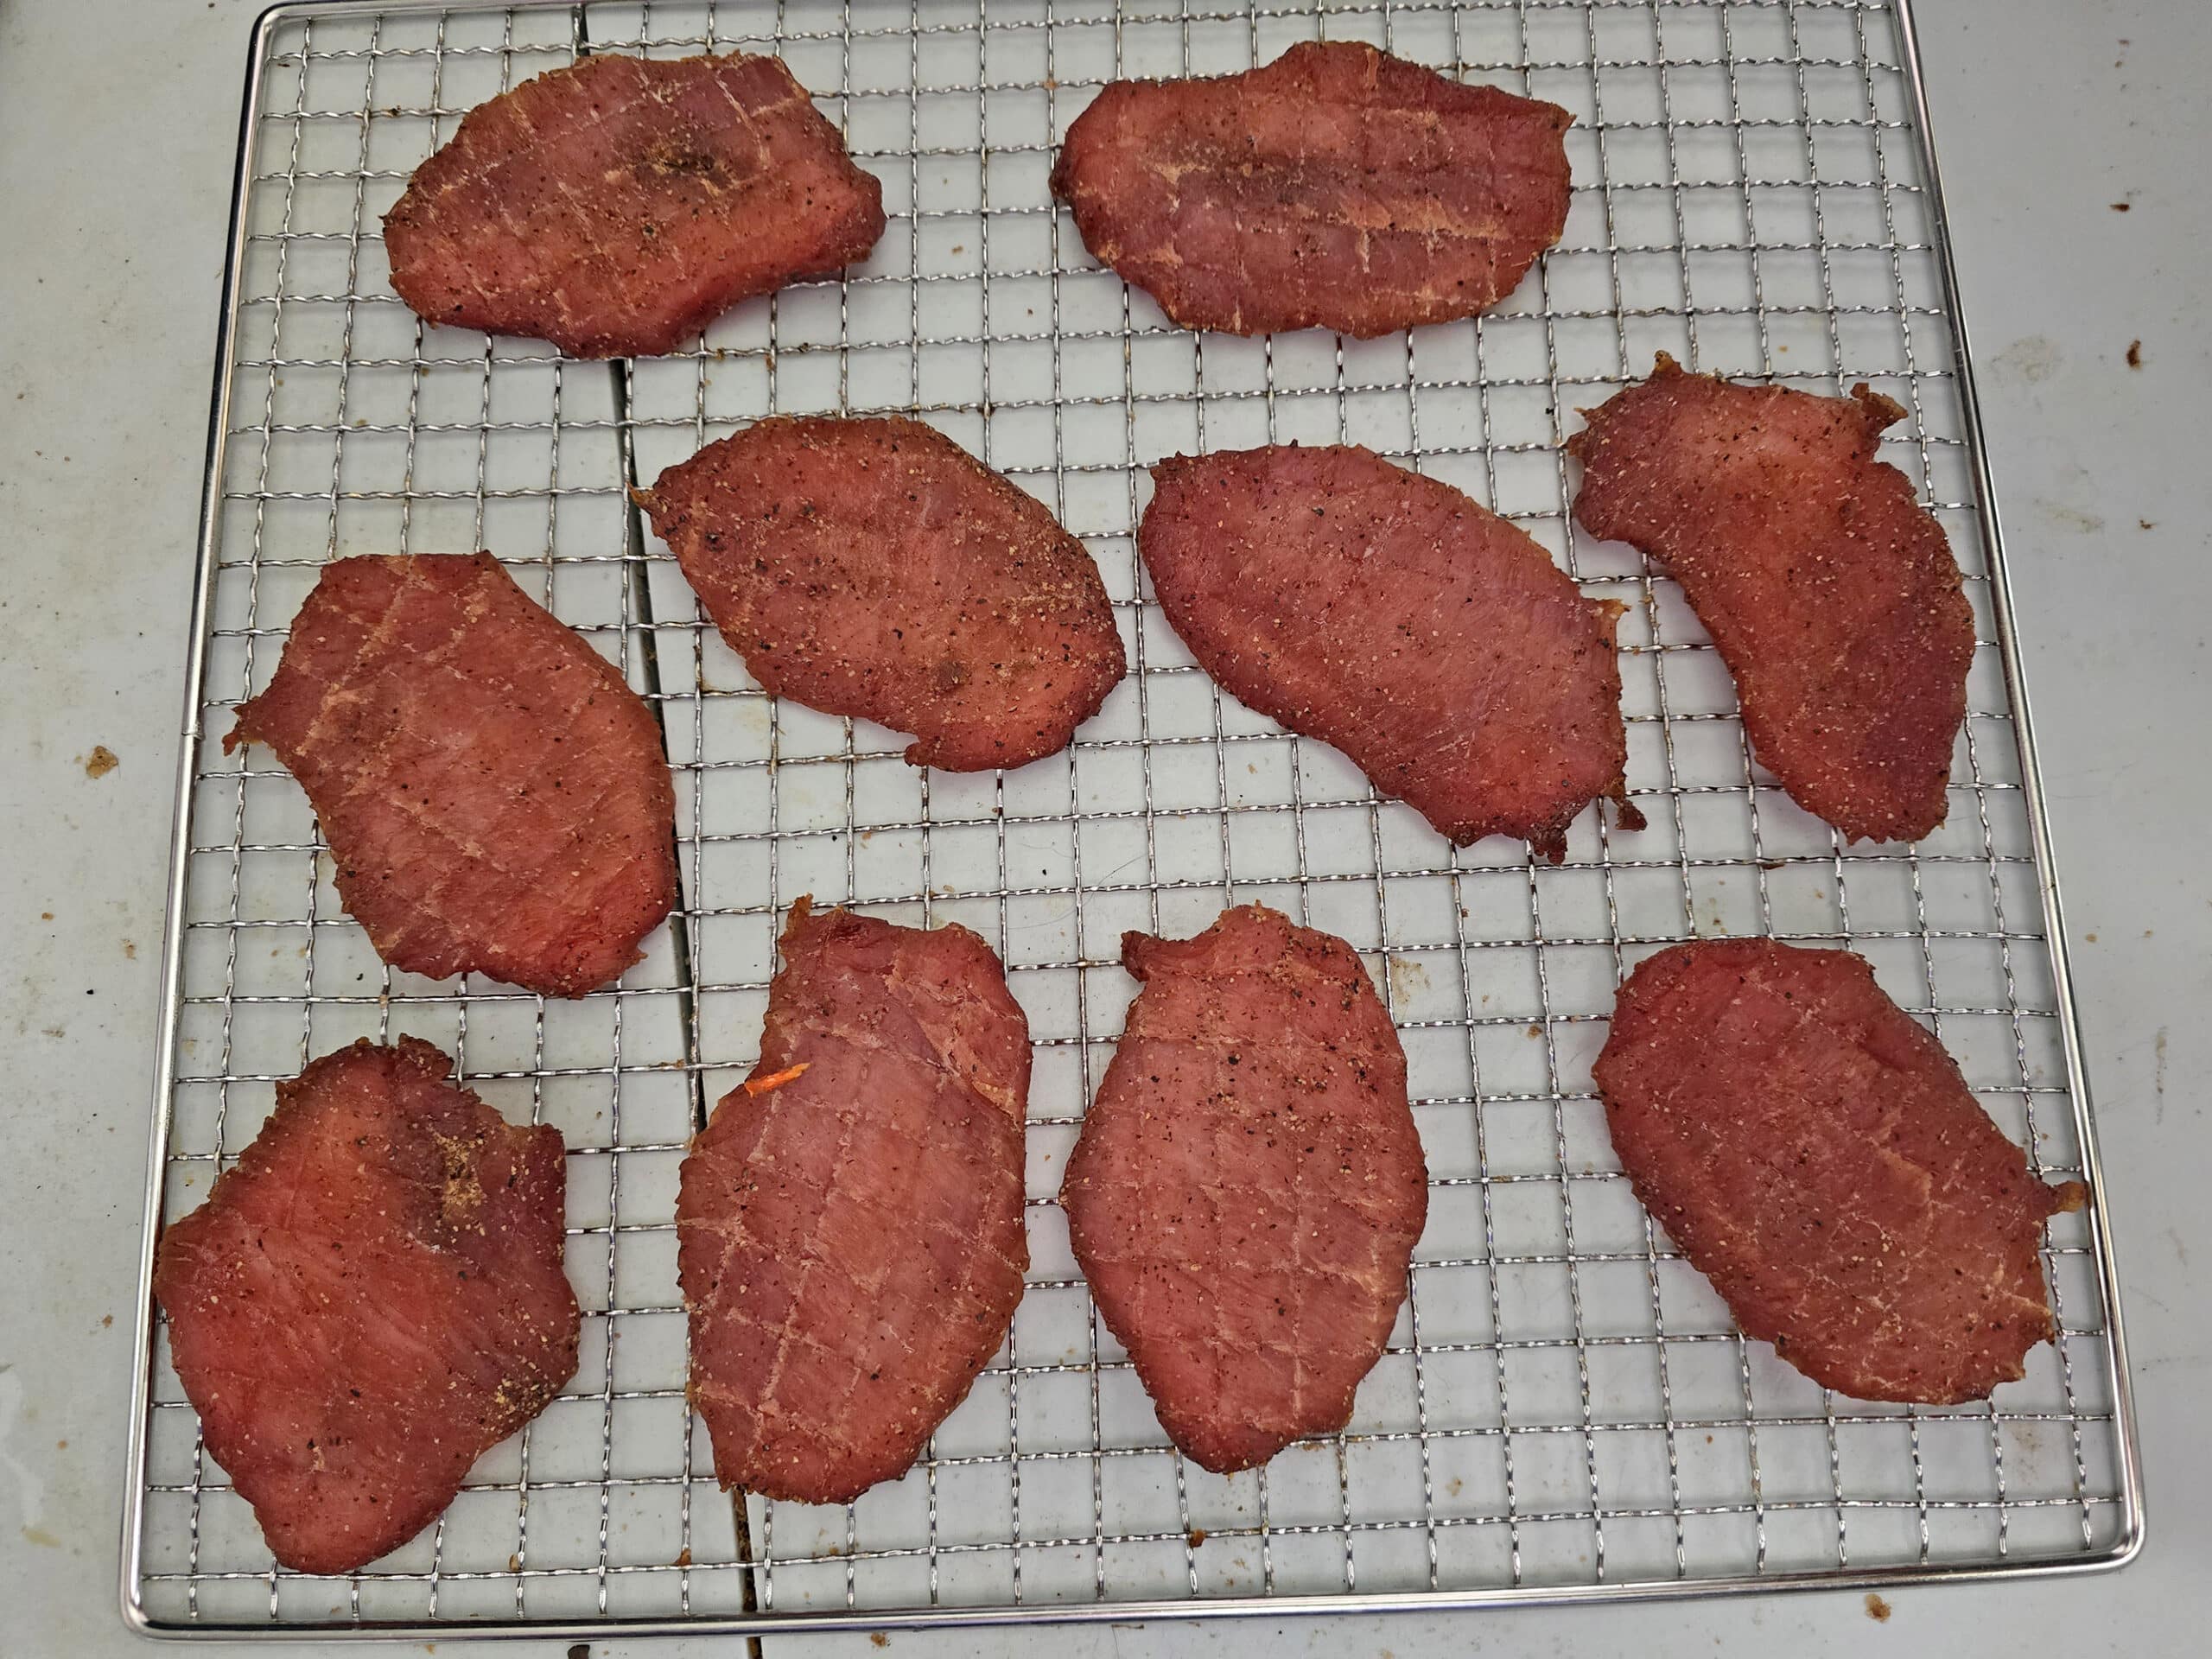
Once the marinating time is done, drain excess marinade off the pork slices - do not rinse Arrange pork jerky slices on food dehydrator trays.
Once two hours has passed, blot any beaded fat - if applicable - with paper towels. Flip each of the pork strips, and rotate the location of the trays.
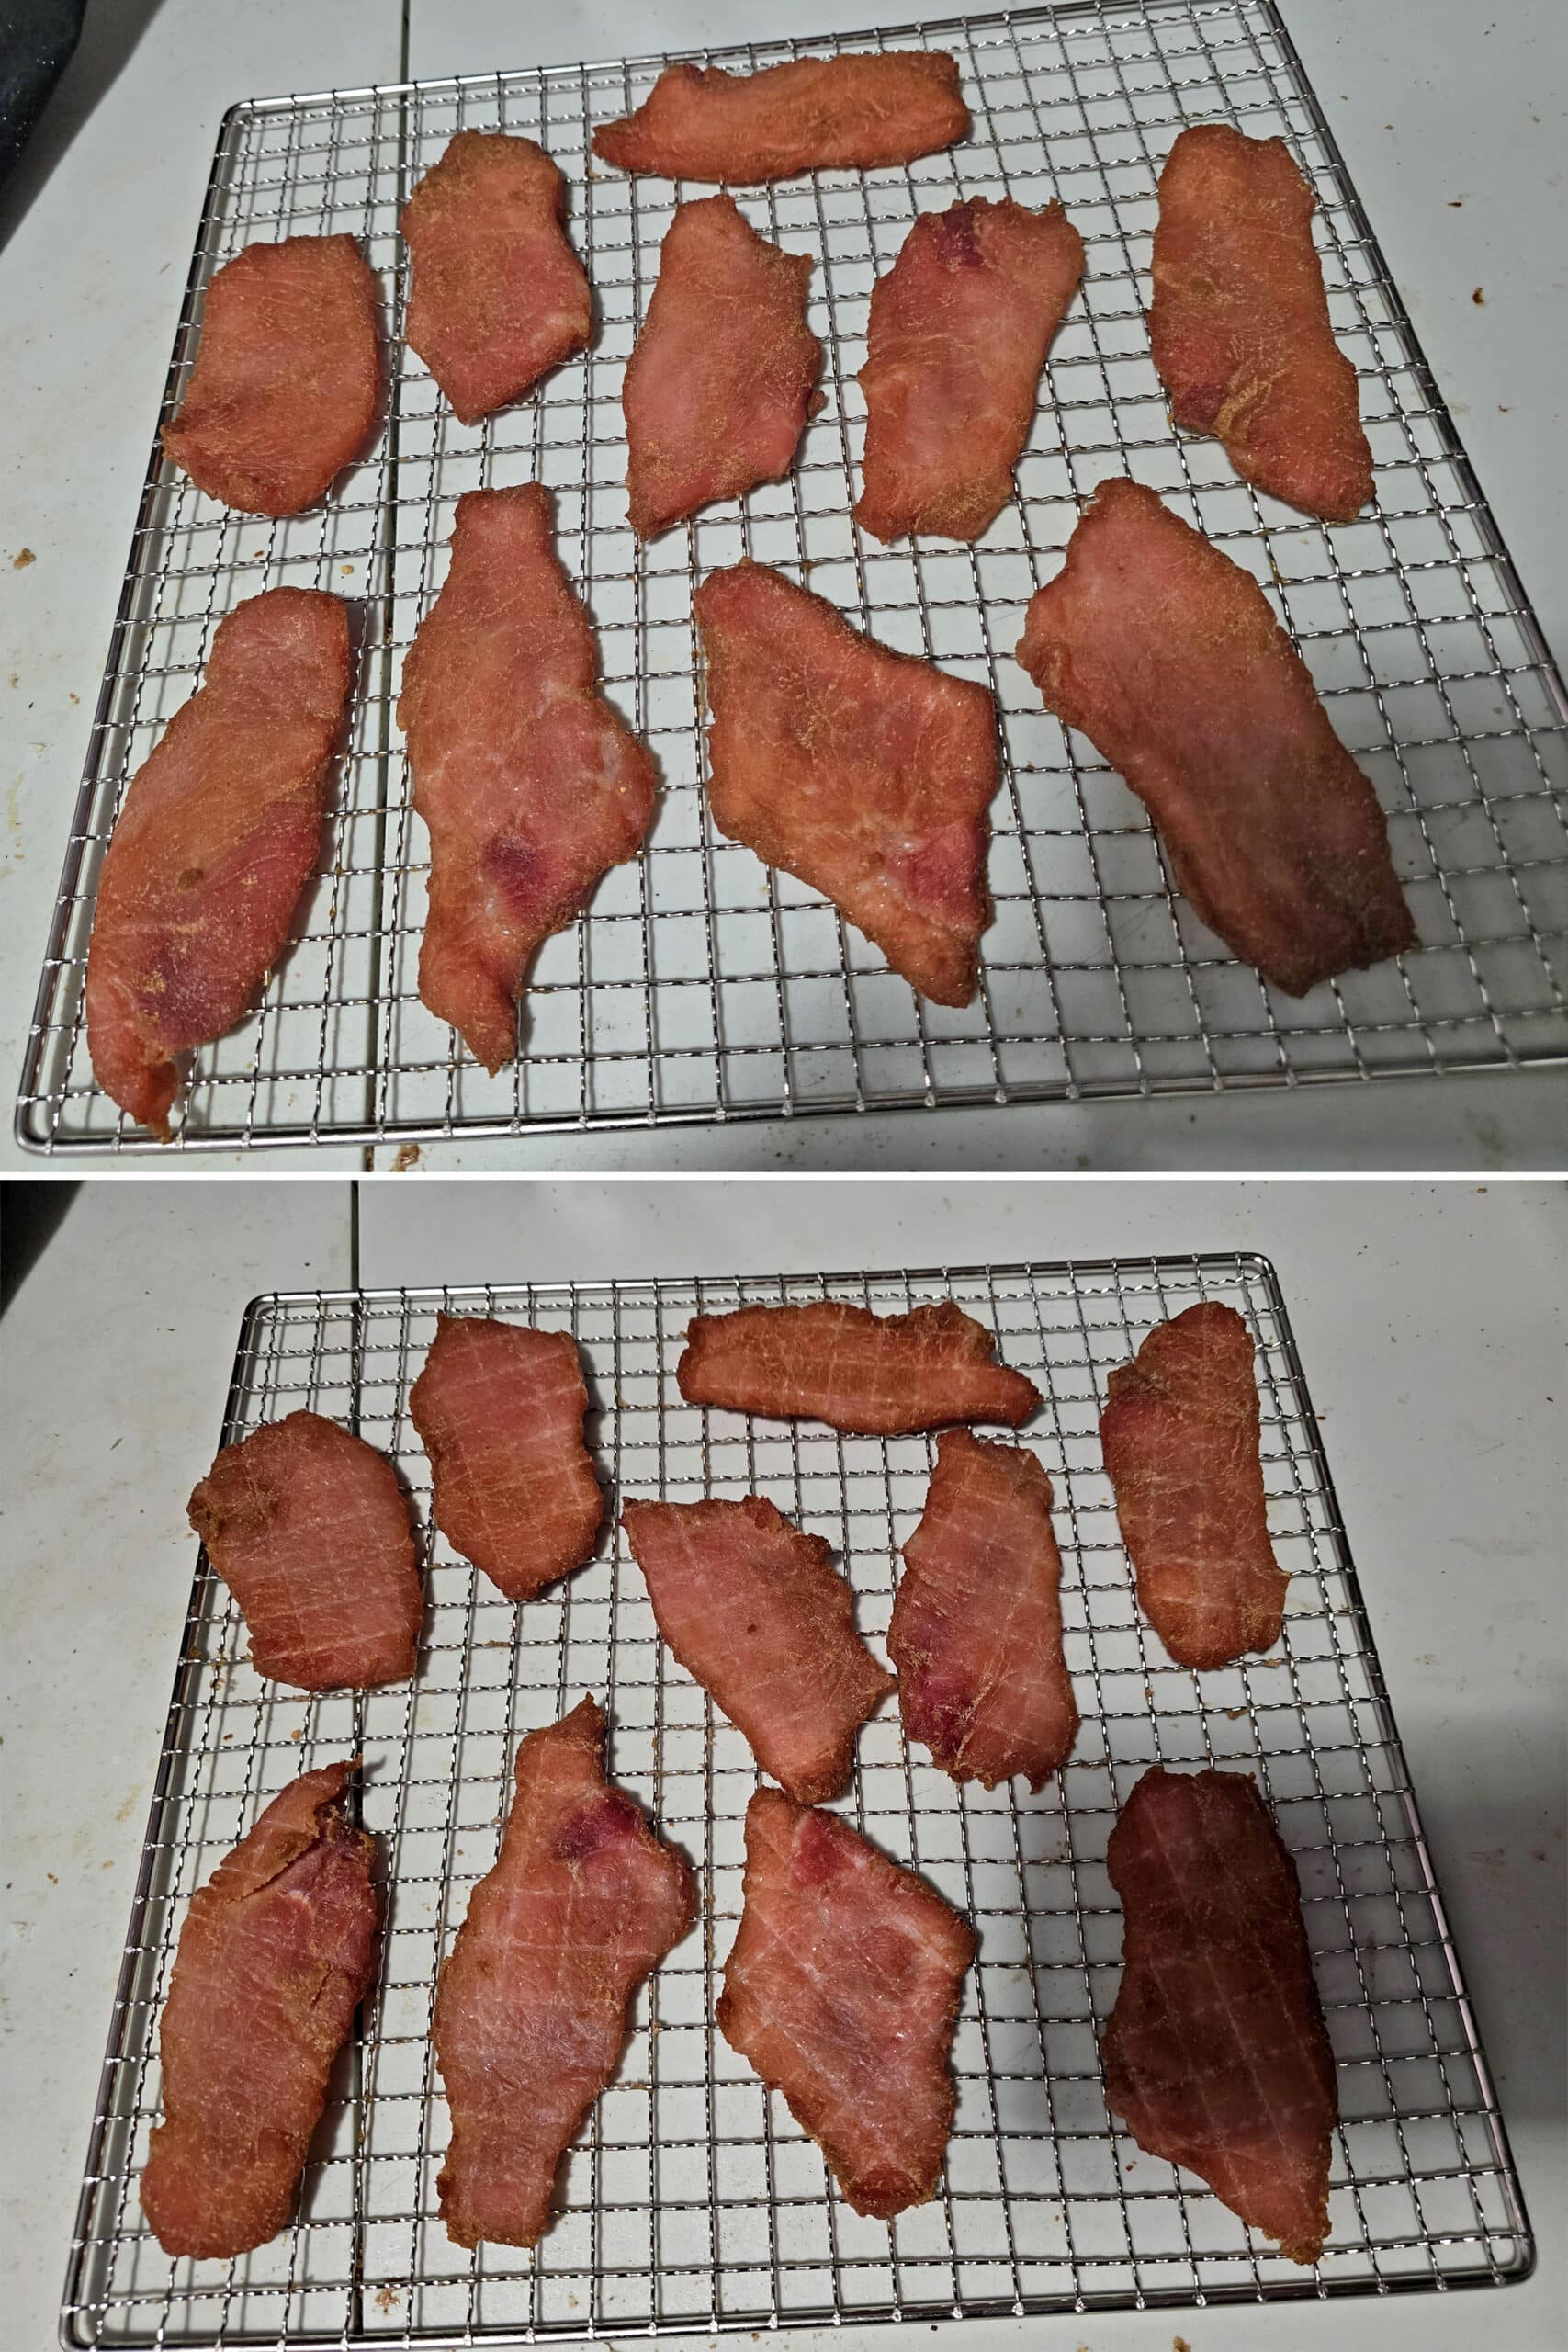
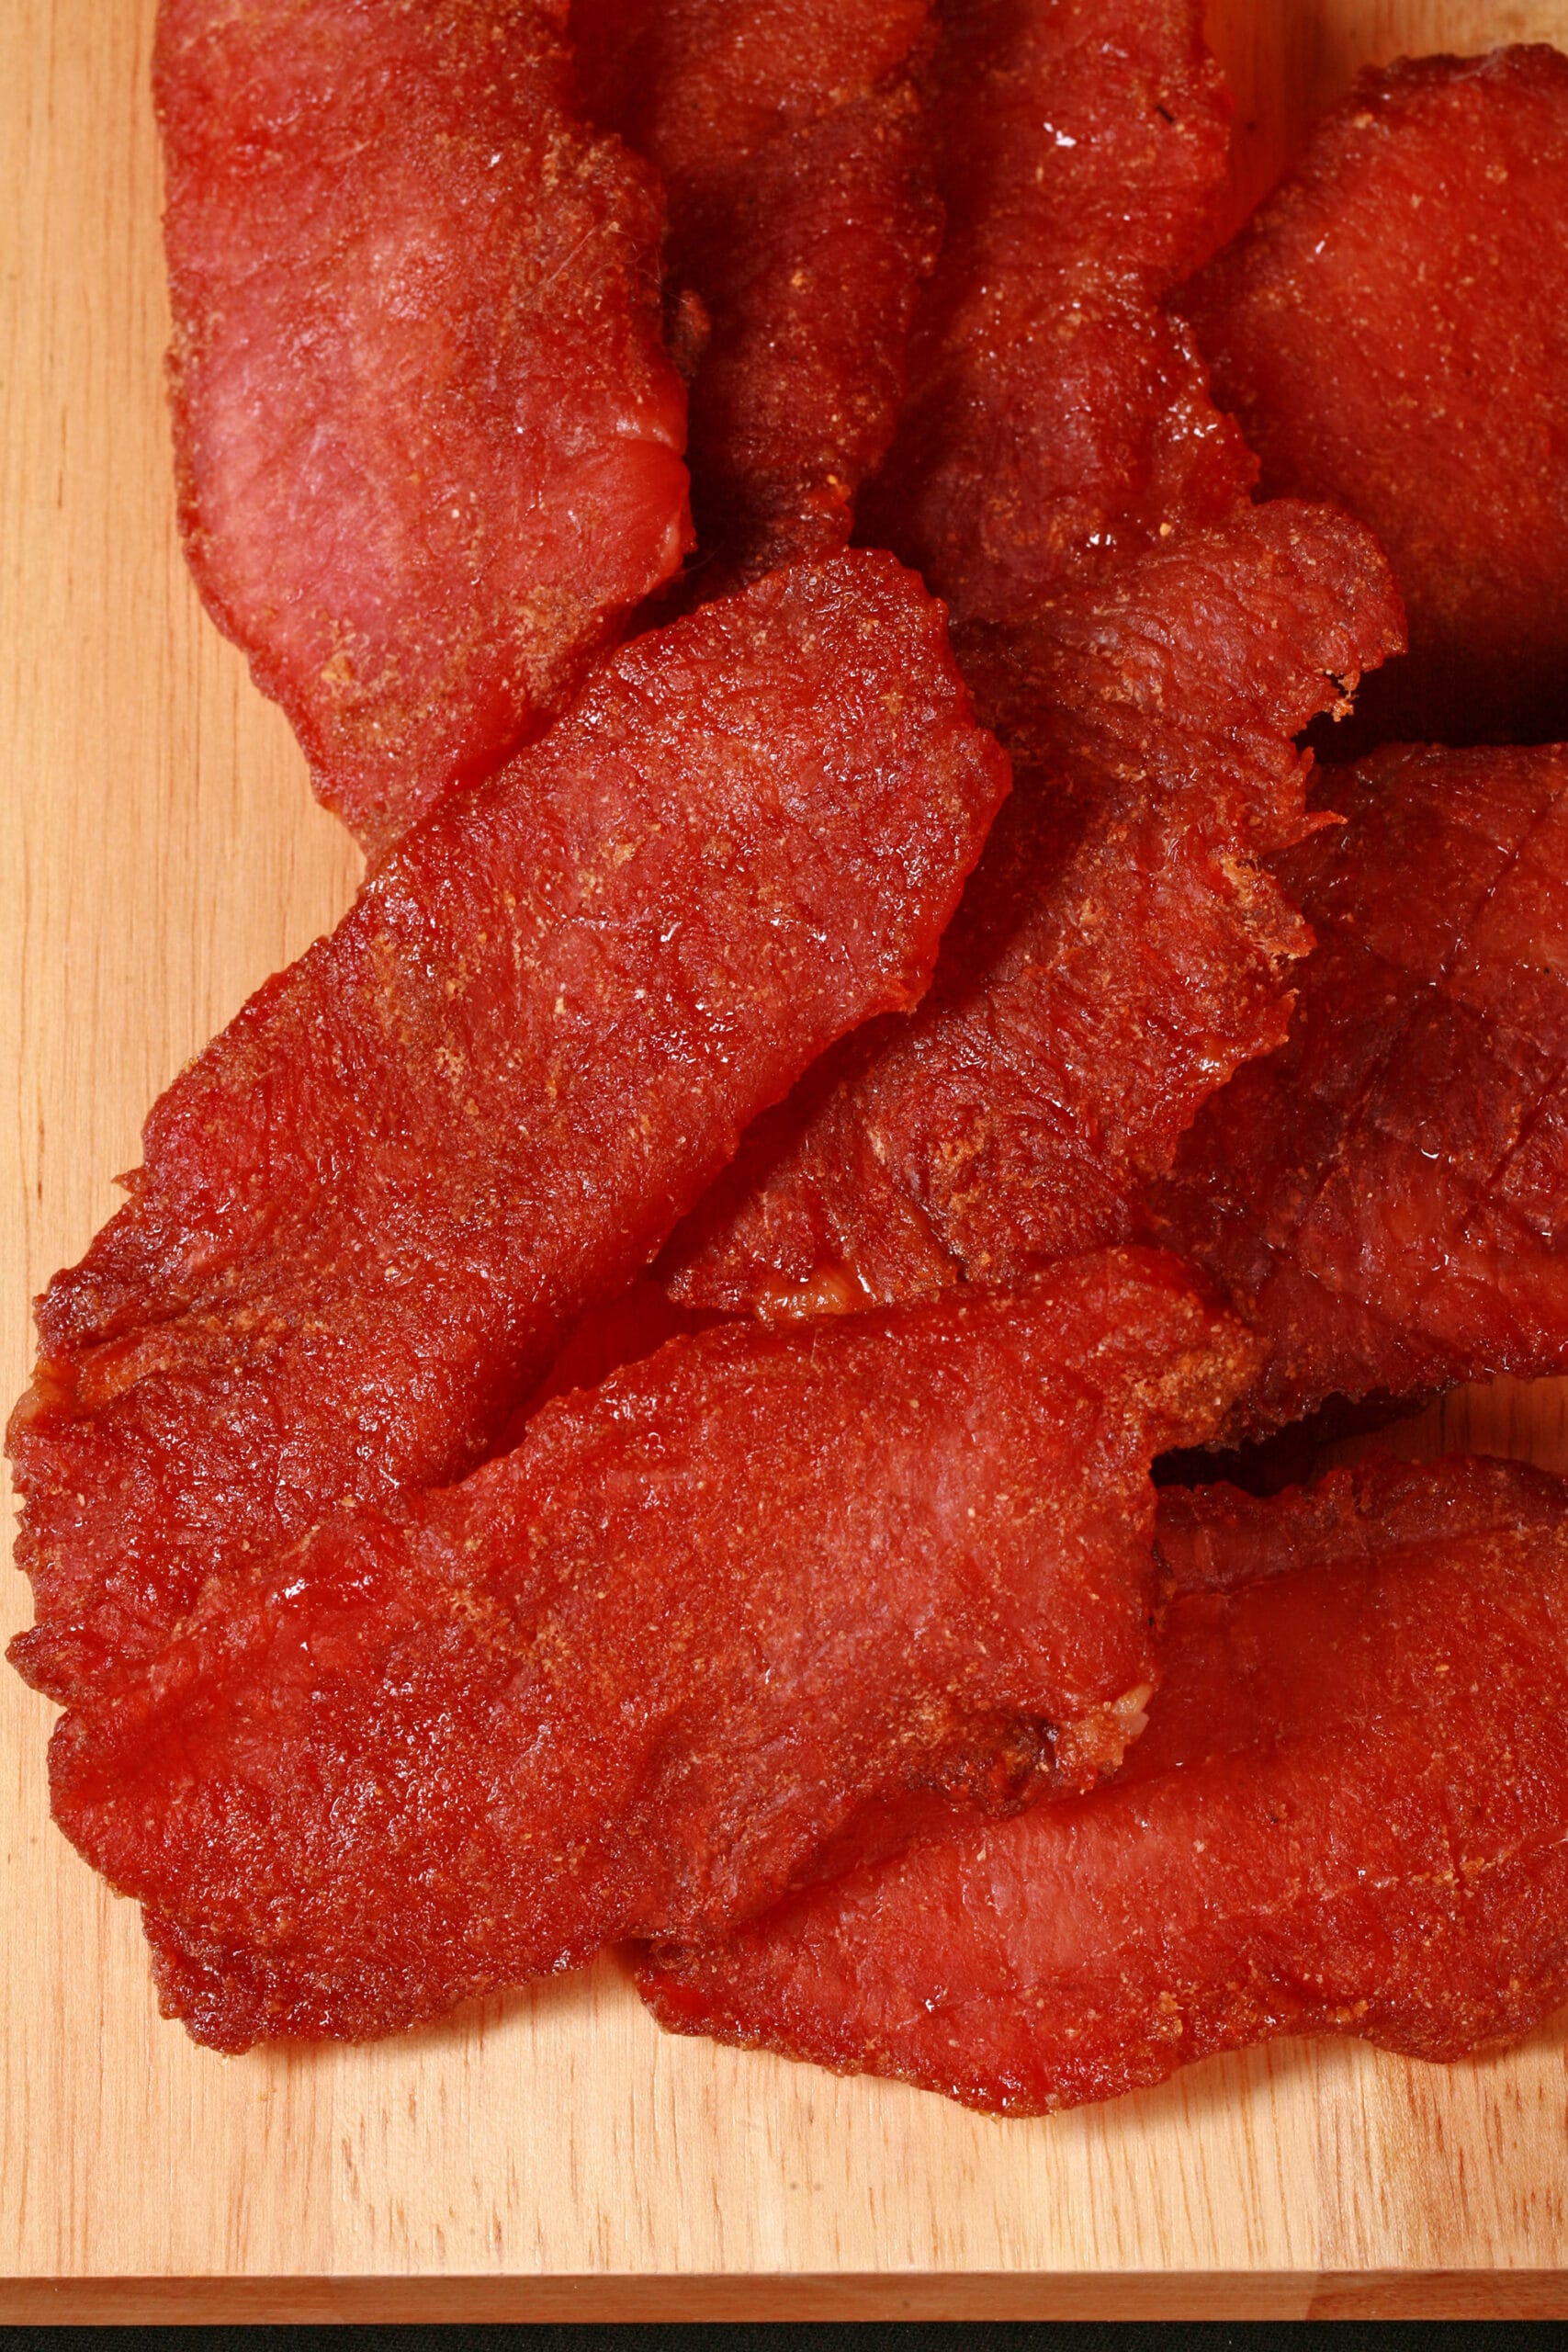
To test for doneness, remove a piece of pork jerky from the dehydrator and let it cool to room temperature.
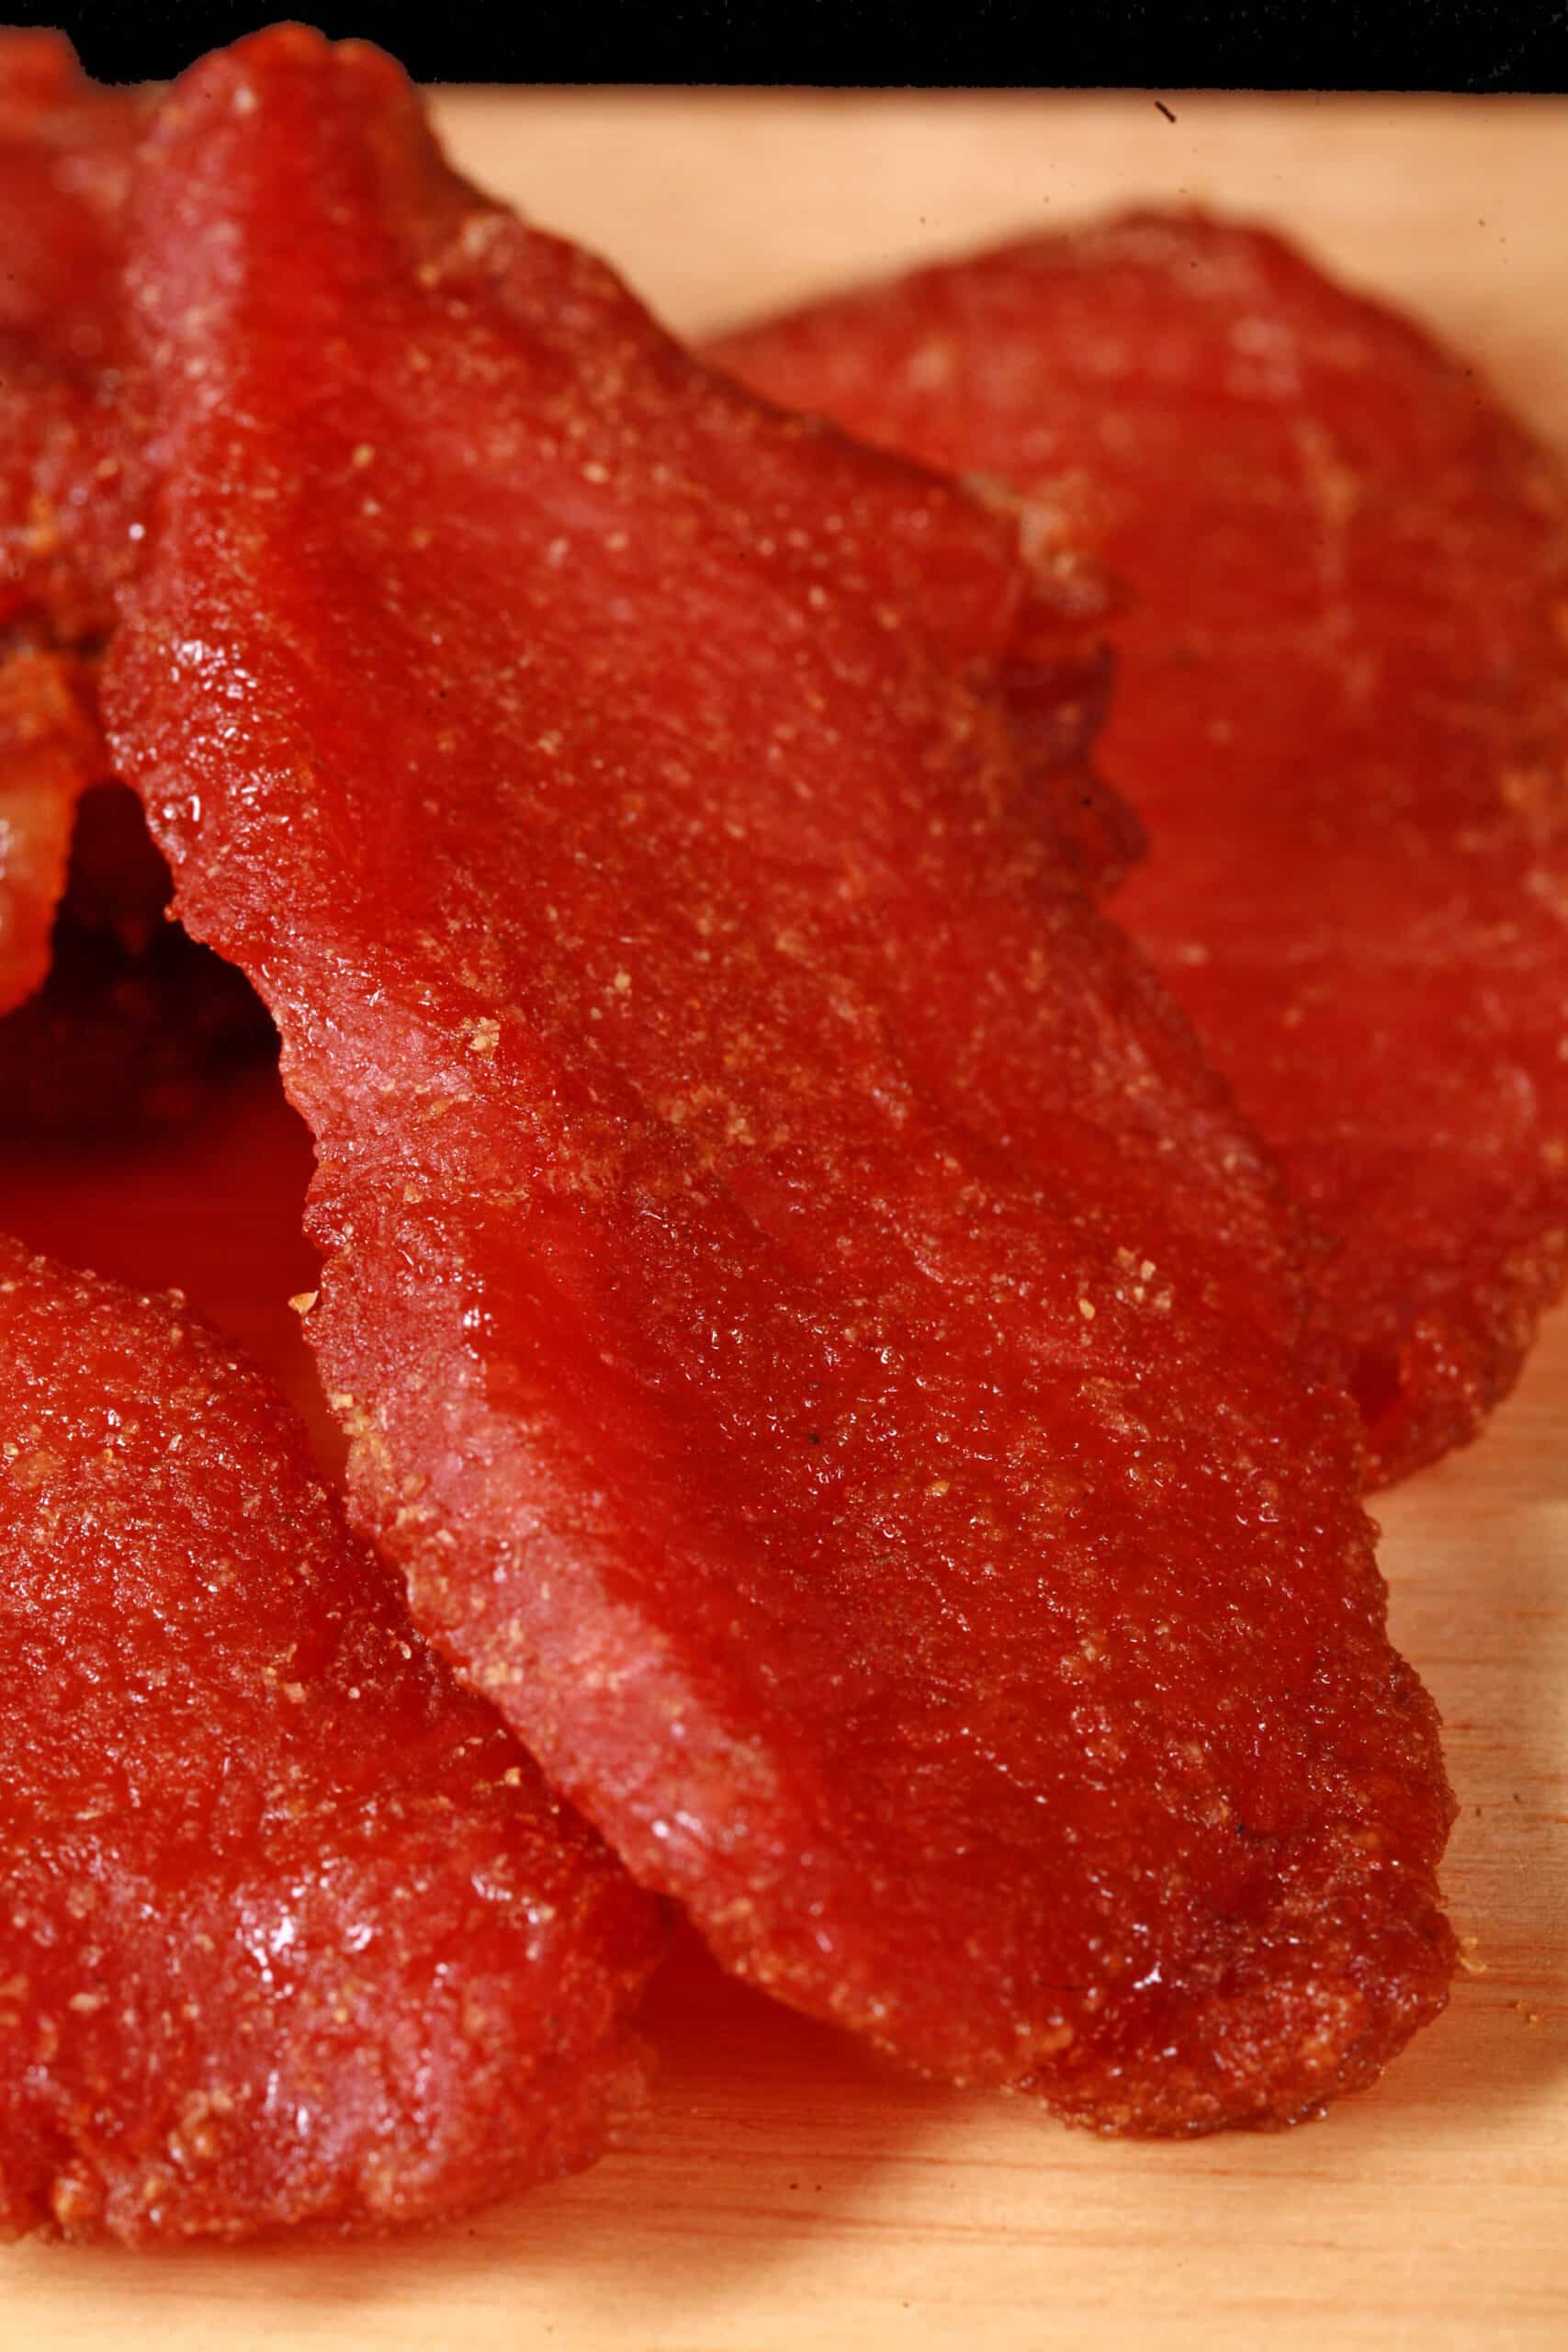
It should feel dry to the touch, but also be somewhat pliable. If you rip it, you want to see white threads - not pink.
Once jerky is all fully dehydrated, allow to cool to room temperature before packing and storing.
Pork Jerky Storage
Pork jerky will keep at room temperature (in a cool dark place) for a week or so, or a few weeks in the fridge.
If sealed into an airtight container WITHOUT OXYGEN, it should be good for a month or so in a cool dark place, a couple months in the fridge, and 6 months or so in the freezer.
Once you open your vacuum sealed bag of pork jerky, it should be eaten within a couple days - or a week, if put in the fridge after opening.
More Homemade Jerky Recipes
Are you someone who loves to bring jerky on road trips, hiking trails, and when camping? Me too! Here are some of my go-to recipes for homemade jerkies!
Basic Ground Beef Jerky
Blueberry Bison Jerky
Chipotle Chicken Jerky
Ginger Beef Jerky
Ground Venison Jerky
Homemade Salmon Jerky
Honey Garlic Chicken Jerky
Jalapeno Chicken Jerky
Jerk Chicken Jerky
Lingonberry Elk Jerky
Mango Habanero Chicken Jerky
Mushroom Jerky, 2 Ways
Pumpkin Spice Chicken Jerky
Rosemary & Blueberry Beef Jerky
Spicy Garlic Chicken Jerky
Sriracha Chicken Jerky
Tofu Jerky, 2 Ways
Pepperoni Jerky

Basic Pork Jerky - Homemade Pork Loin Jerky
Equipment
- Food Dehydrator
Ingredients
- 2 lbs Pork Loin
- ⅓ cup Coconut Aminos Soy Sauce, or Tamari
- 2 tablespoon Apple Cider Vinegar
- 2 tablespoon Honey
- 1 tablespoon Garlic Powder
- 1 tablespoon Onion Powder
- 2 teaspoon Liquid Smoke
- ½ teaspoon Salt
- ½ teaspoon Prague Powder #1 Cure
Instructions
- Trim ALL visible fat from the pork loin. Fat will go rancid, so - for best results - remove as much as you possibly can!
- Slice pork across the grain. I like to aim for 3/16-¼" thick. You want to have the slices be relatively even thickness, for uniform drying.
- Once all of the pork loin is sliced, place the slices in a large freezer Ziplock baggie.
- In a medium bowl, whisk together the remaining ingredients, then pour this marinade over the pork slices.
- Push out most of the air, seal the bags, and put them in the fridge – I like to put the bag in a loaf pan, just in case of leakage.
- Chill in the fridge for at least 8 - and up to 24 - hours.
- Once the marinating time is done, drain the pork slices - do not rinse. Arrange pork jerky slices on food dehydrator trays.
- Dehydrate at 165 F for 2 hours.
- Once two hours has passed, flip each slice over, and rotate the location of the trays.
- Continue dehydrating at 165 F for another 2 - 3 hours. (Actual time will depend on the thickness of the pork loin strips.)
- To test for doneness, remove a piece of pork jerky from the dehydrator and let it cool to room temperature.
- It should feel dry to the touch, but also be somewhat pliable. If you rip it, you want to see white threads - not pink.
- Once jerky is all fully dehydrated, allow to cool to room temperature before packing and storing.
Notes
Nutrition
Thanks for Reading!If you loved this post - or have any questions about it - please leave a comment below! We'd also love it if you would consider sharing the link on social media! |
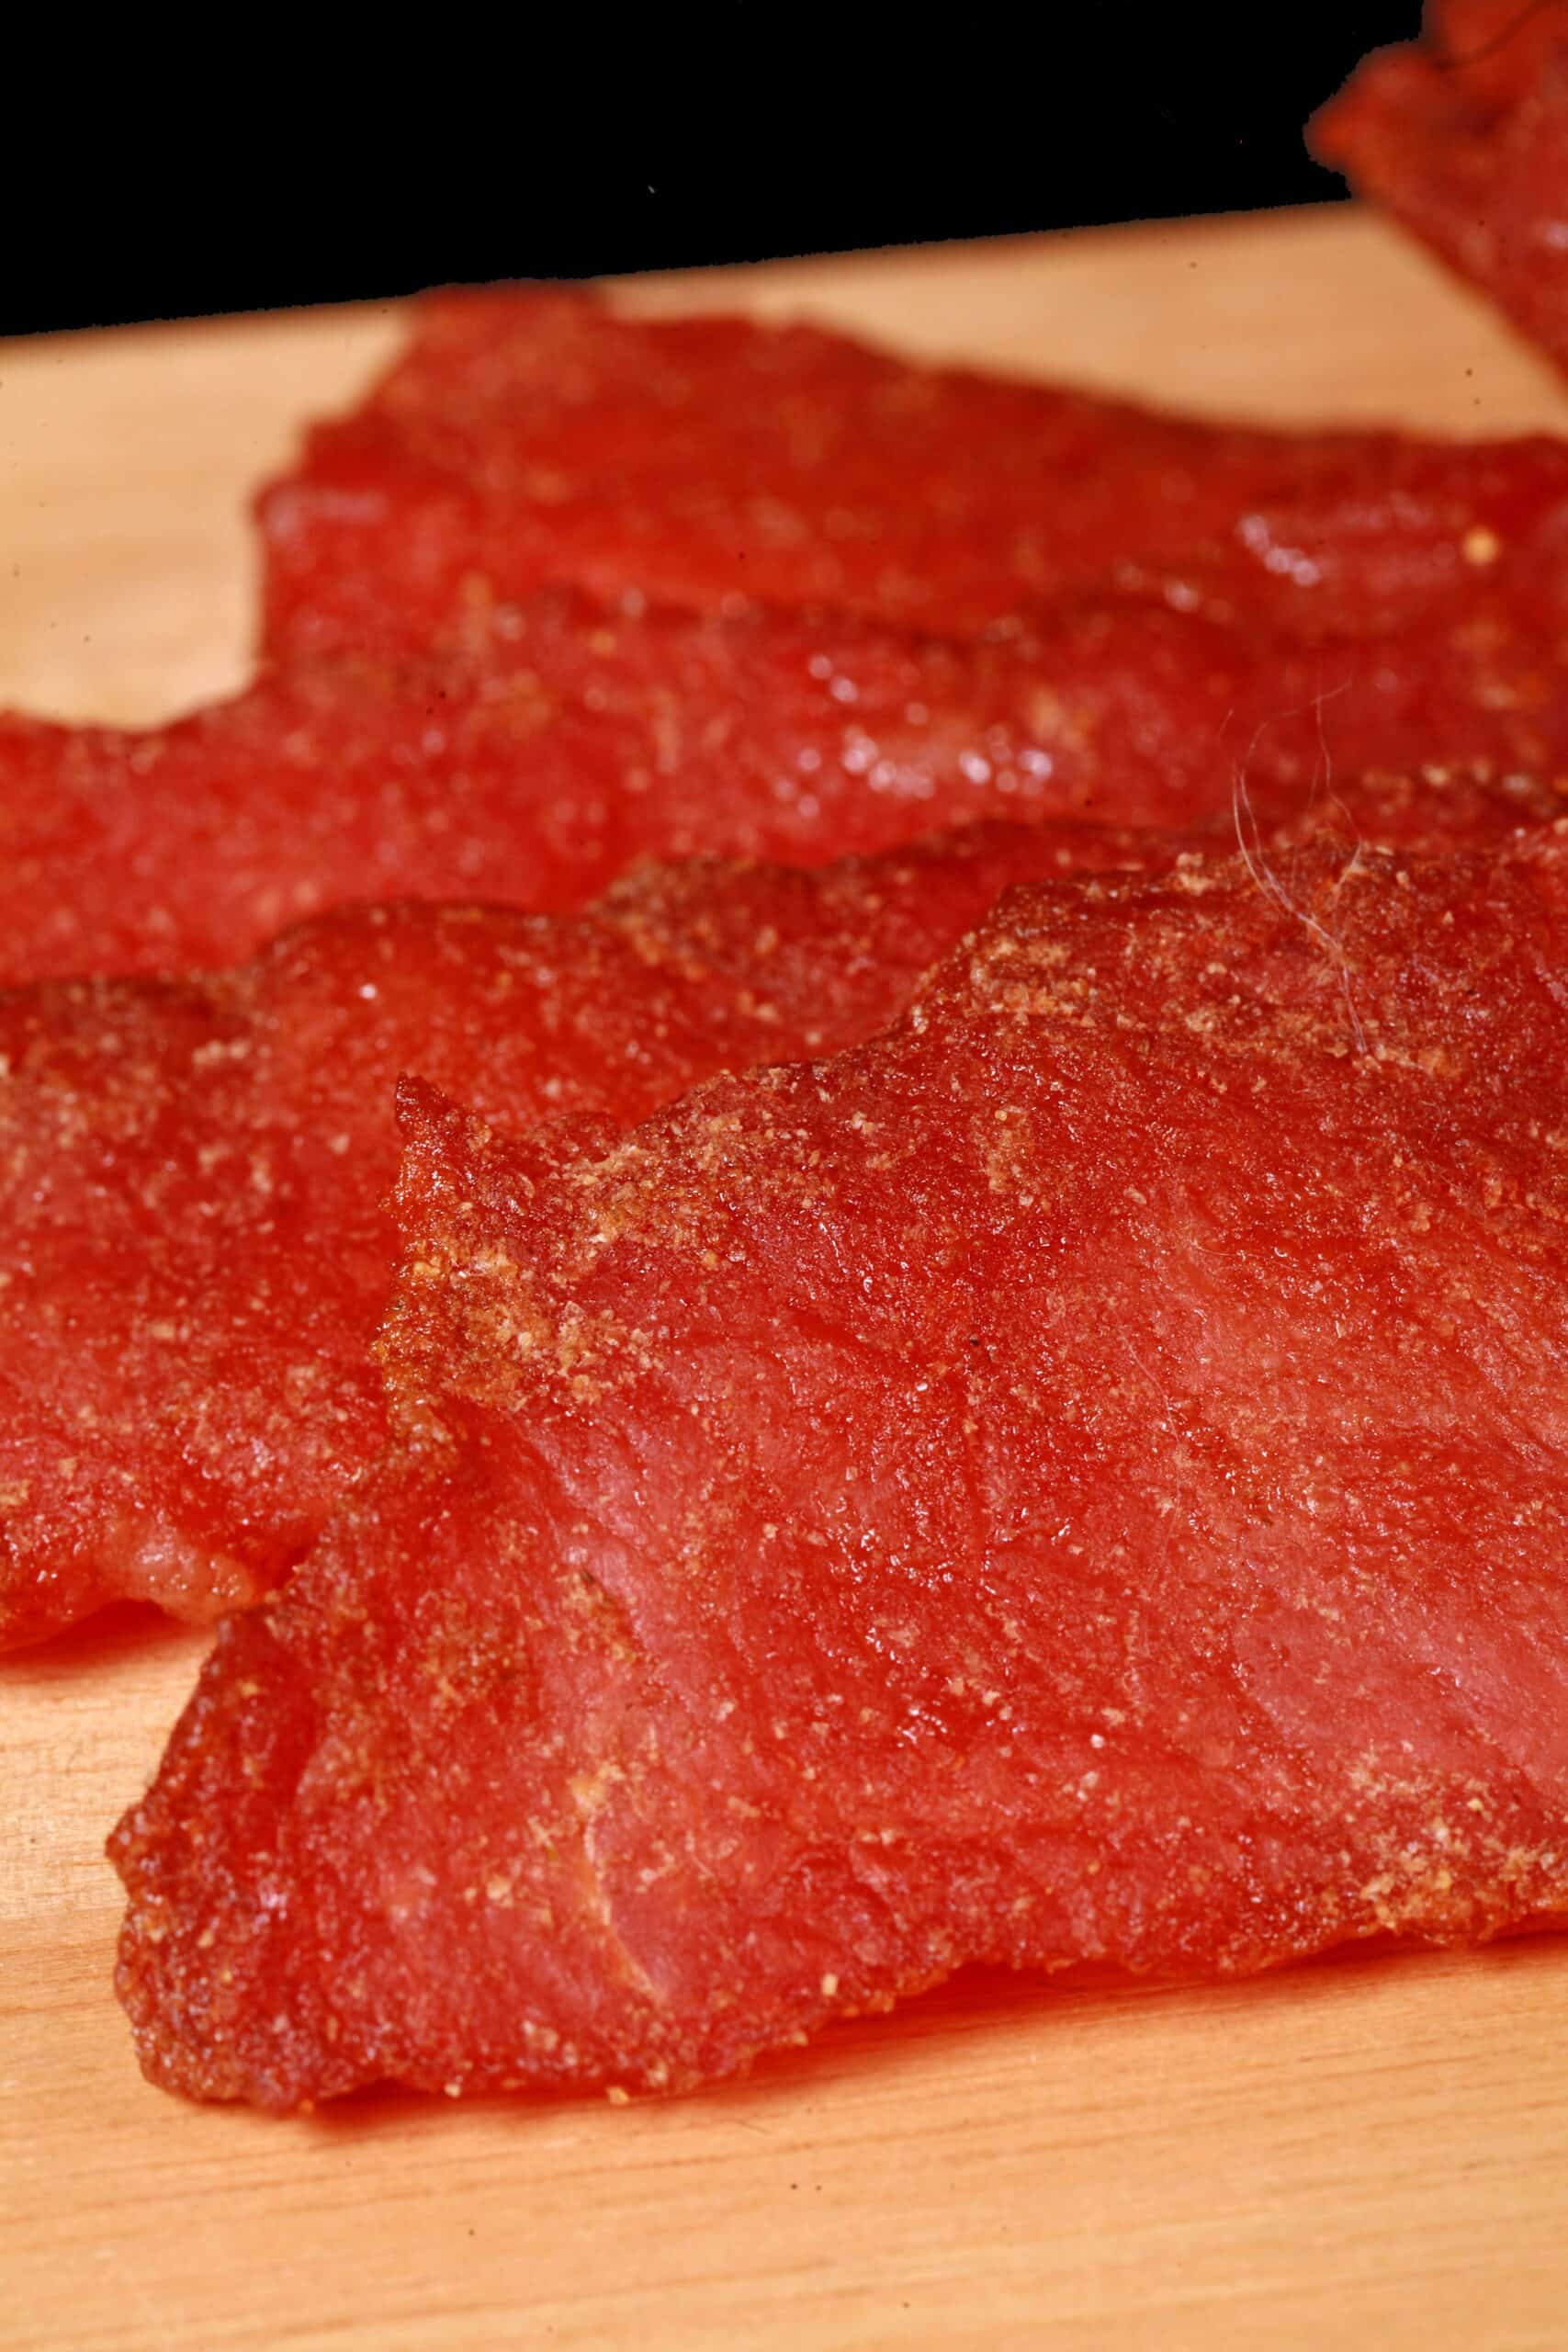


Porters
A great way to get started with making pork loin jerky - hope you love this recipe as much as we do!