

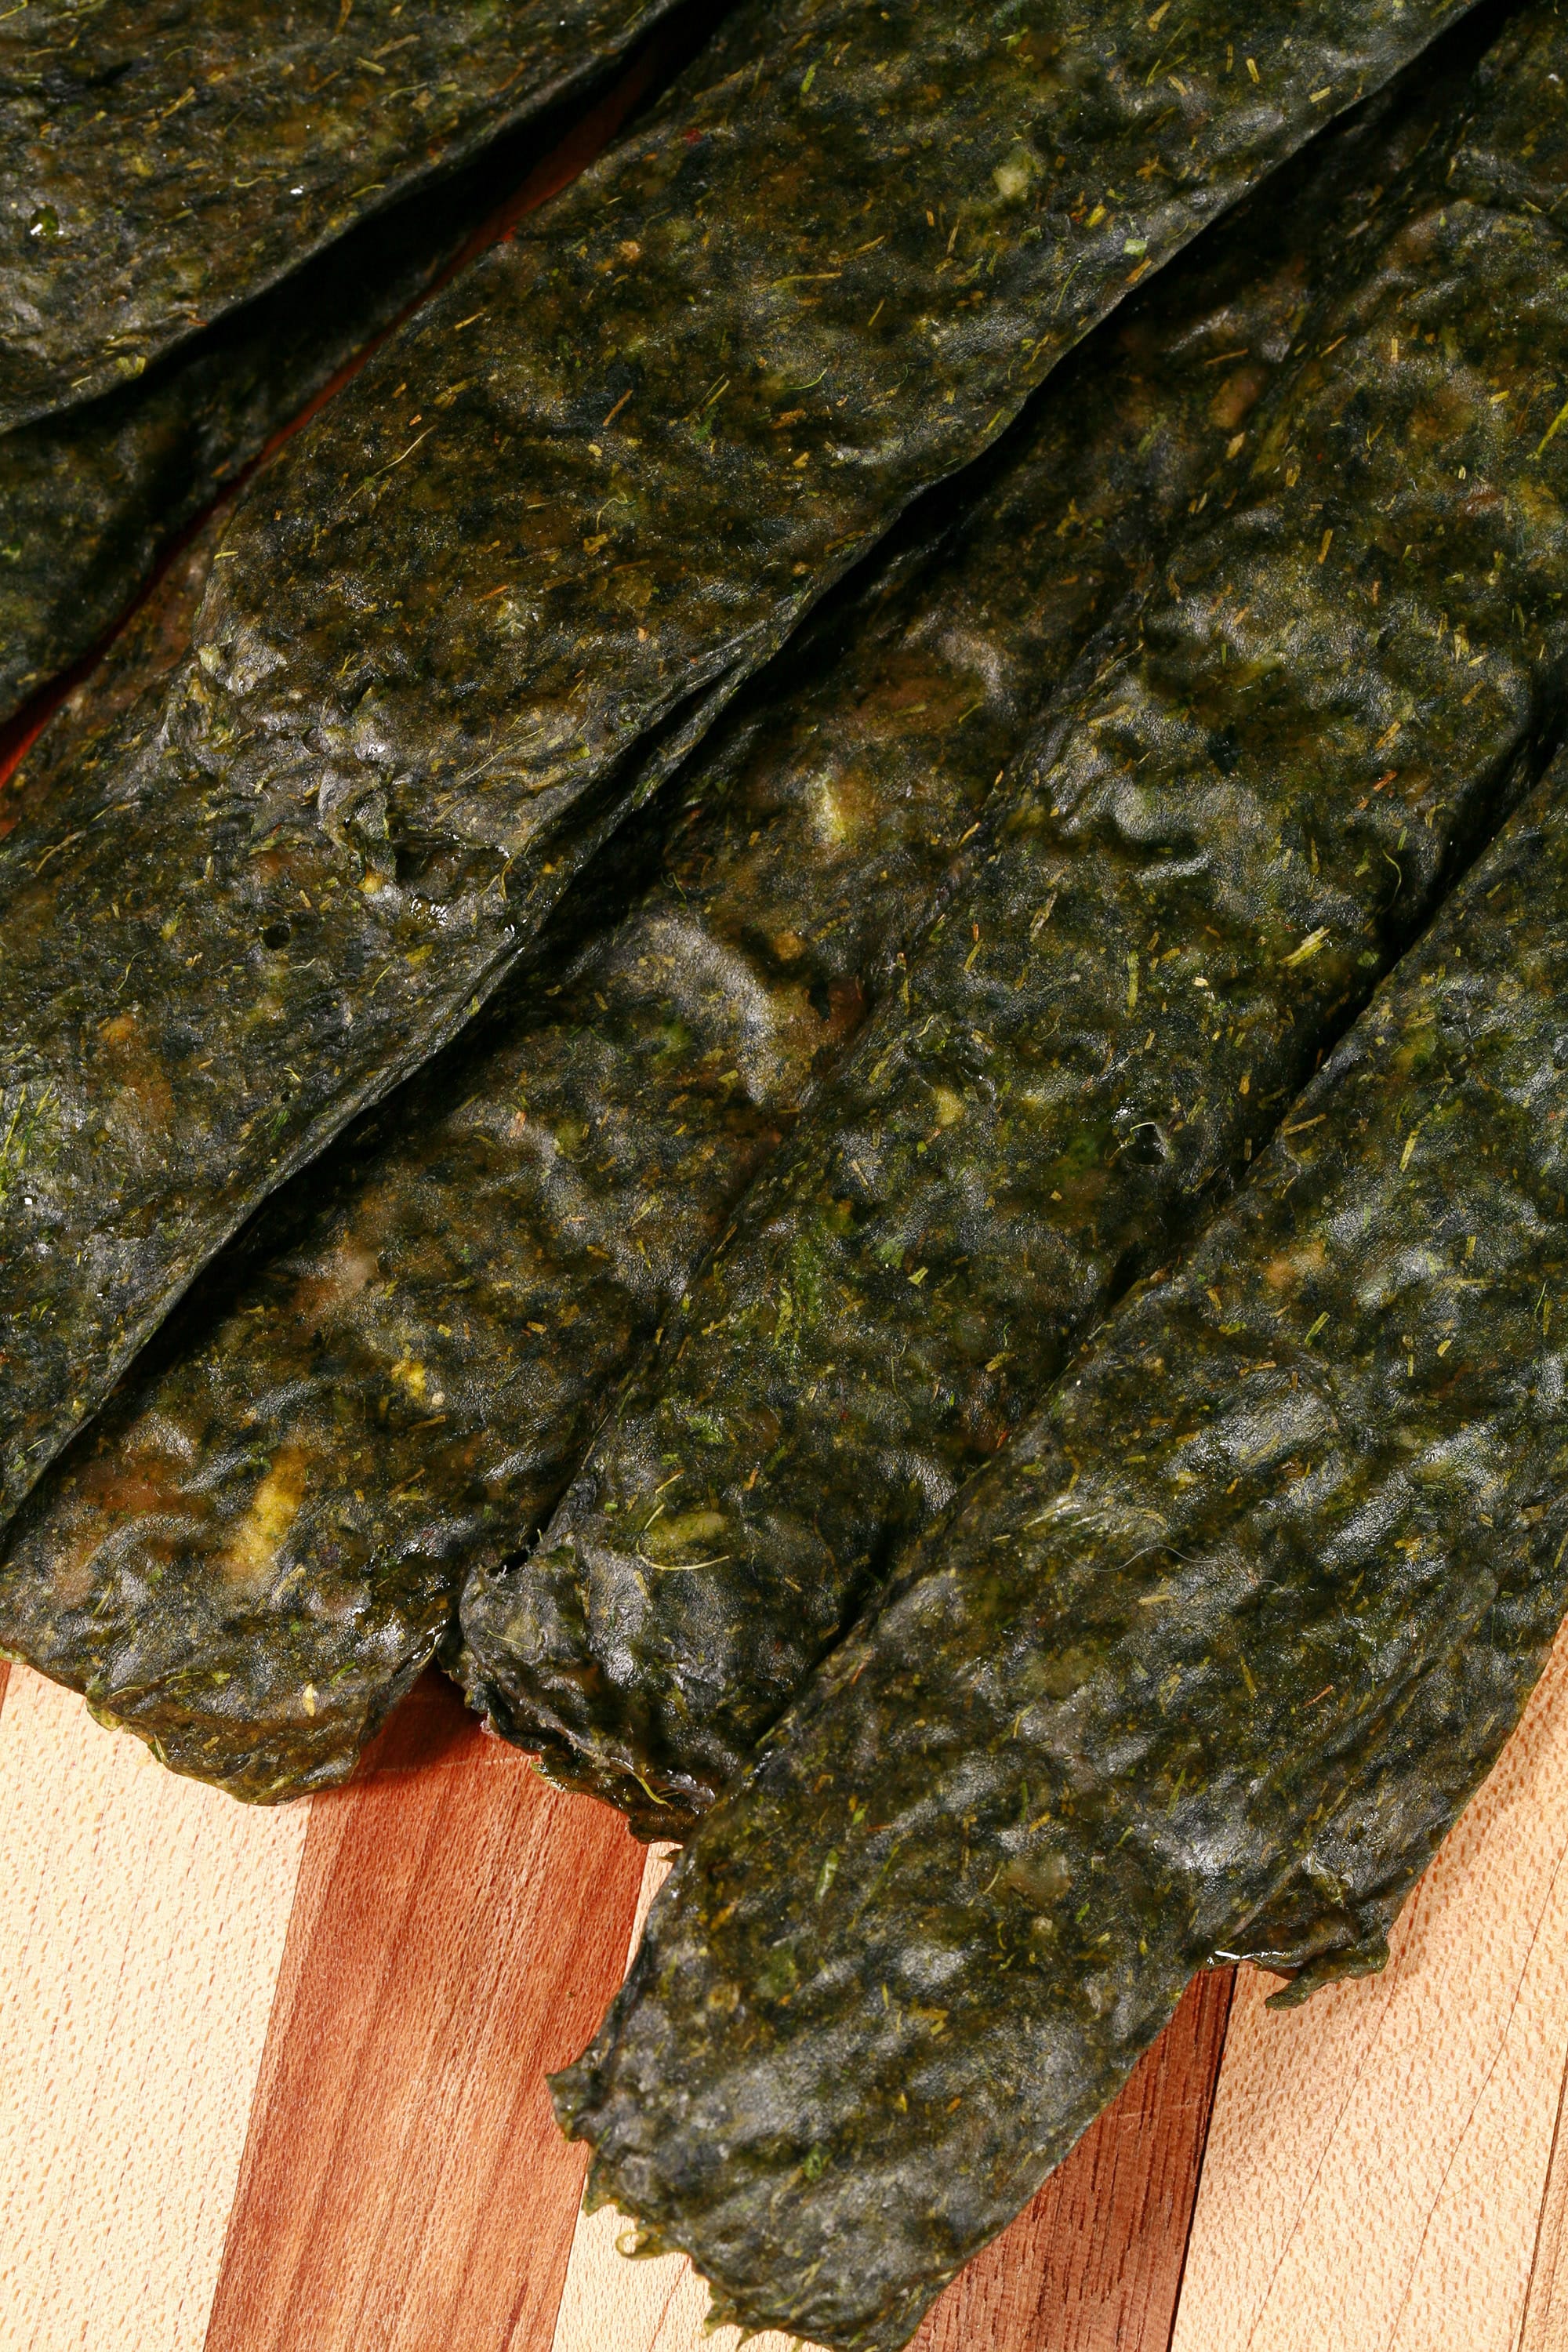
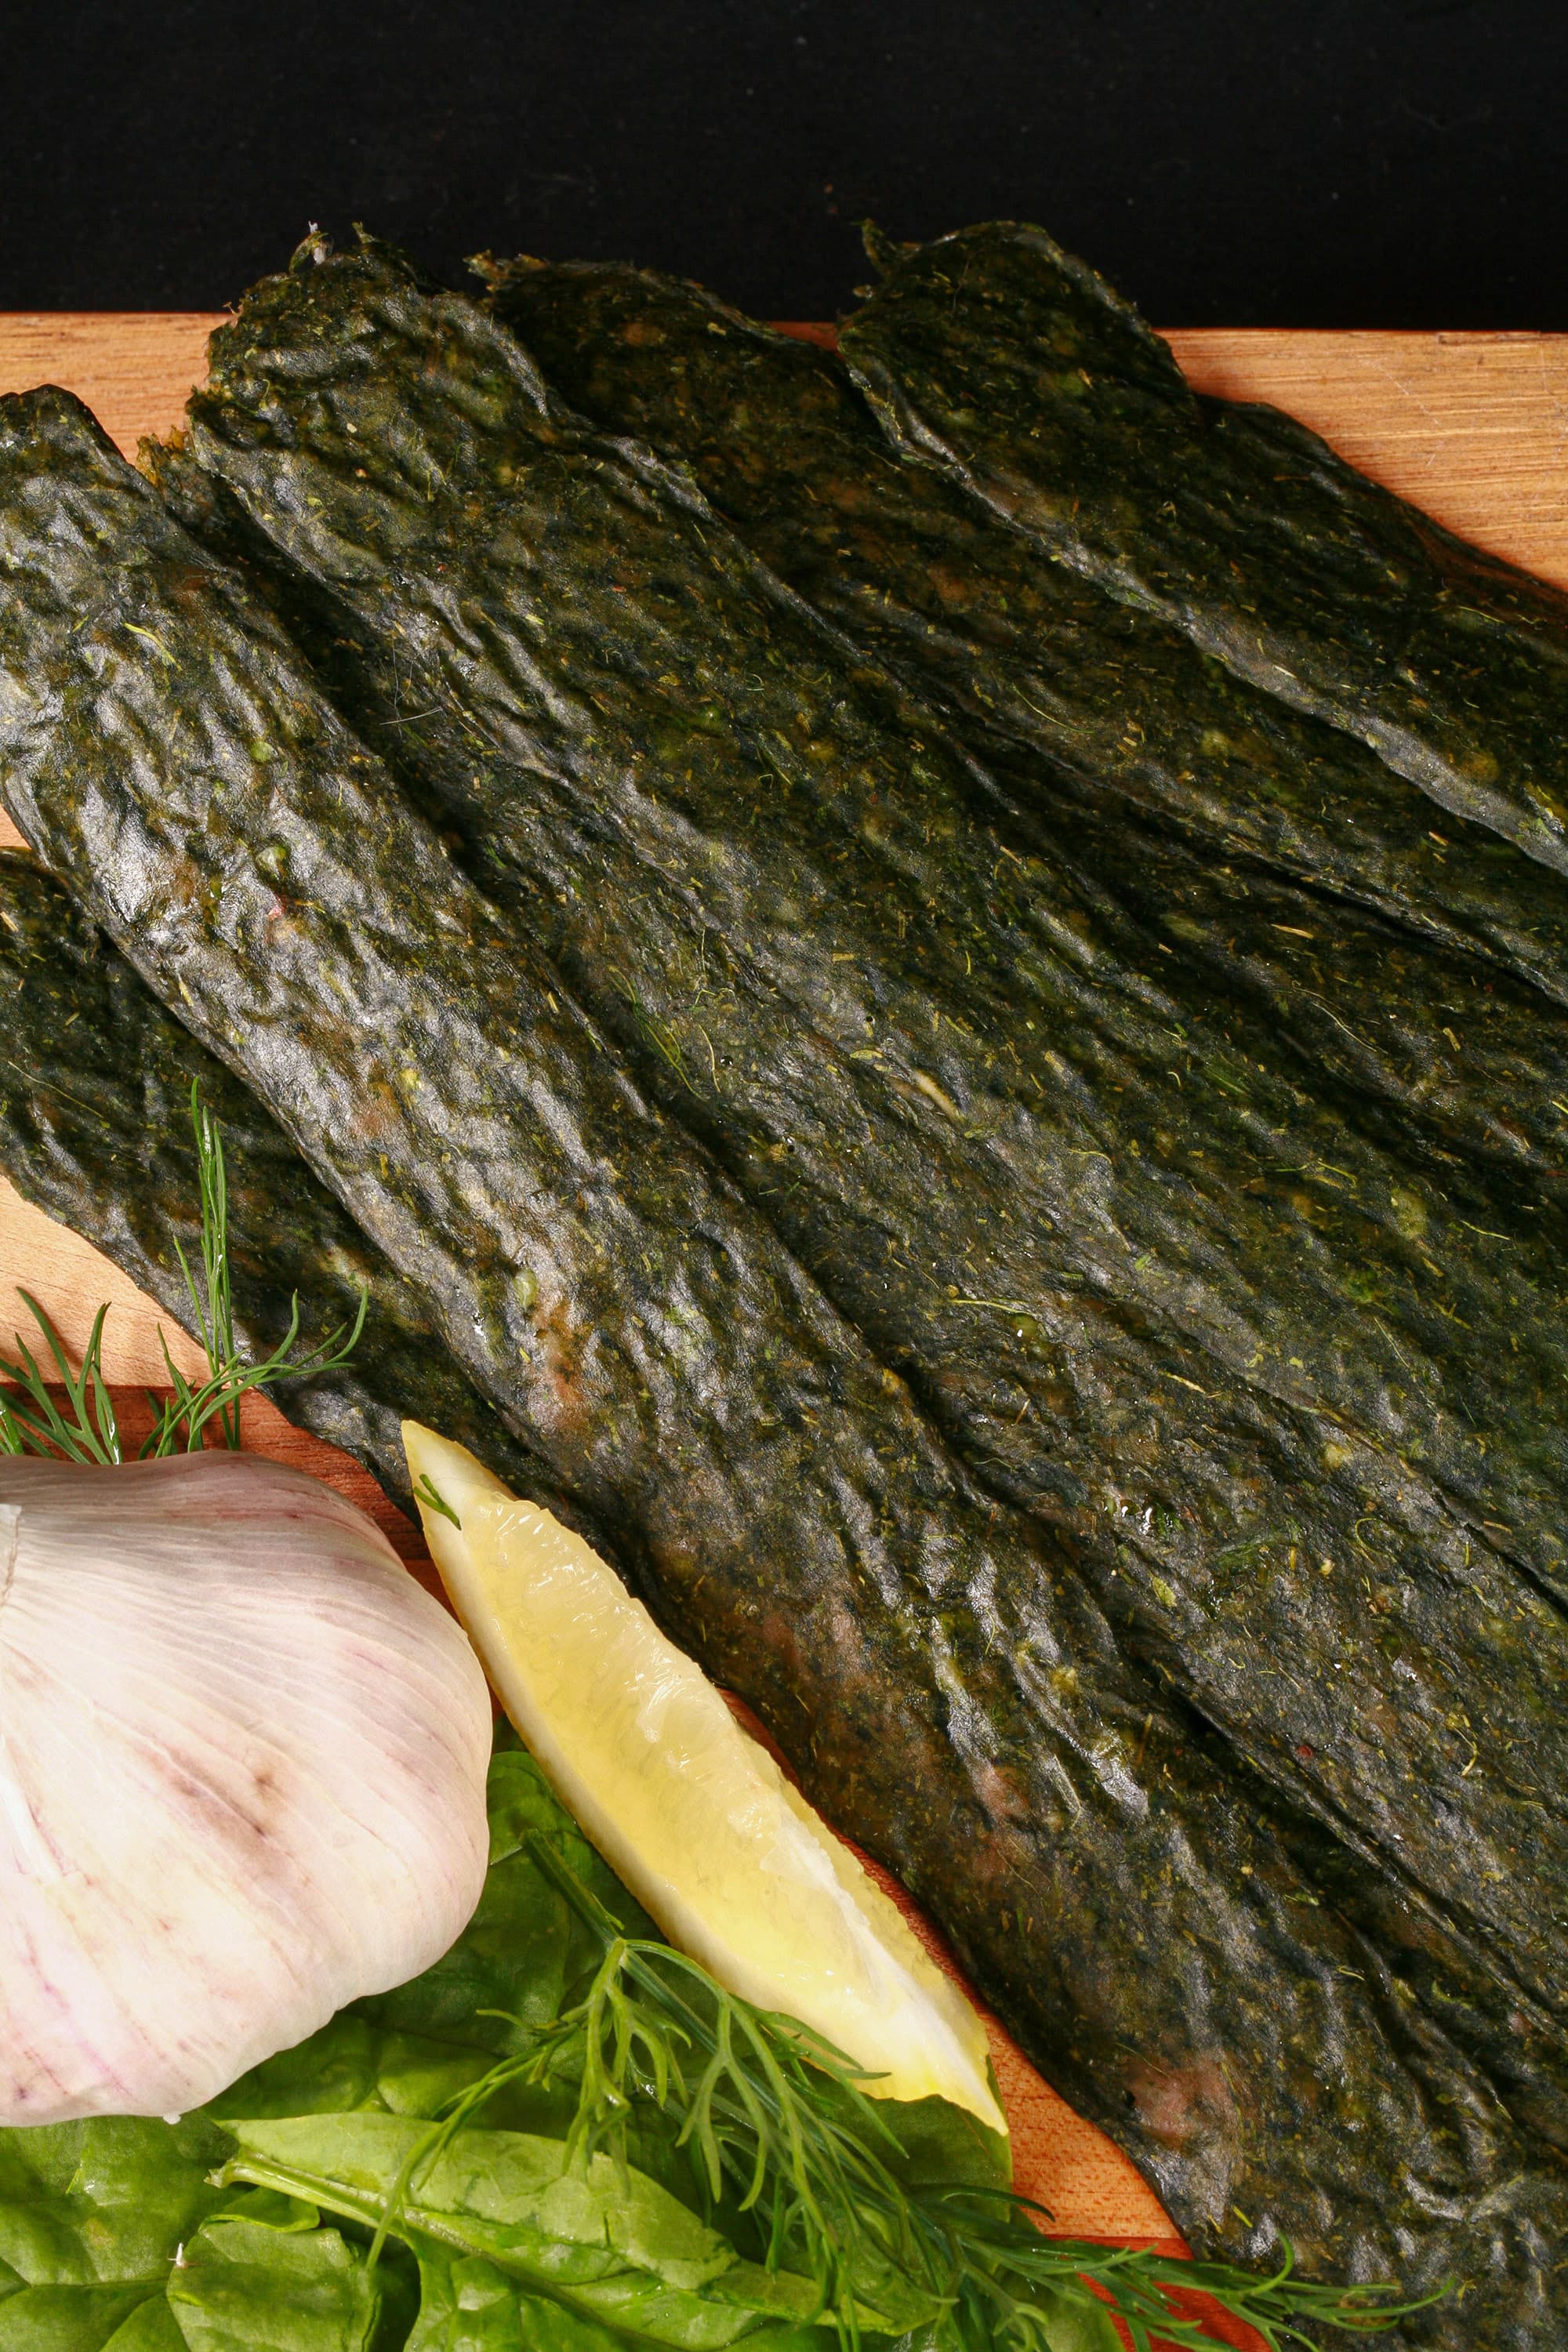
Want a jerky with a ton of flavour, and a bonus hit of vegetables? This Spanakopita Chicken Jerky is loaded with spinach - and great flavour!

We debated which flavour(s) we should make for this trip, when we realized that we had a list of ideas for jerky recipes.
We’d come up with these ideas - many of which were a bit unhinged! - on our previous camping trip.
Obviously, it was time to fully develop the ones that I hadn’t, already.
Today’s recipe is one of those ... less orthodox ... jerky recipe ideas. In what may be one of the healthiest jerkies ever, this one is a chicken jerky recipe that includes a healthy dose of veggies!
We’re big fans of Spanakopita, in many different forms... Spanakopita Triangles, Spanakopita Tortellini, Spinach Hand Pies, Spanakopita Stuffed Meatloaf... and now we get to add this jerky to the mix.
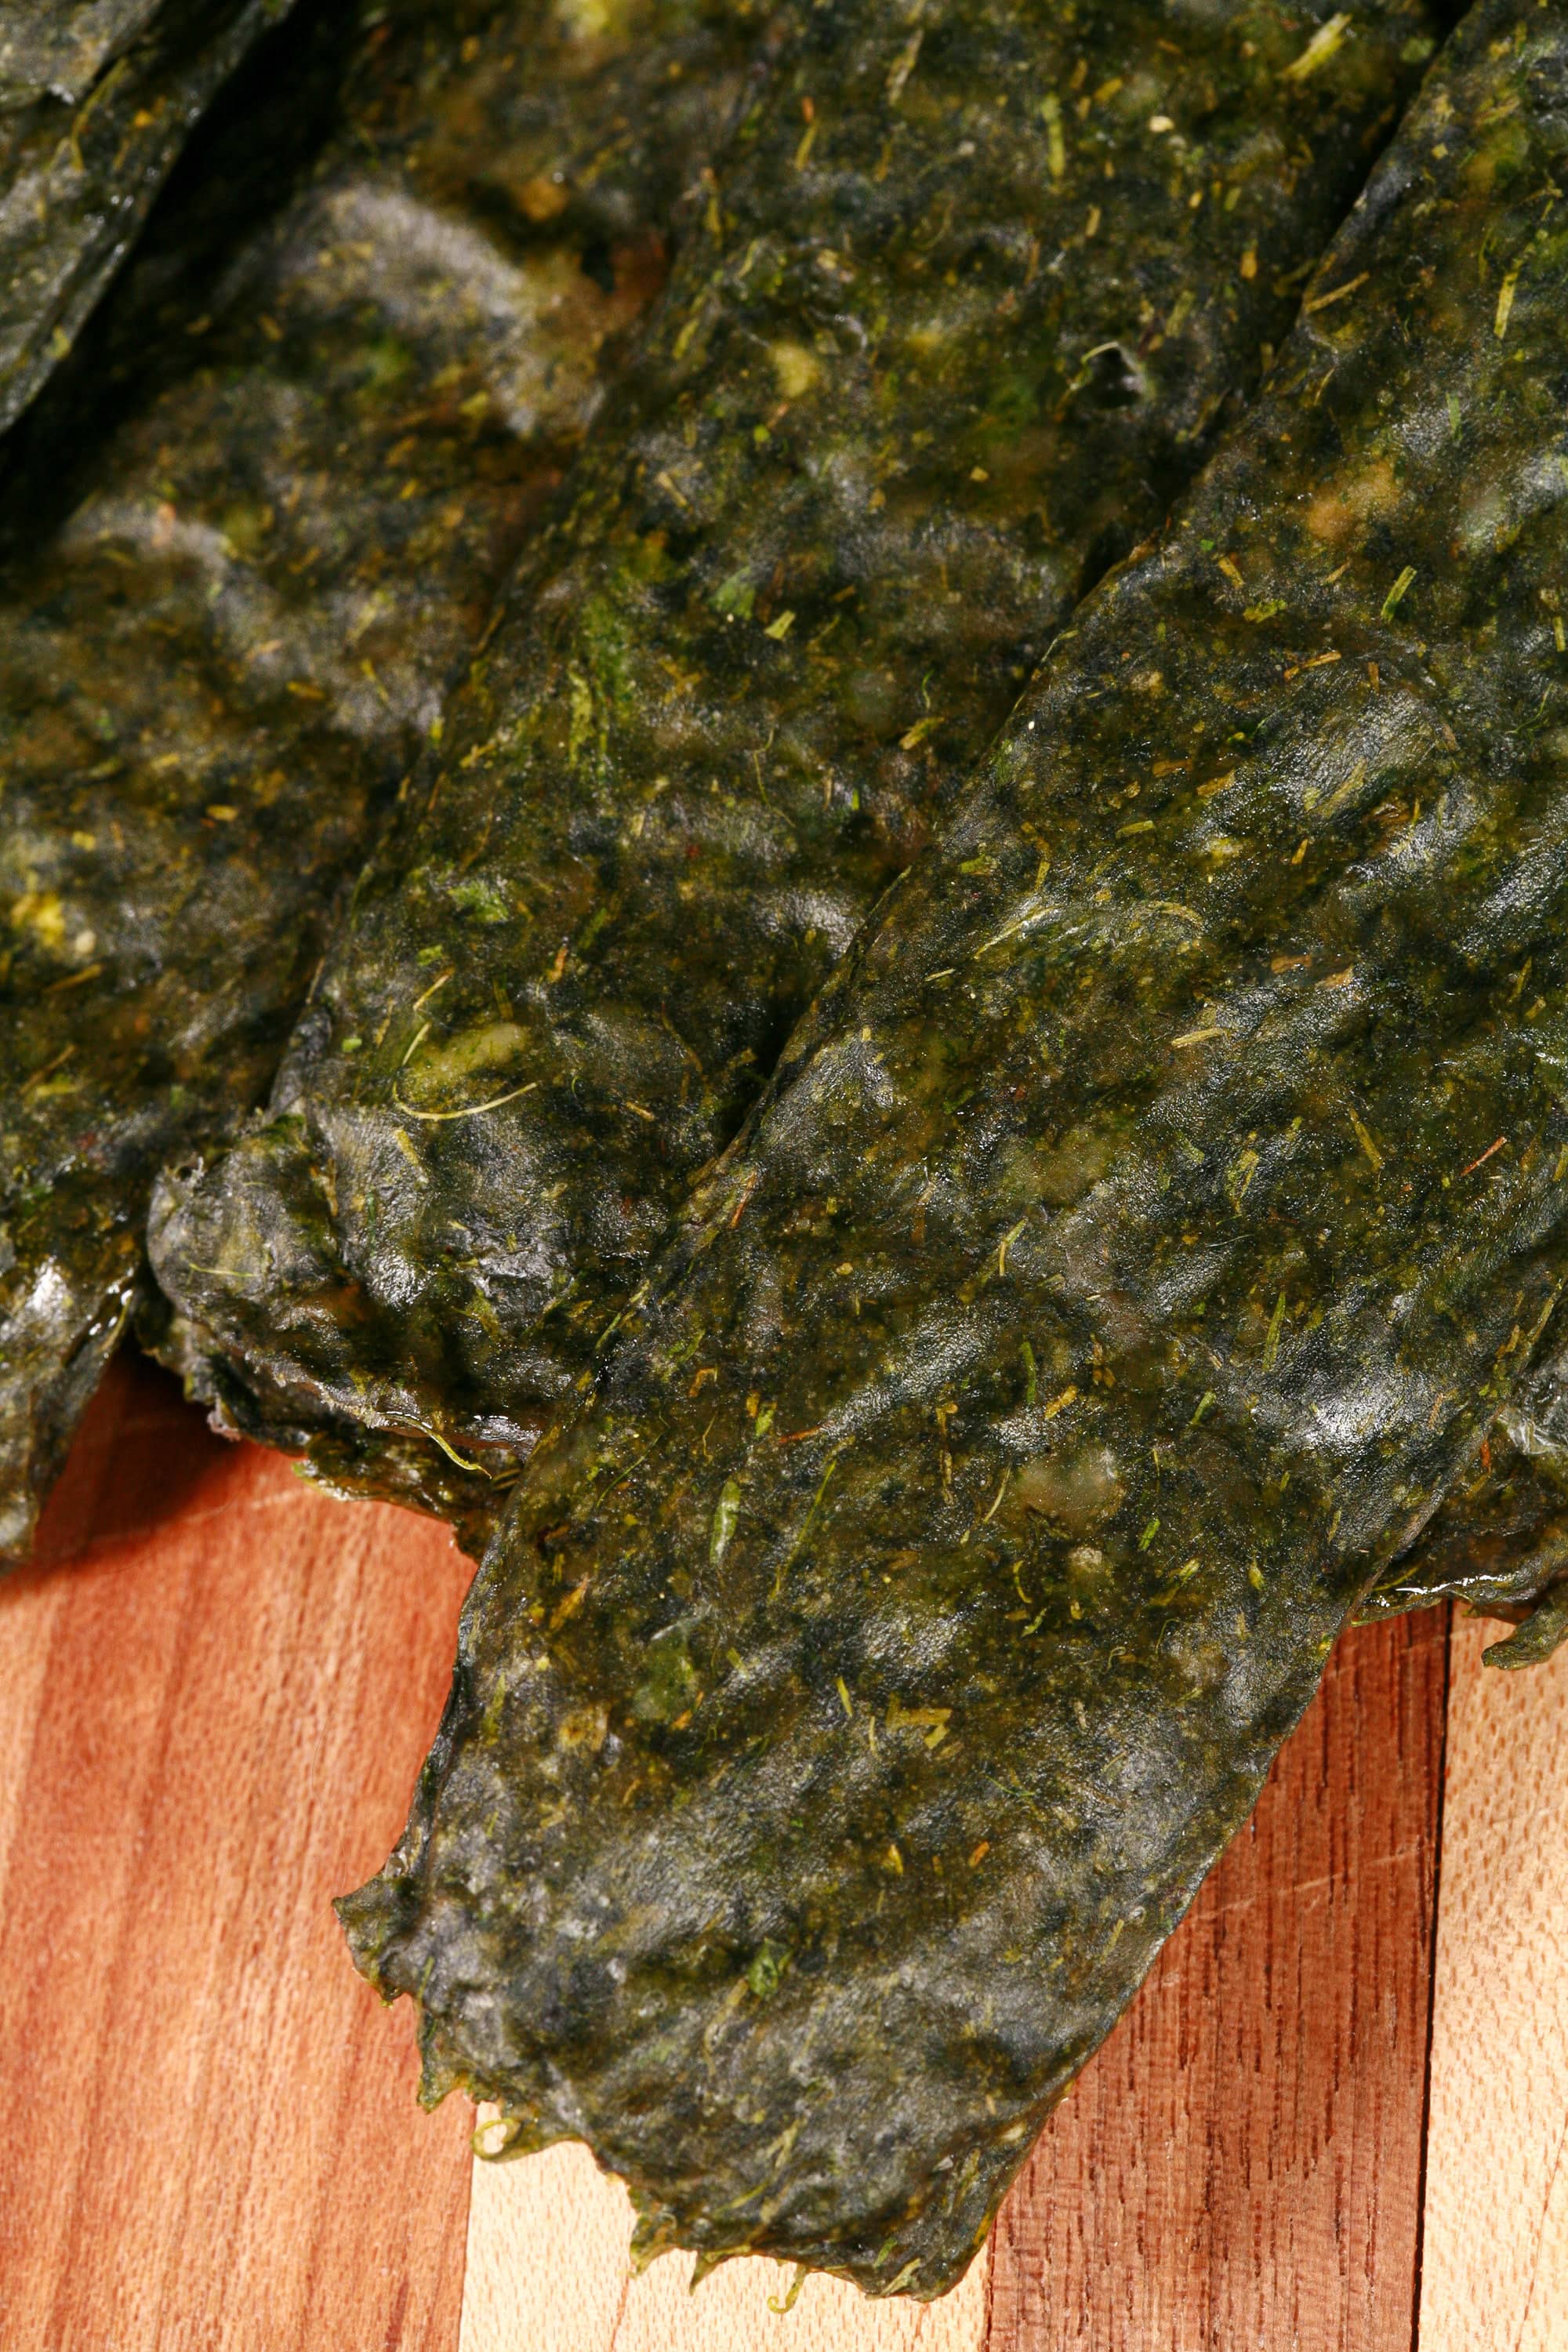
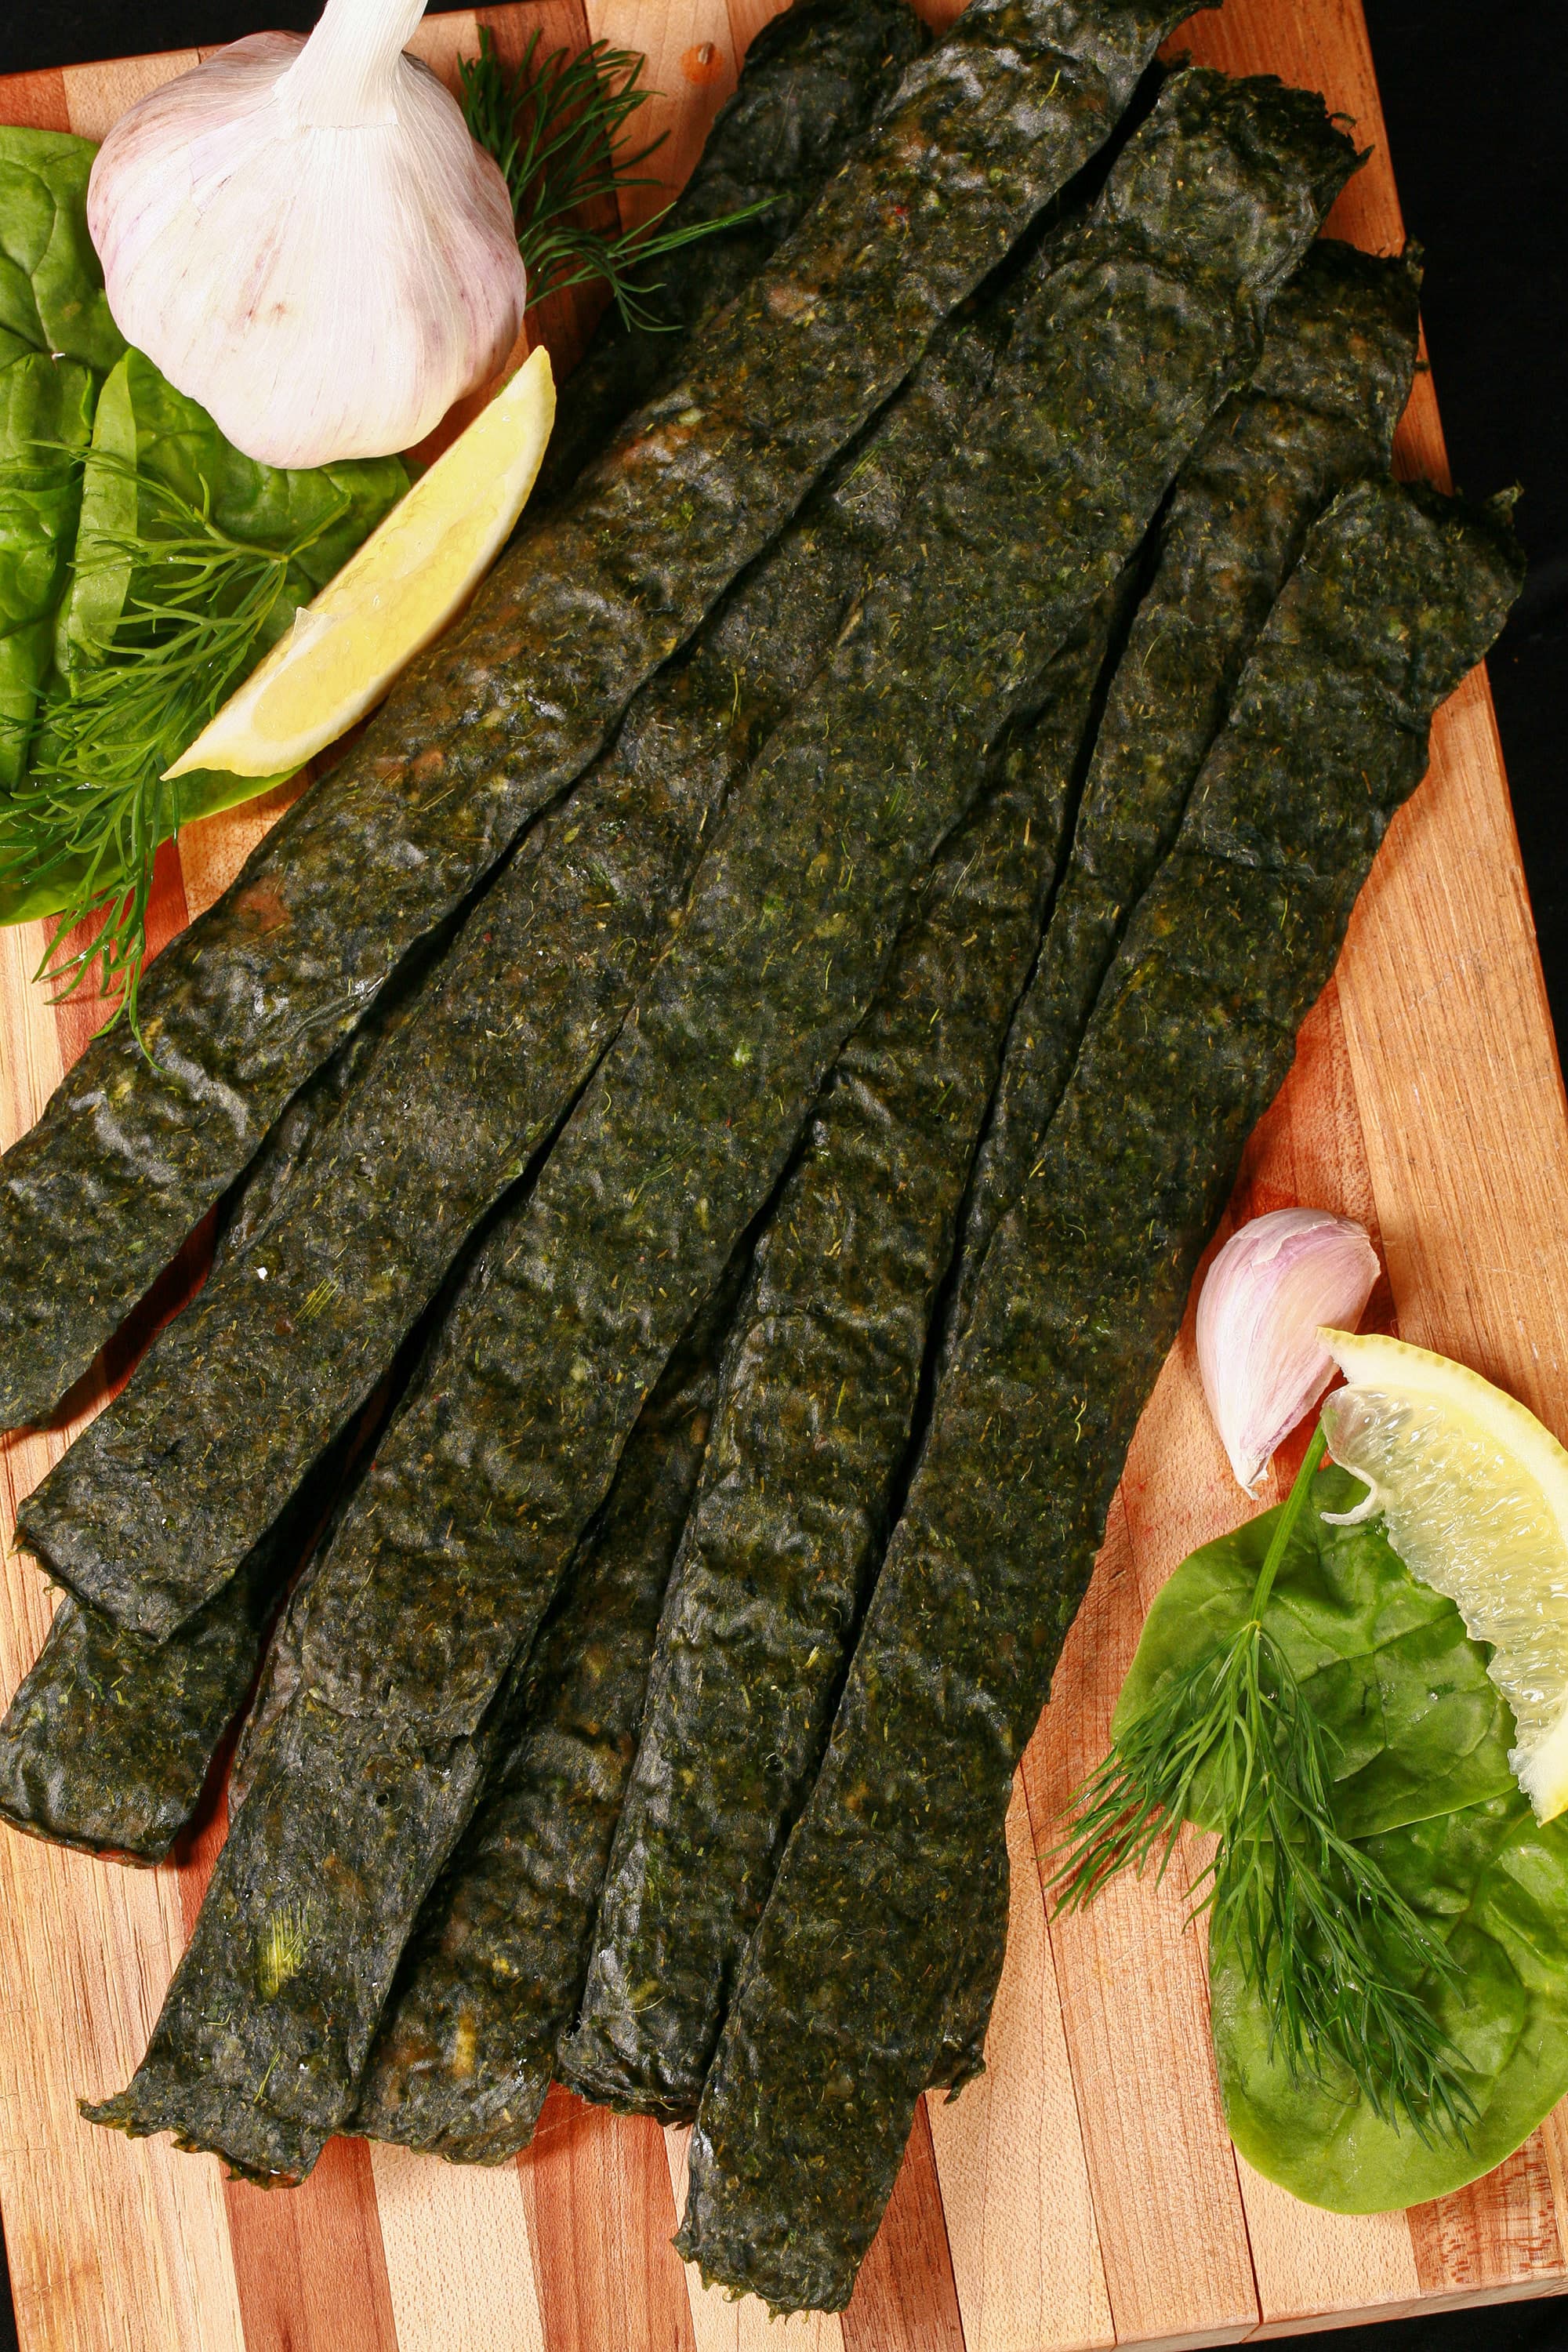
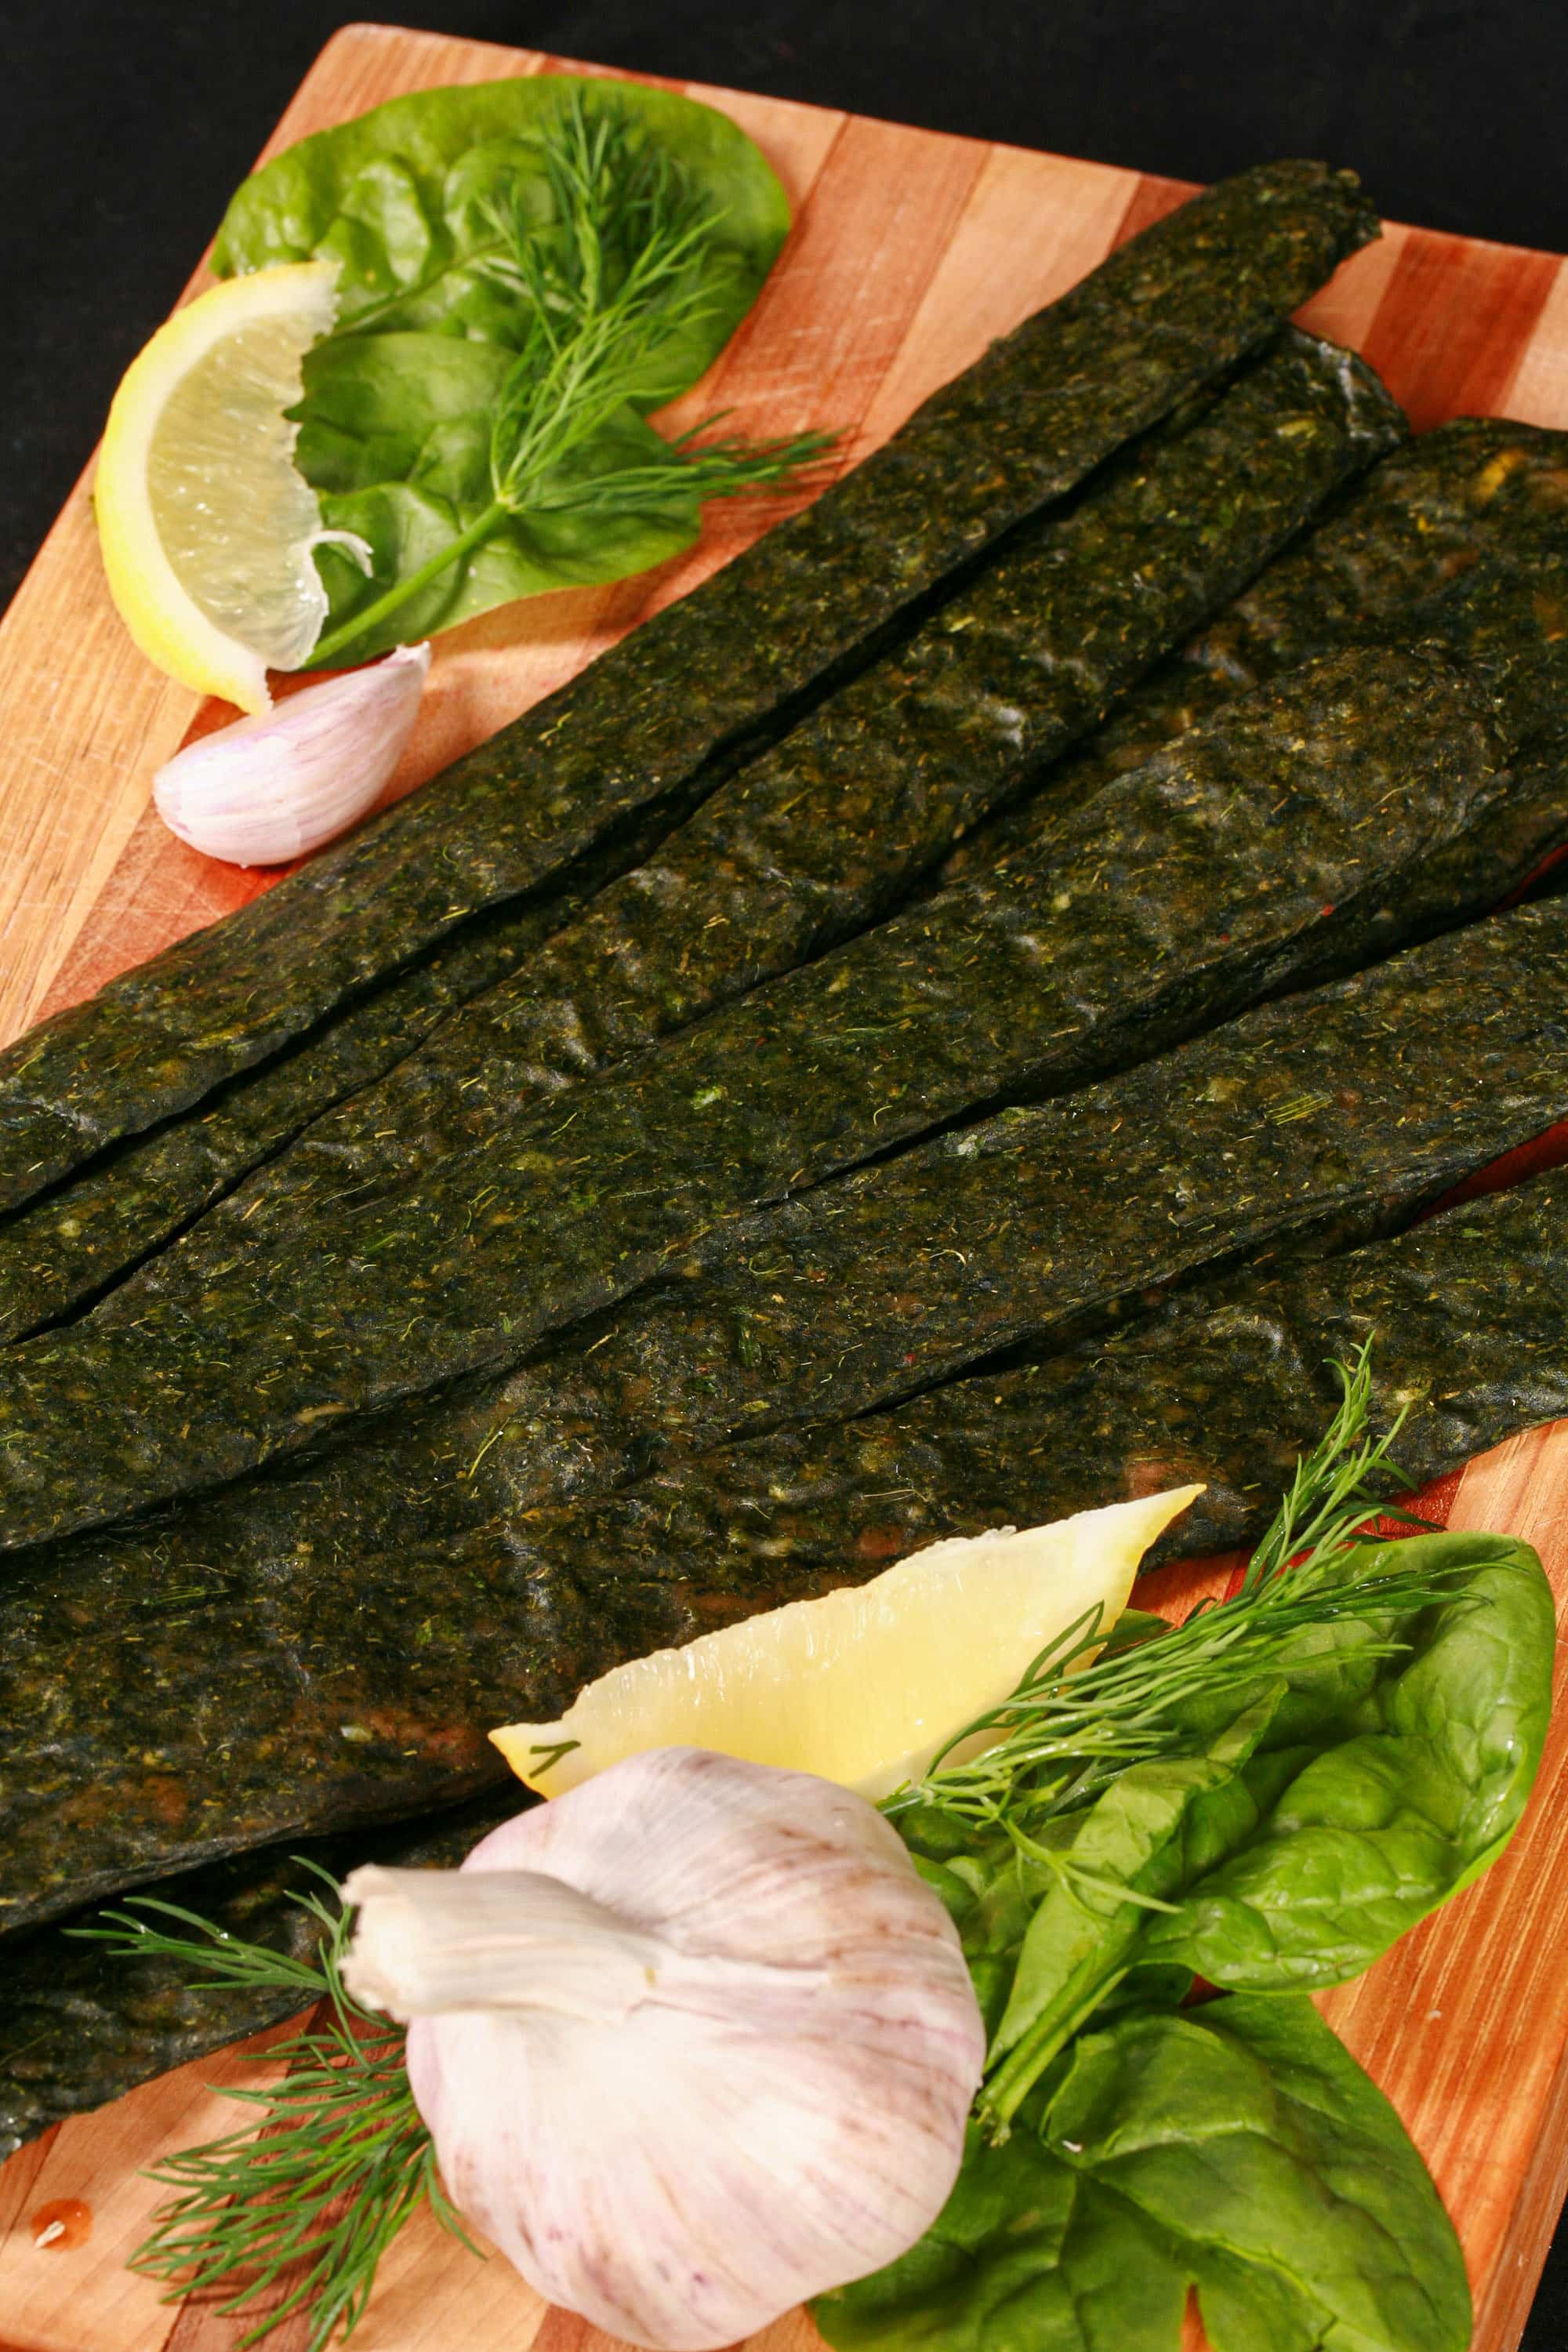
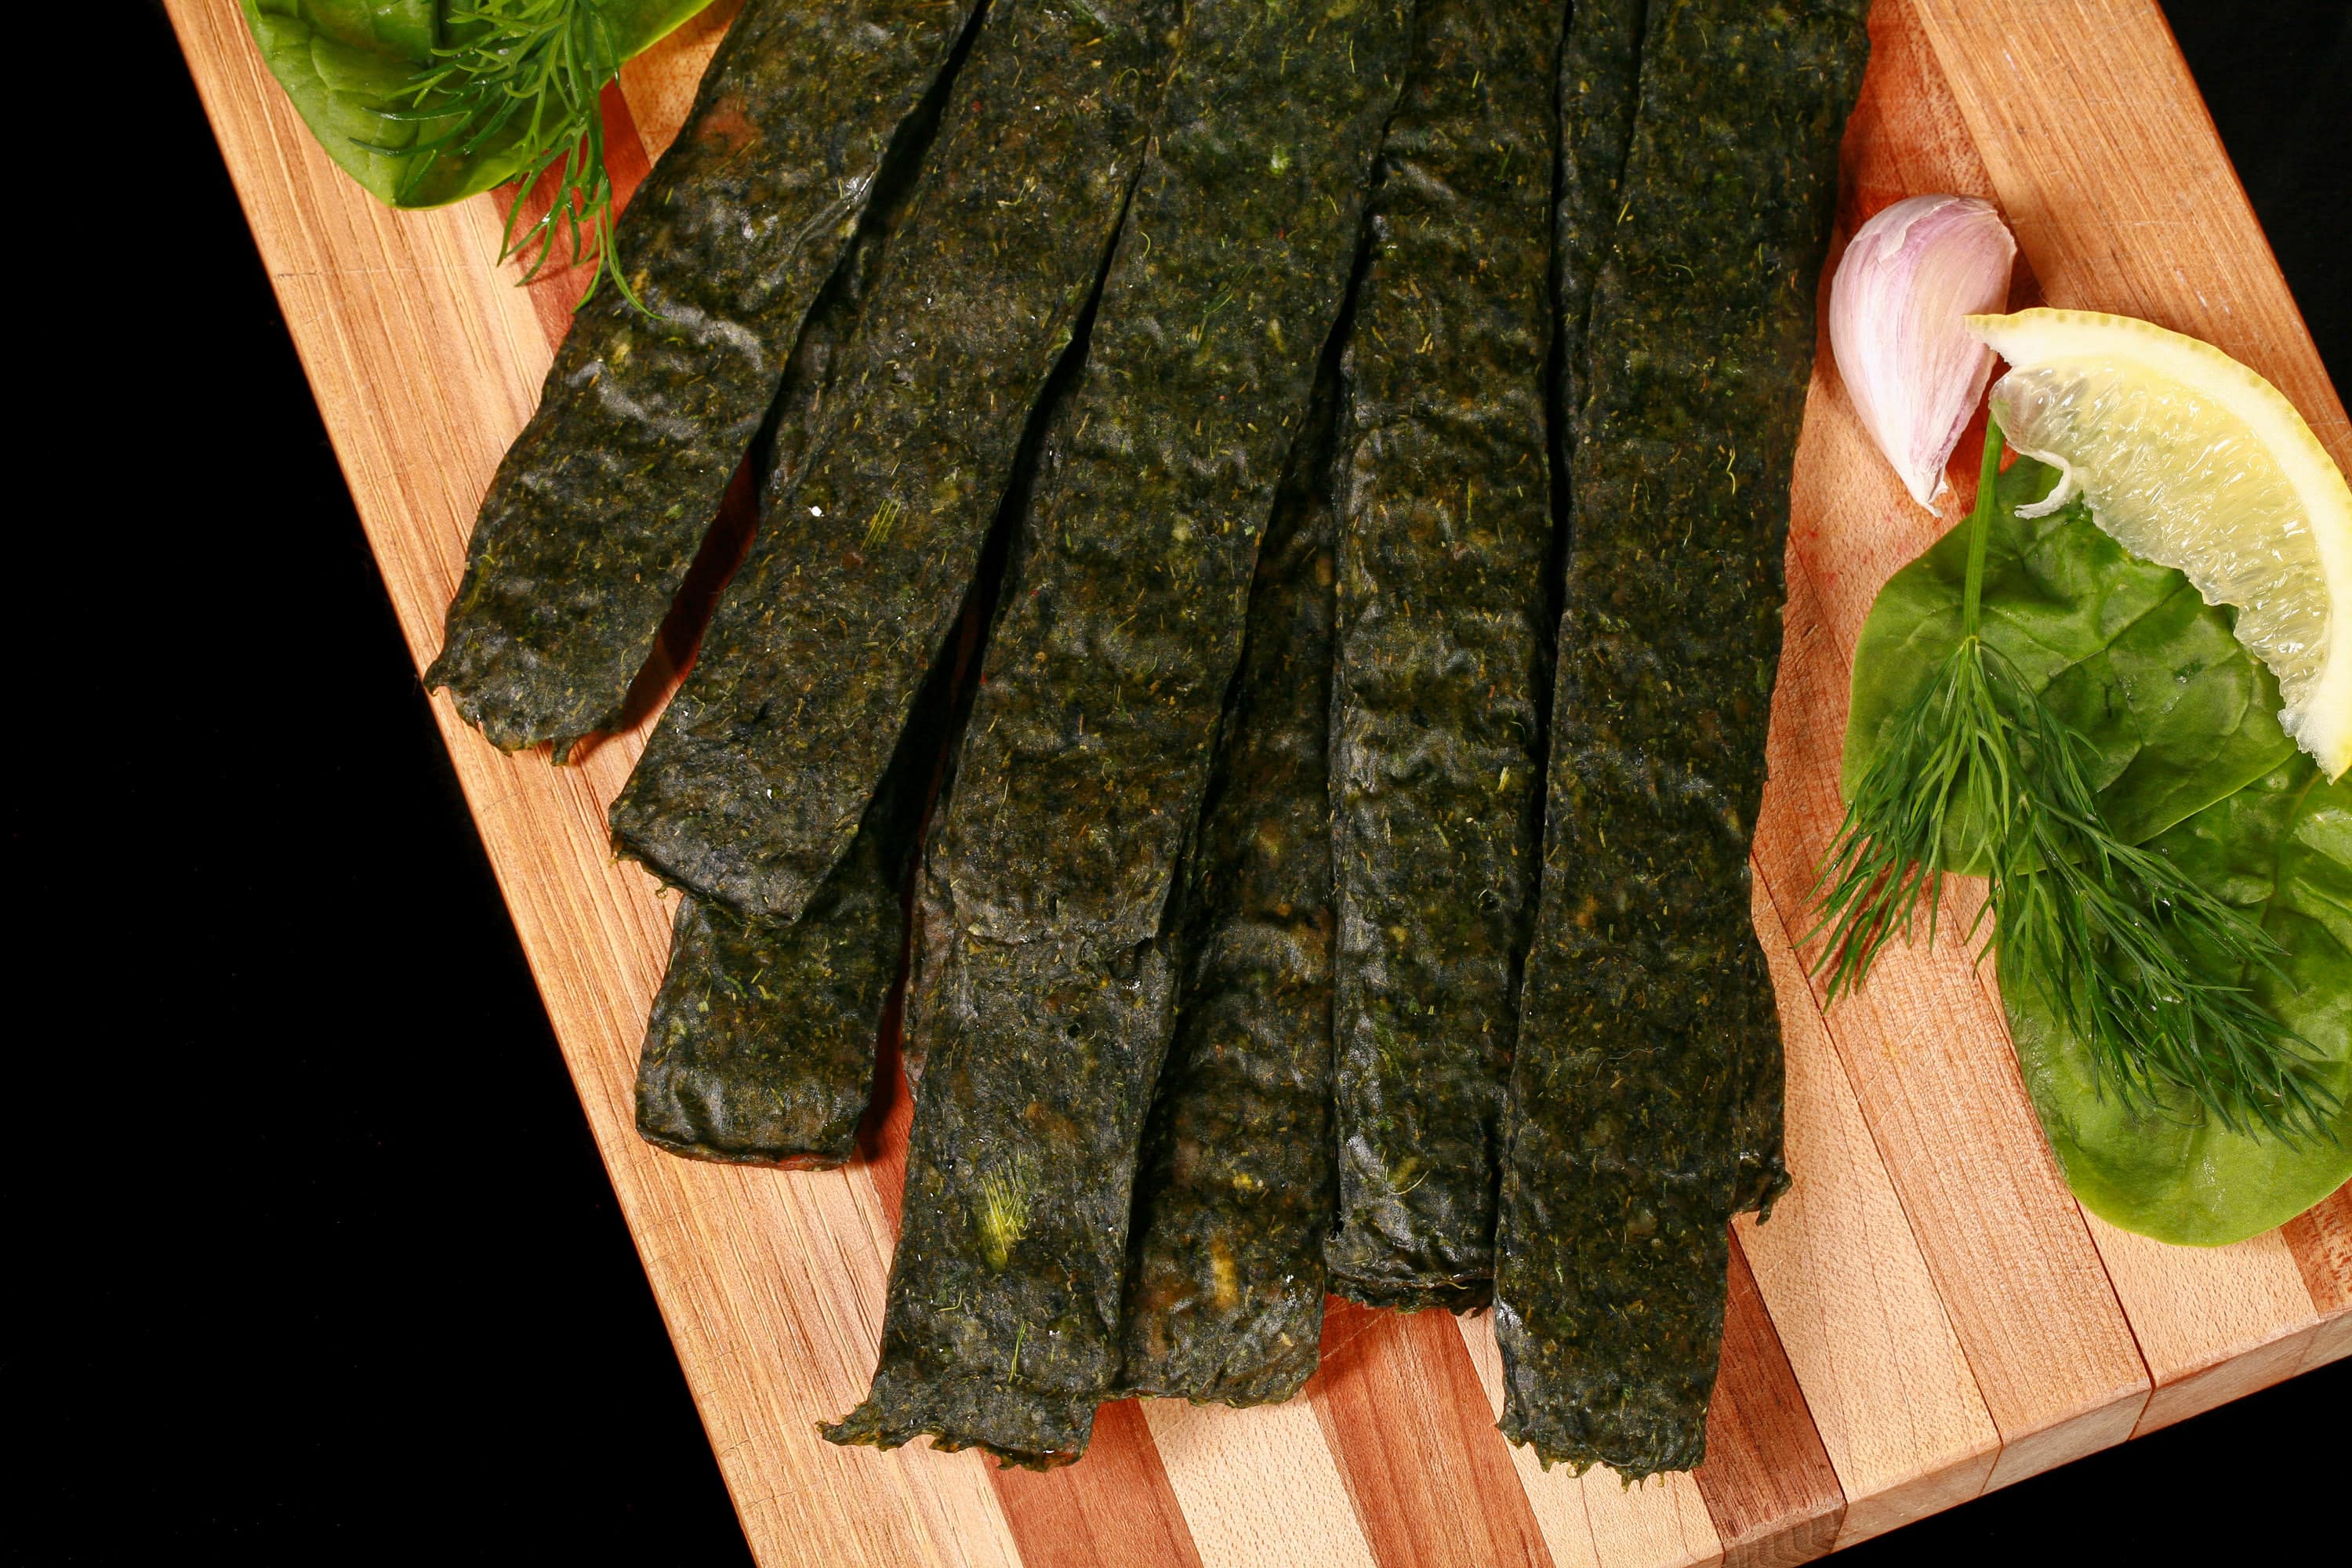
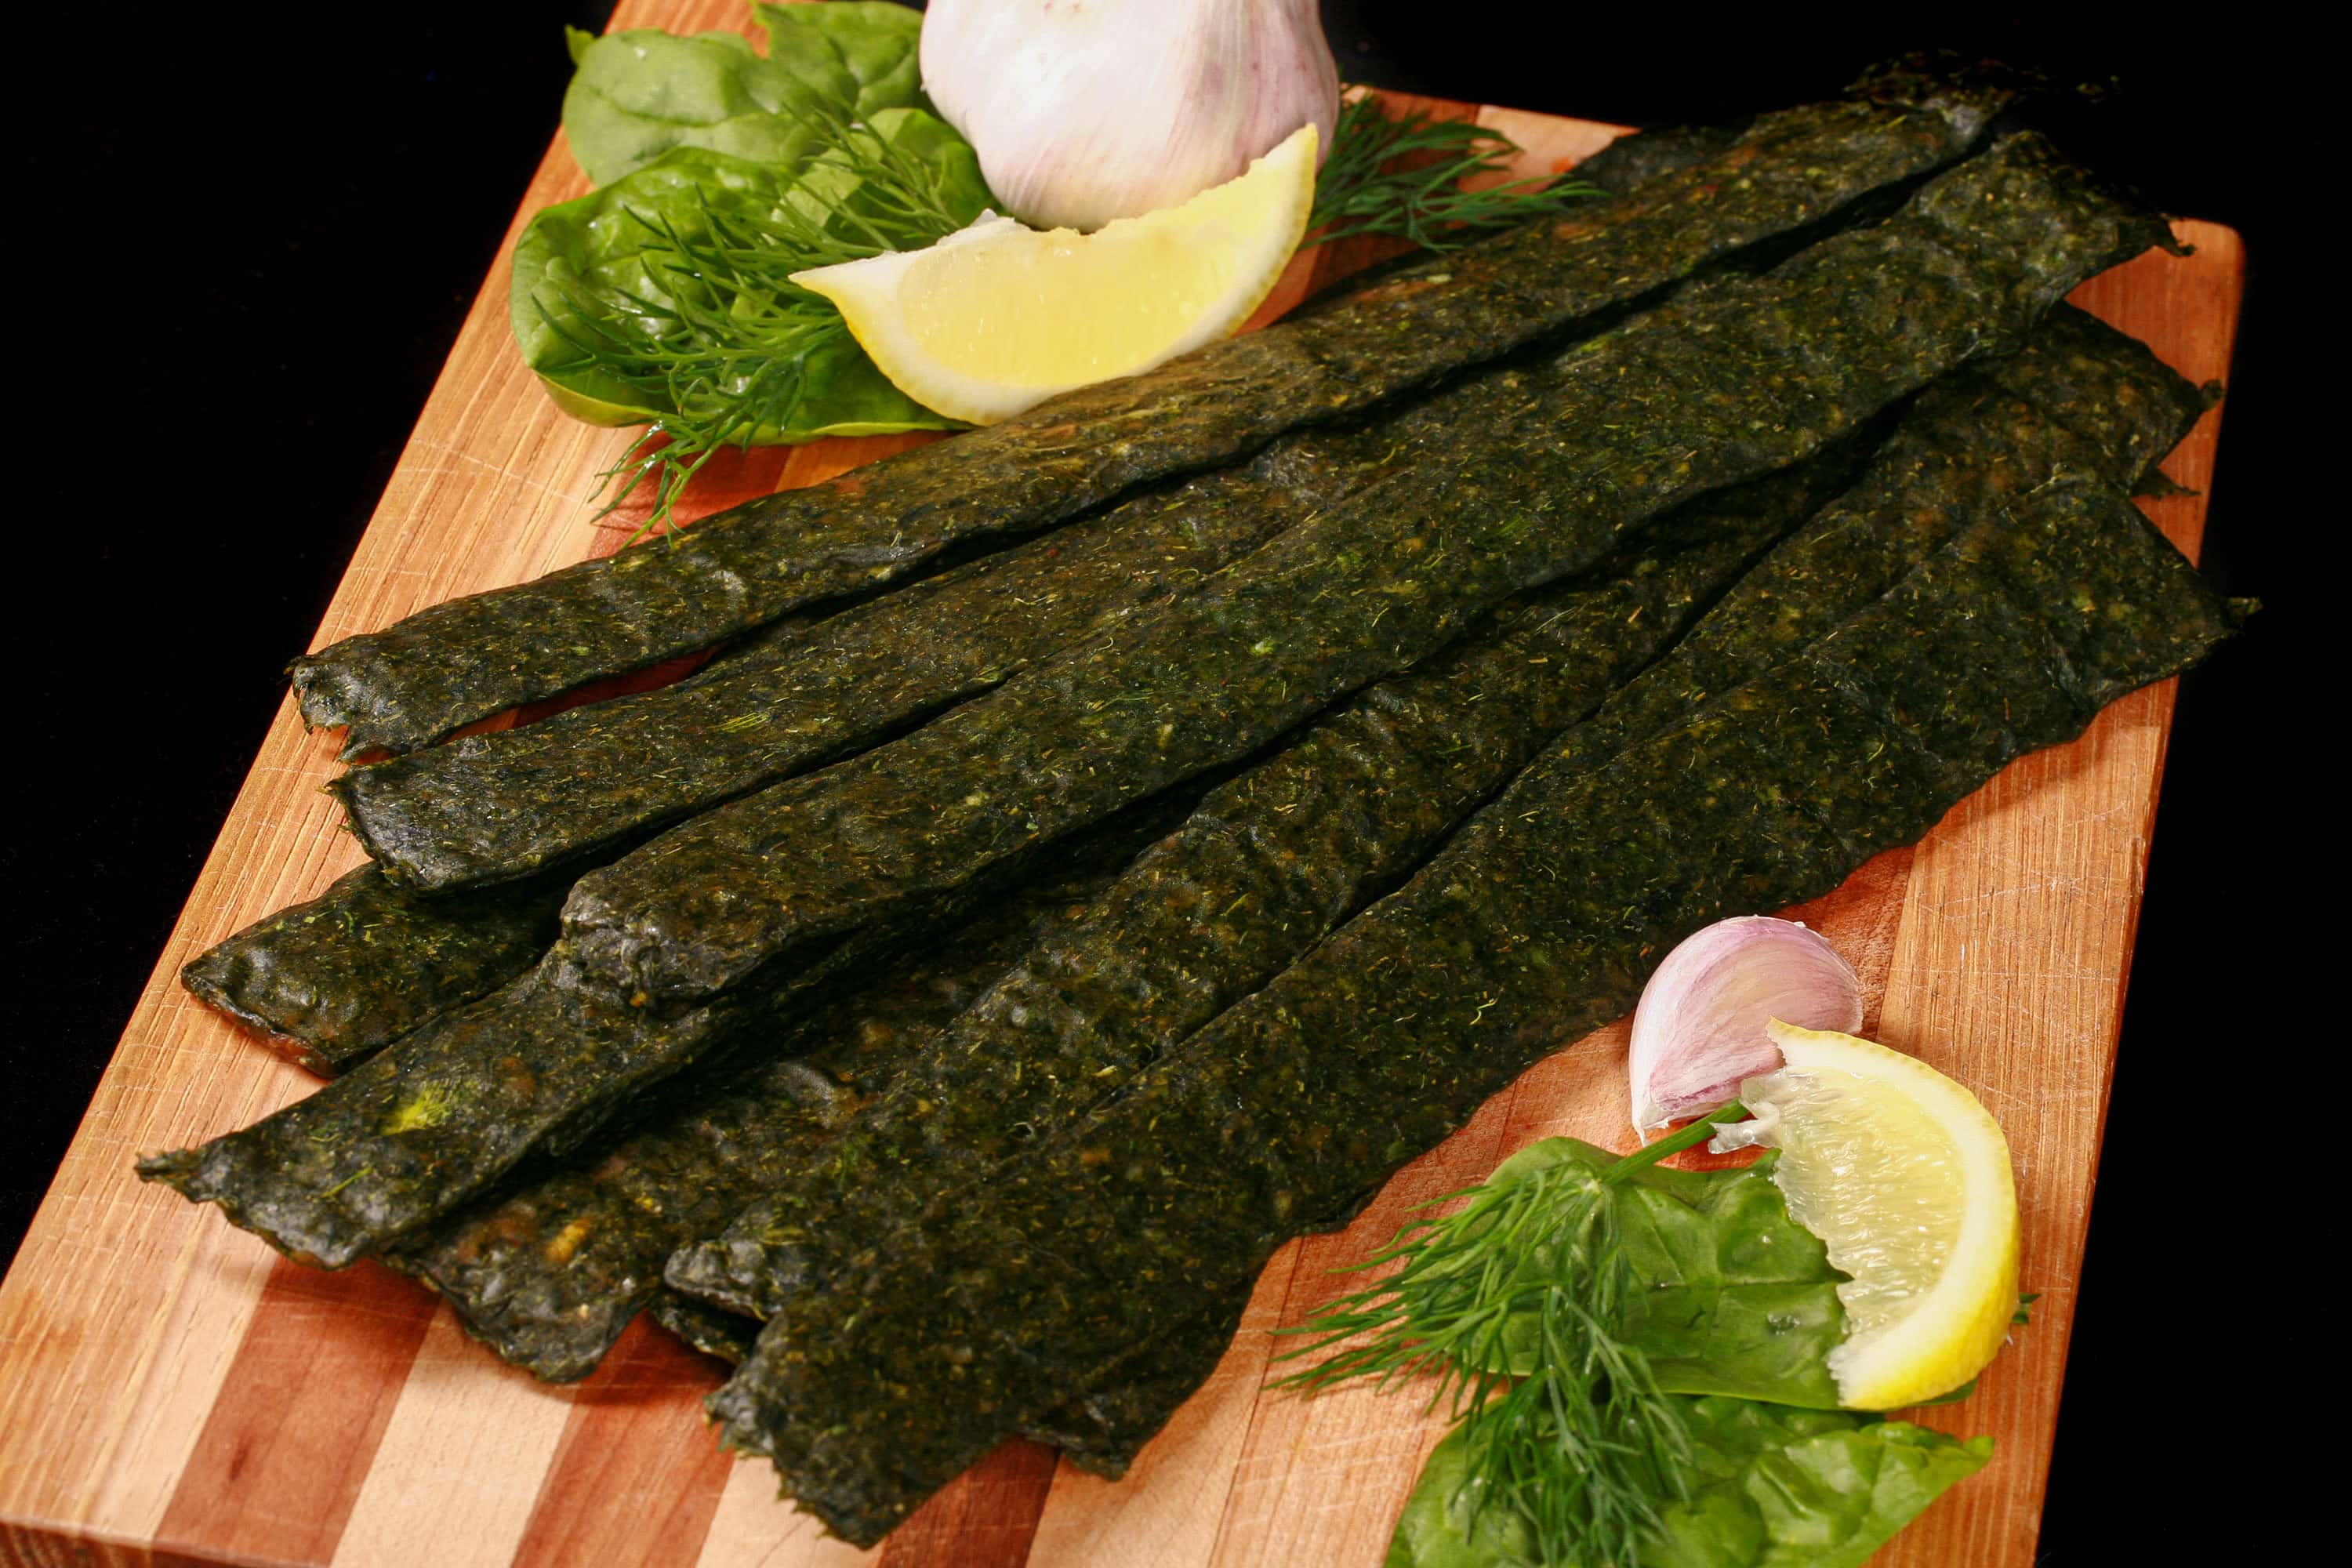
While it’s not the most traditional jerky - in content or appearance - this dark green jerky has fantastic flavour! The spinach and herbs definitely come out in front, really delicious.
It may sound weird, but it works REALLY well. A really satisfying and fun jerky recipe!
Sooo ... let’s look at the ingredients you’ll need.
Ingredients
This recipe uses fairly basic ingredients. With the possible exception of the curing salt, you should be able to find everything you need in pretty much any grocery store.
As always, I have some notes for you:
Lean Ground Chicken
Use the highest quality ground chicken you can when making any chicken jerky.
Fresh or frozen will work in most of my jerky recipes, but I recommend using fresh ground chicken, when you can.
Thawed, previously-frozen ground chicken can end up a bit more “watery”, and dry down to a thinner jerky than fresh ground chicken does, in my experience.
If you want to make your own ground chicken, trim some boneless skinless chicken breasts - plain chicken - and run them through a food processor or meat grinder until well broken down.
Lean chicken breast meat will have a better shelf life than higher fat dark meat will - fat can go rancid.
Finally, if you want to make turkey jerky, feel free to use the same amount of lean ground turkey. For that matter, you can swap the meat our for whatever kind of ground meat you prefer!
Baby Spinach
I use fresh baby spinach, because I find that it cooks down to dry-ish a lot quicker than frozen seems to.
Either way will work, though - just make sure to cook most of the moisture off!
Dried Parmesan
You know those shakers of Parmesan cheese you get at pizza restaurants? That’s the kind of Parmesan I’m talking about. The “shelf stable until you open it” - Usually Kraft - Parmesan cheese.
For all I know, regular shredded parm could work, too - I’m a bit nervous about adding dairy to a shelf-stable product, though, so I’ve never tried this with anything but the dried powder.
Aromatics
This recipe uses fresh garlic cloves, dried dill weed, and dried parsley. It’s just what I had on hand, when I first developed the recipe.
That said, you can substitute dried / fresh versions.
2 Garlic Cloves can be swapped out for 1 teaspoon Garlic Powder.
1 tablespoon Dill Weed can be swapped out for ¼ cup chopped Fresh Dill.
1 tablespoon Dried Parsley can be swapped for ¼ cup Fresh Parsley - I like Italian Parsley, but Curly Parsley would also work.
Prague Powder
Prague Powder is one of a few different curing salts out on the market. It’s not something you’ll normally cook with, but it’ll last a long time - a little goes a long way!
I use Prague Powder #1 Cure, same as I use for my Montreal Smoked Meat Recipe, Back Bacon Recipe, Homemade Corned Beef Recipe, and Peameal Bacon Recipe.
This is a bright pink curing salt that’s a mixture of salt and sodium nitrite. It’s commonly used in cured meats - like pepperoni or summer sausages - and is what gives the jerky its characteristic red colour.
Beyond aesthetics, it also contributes to giving dehydrated meat that iconic jerky flavor, AND helps ensure that your homemade meat snack will be good to eat for a long time. It does this by preventing the growth of bacteria, during and after the drying process.
A couple of things to note:
1. Prague Powder is pink, but it is NOT the same thing as Himalayan pink salt!
2. Prague cure is only to be used in small amounts for curing meats, and should never be consumed as-is. The measurements are important - if you want a saltier spinach chicken jerky, add some regular salt, rather than increasing the curing salt.
Everything Else
Rounding out this recipe, you will need:
Green Onions, Chopped
Granulated Sugar
Ground Nutmeg
Garlic Powder
Onion Powder
Lemon Zest
Salt
... as always, I don’t really have anything to add, when it comes to these last few ingredients!
Equipment
There are two specialized pieces of equipment that I use for making jerky, beyond basics like spoons, bowls, and measuring cups:
A Food Dehydrator
While you can apparently make homemade spanakopita jerky in a regular home oven, I’m not a fan of running one for hours on end.
I’ve had food dehydrators before - the basic kinds with no time or temperature controls, - and I’d always been too nervous to try making jerky in them. I need more control over - and knowledge of - the drying process, when meat is concerned.
I’ve since upgraded to a Cosori 6 Tray Food Dehydrator, and LOVE it.
It was only like $200 Canadian, and it’s paid for itself MANY times over, between all the Maple Cinnamon Apple Chips and jerkies I’ve been making!
Think of it this way - The same size of jerky that I tend to make goes for about $4 in a gas station. (Really, more for chicken jerky!)
I get about 10-15 strips out of a batch (varying by recipe) - let’s average that out to 12. That’s $48 worth of jerky, for $8 or less. Make 5 batches, that’s your $200 in savings!
Anyway, we’re using a dehydrator a LOT more, now that we have a nice one. Having the control over the temperature really opens up the possibilities.
A Jerky Gun
Also known as a “jerky cannon”, this is basically a food grace caulking gun that you use to pipe out strips of jerky onto your parchment paper.
Mine is the XINQIAO Jerky Gun Food Grade Plastic Beef Jerky Gun Kit. Regular $35 (Canadian) on Amazon, but it had a coupon for something like 25% off, when I purchased it.
Worth every penny, even if I’d paid full price!
I’ve heard of people making jerky by spreading the mixture out, flattening it with a rolling pin, then cutting it with a pizza cutter, but to be honest, that sounds fussy.
The very first time I used my jerk gun, I was HOOKED. I had no idea that the jerky making process could be so quick and easy!
I’ve never been one for single-function, special equipment in the kitchen... but I LOVE it.
Share the Love!If you’ve made one of our recipes, be sure to take some pics of your handiwork! If you post it to Bluesky, be sure to tag us - @CelebrationGen. We're also on Pinterest, so you can save all your favourite recipes to a board! Also, be sure to subscribe to our free email newsletter, so you never miss out on any of our nonsense. Well, the published nonsense, anyway! |
How to Make Spanakopita Chicken Jerky
The full recipe is in the printable recipe card at the end of this post, here is the pictorial walk through:
Cut 2 or 3 squares of parchment paper slightly smaller than your dehydrator racks, set aside.
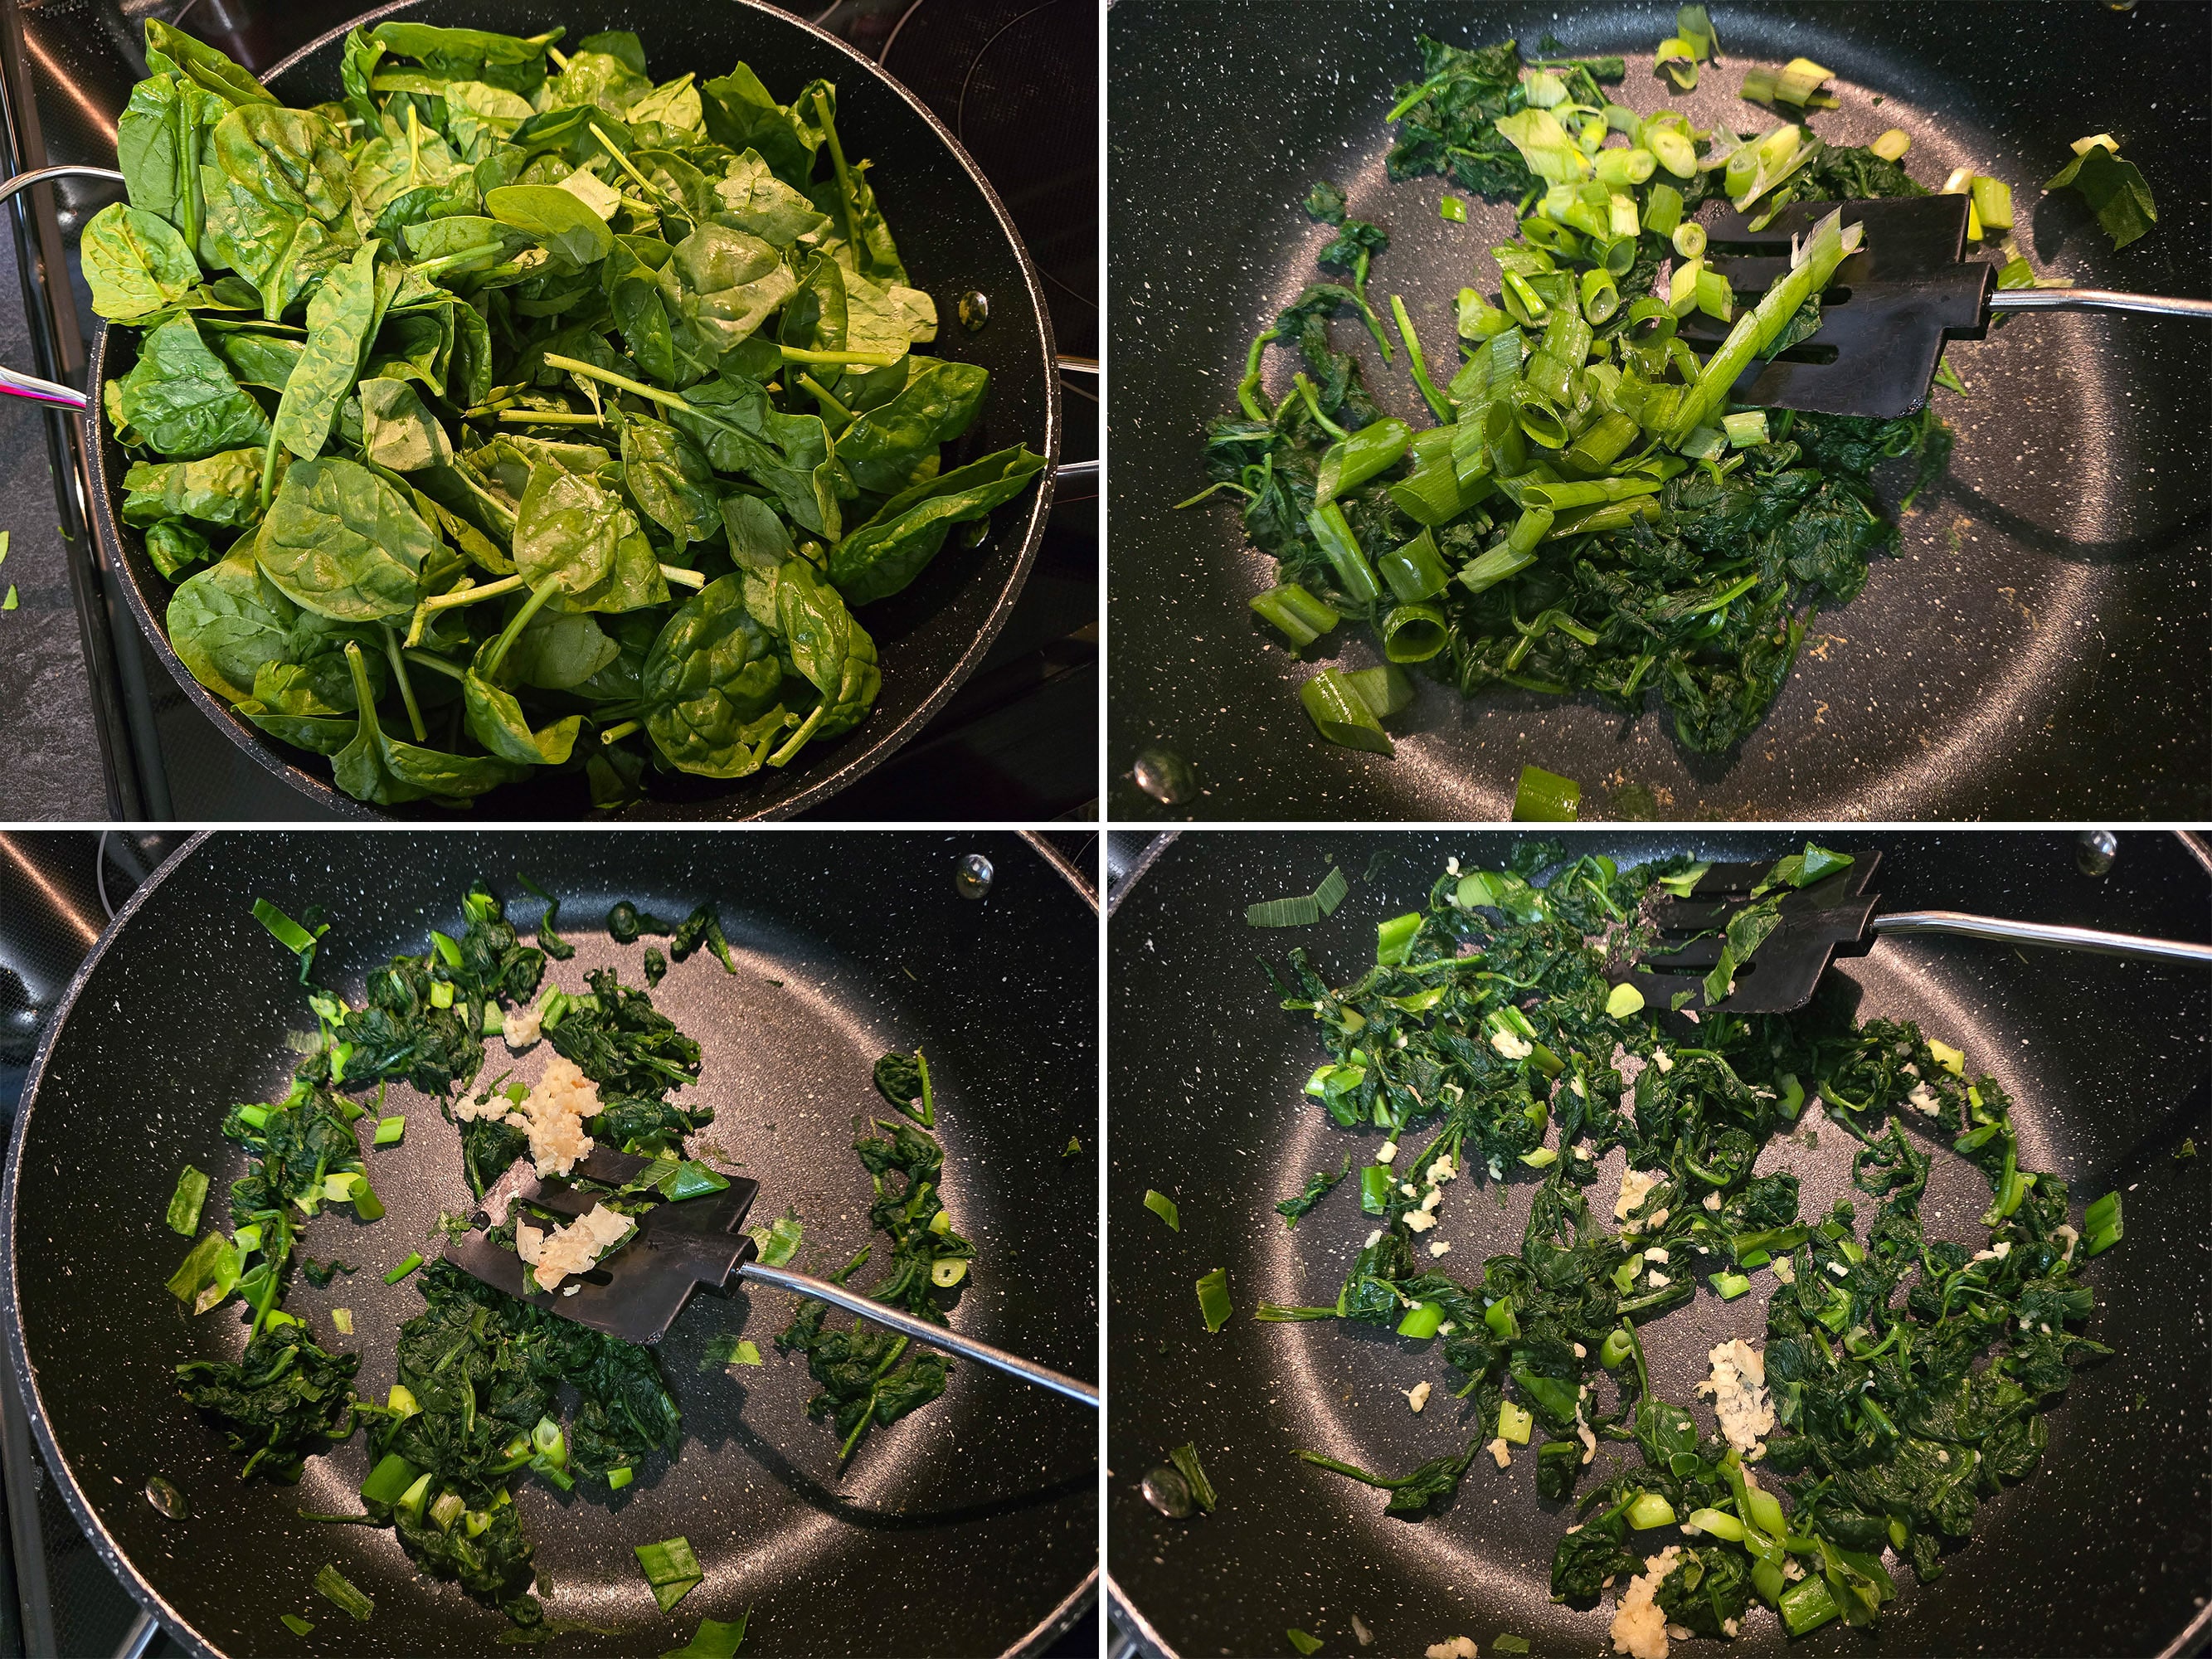
Measure spinach into a large, nonstick skillet - do NOT add any oil! Cook over medium-high heat, stirring frequently, until the spinach is fairly wilted.
Add the green onions, cook until the spinach is almost completely wilted - with no moisture in the pan. Add the garlic, and cook for another minute.
Remove from heat, allow to cool a bit.
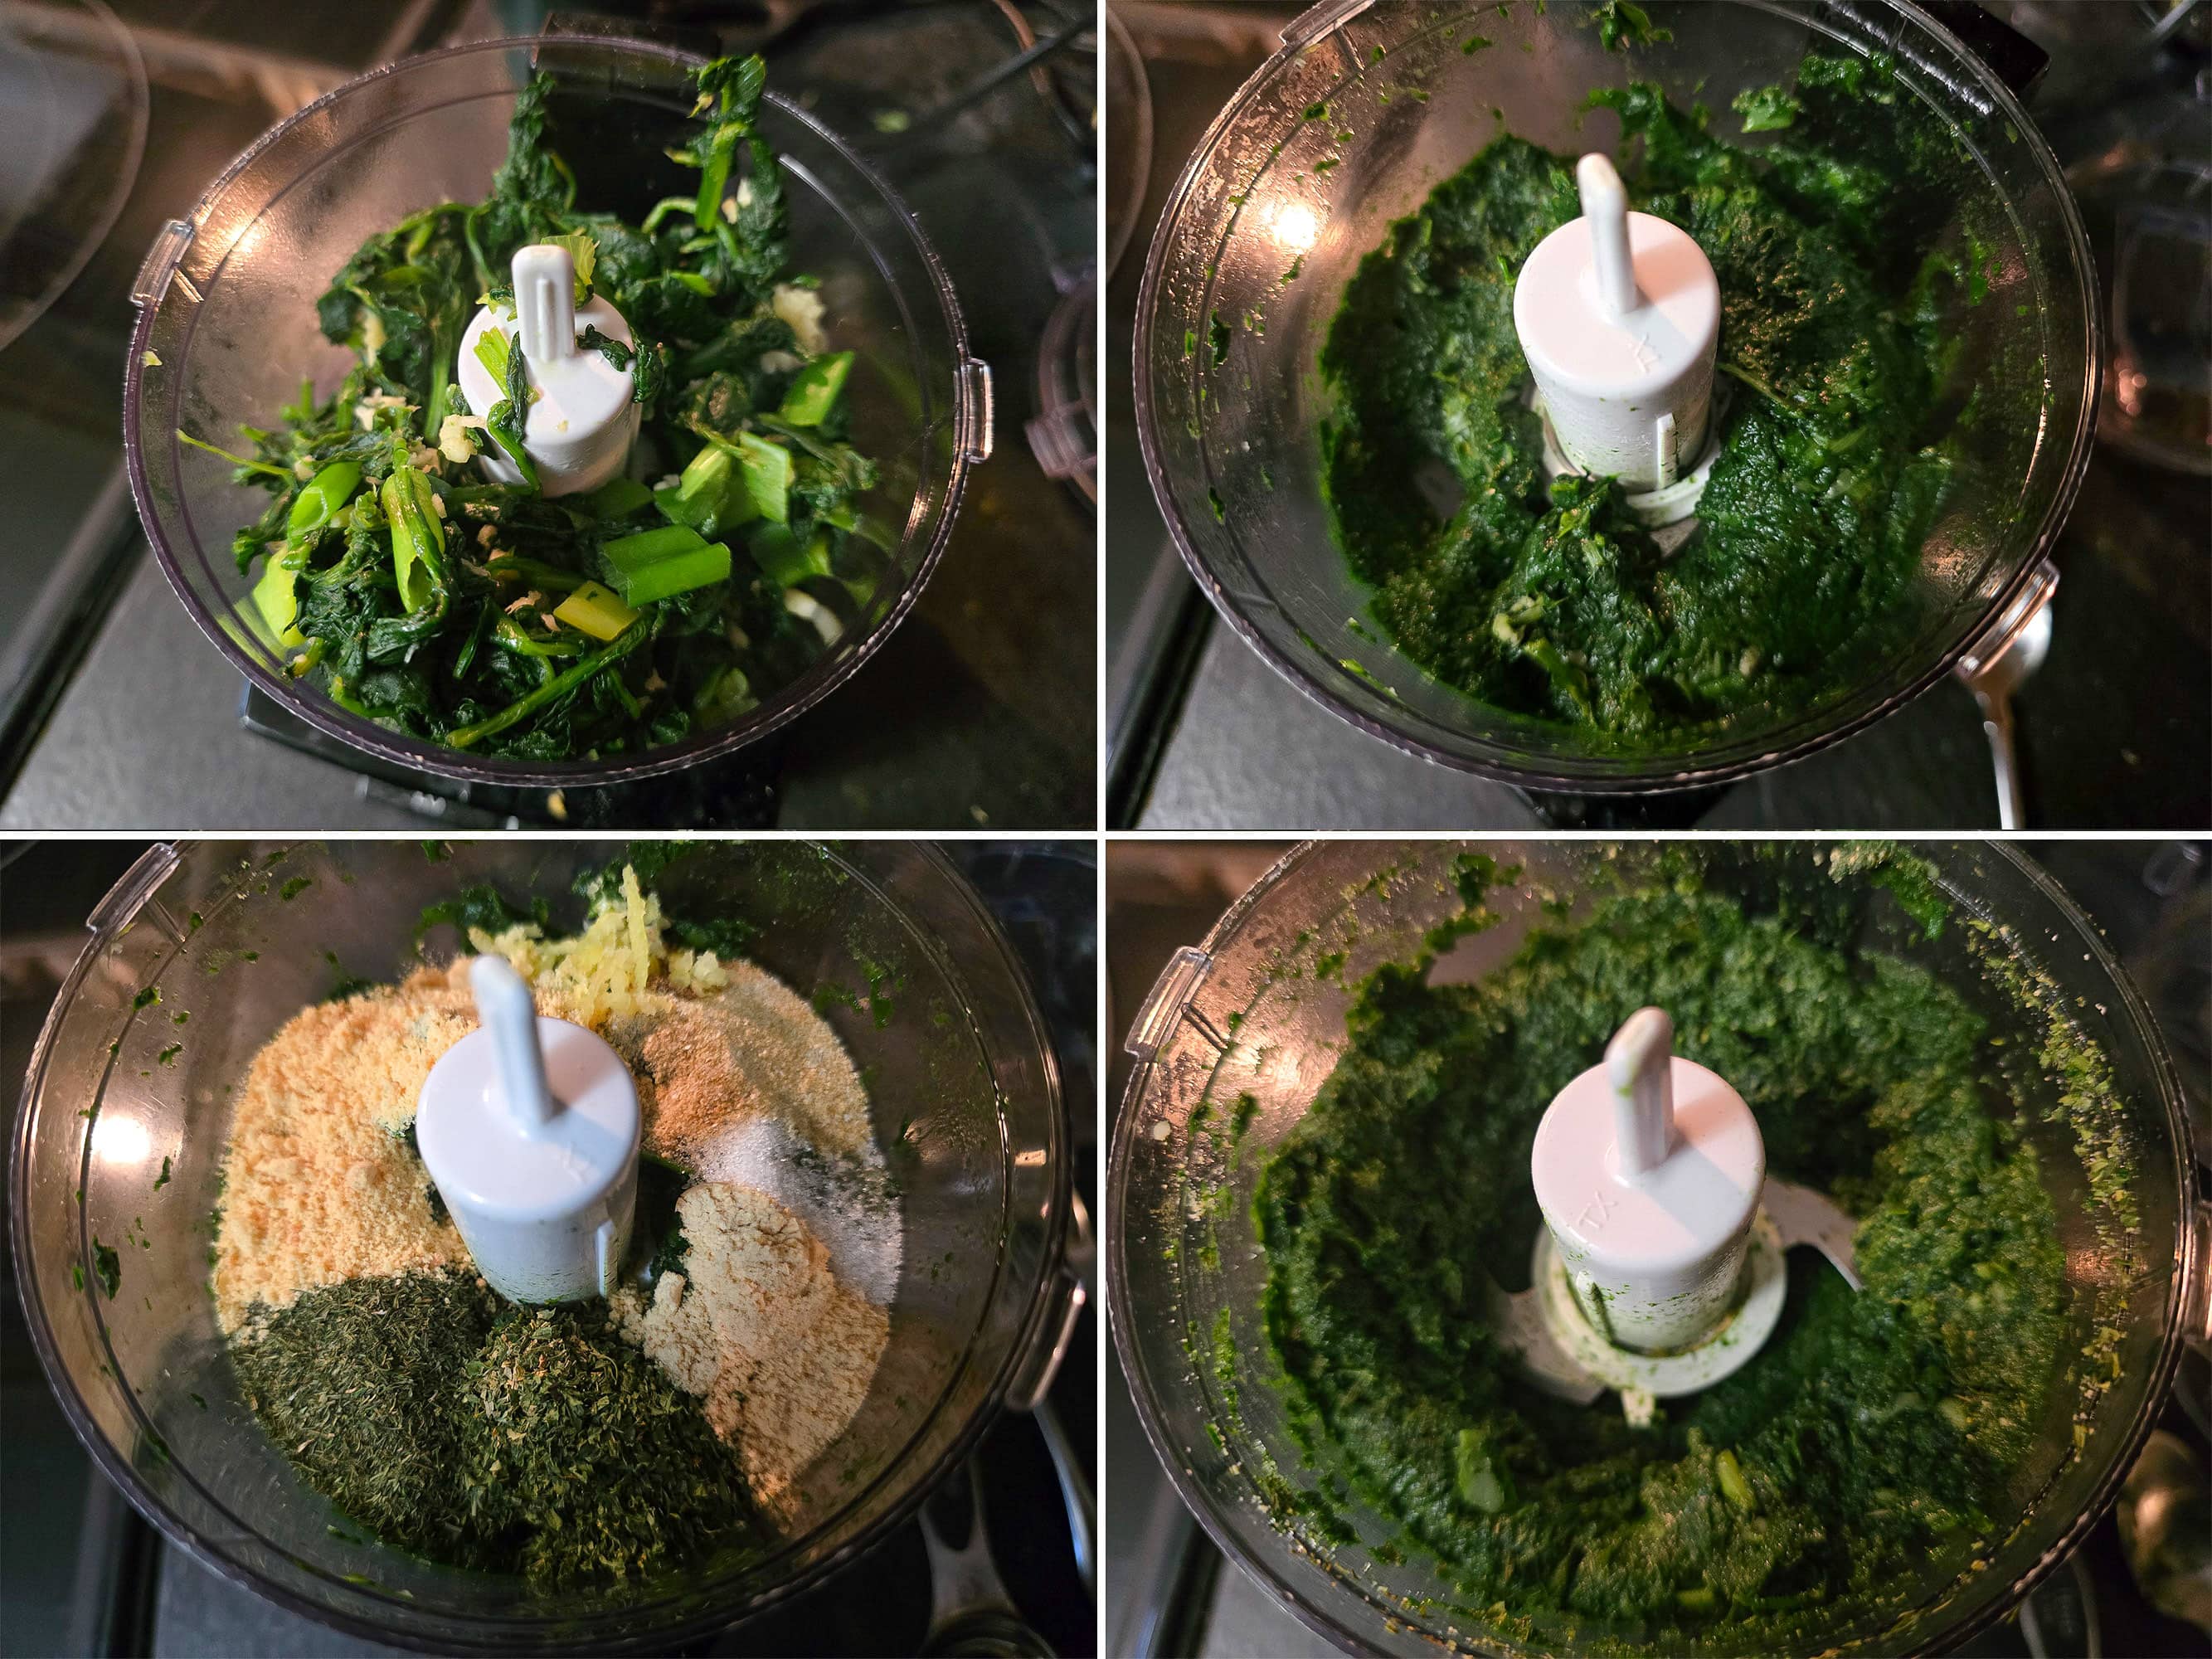
Add remaining ingredients - aside from the chicken - and blitz again to form a paste.
If it’s too thick, add a SMALL amount of water to help it get going. (Start with 1 tsp.)
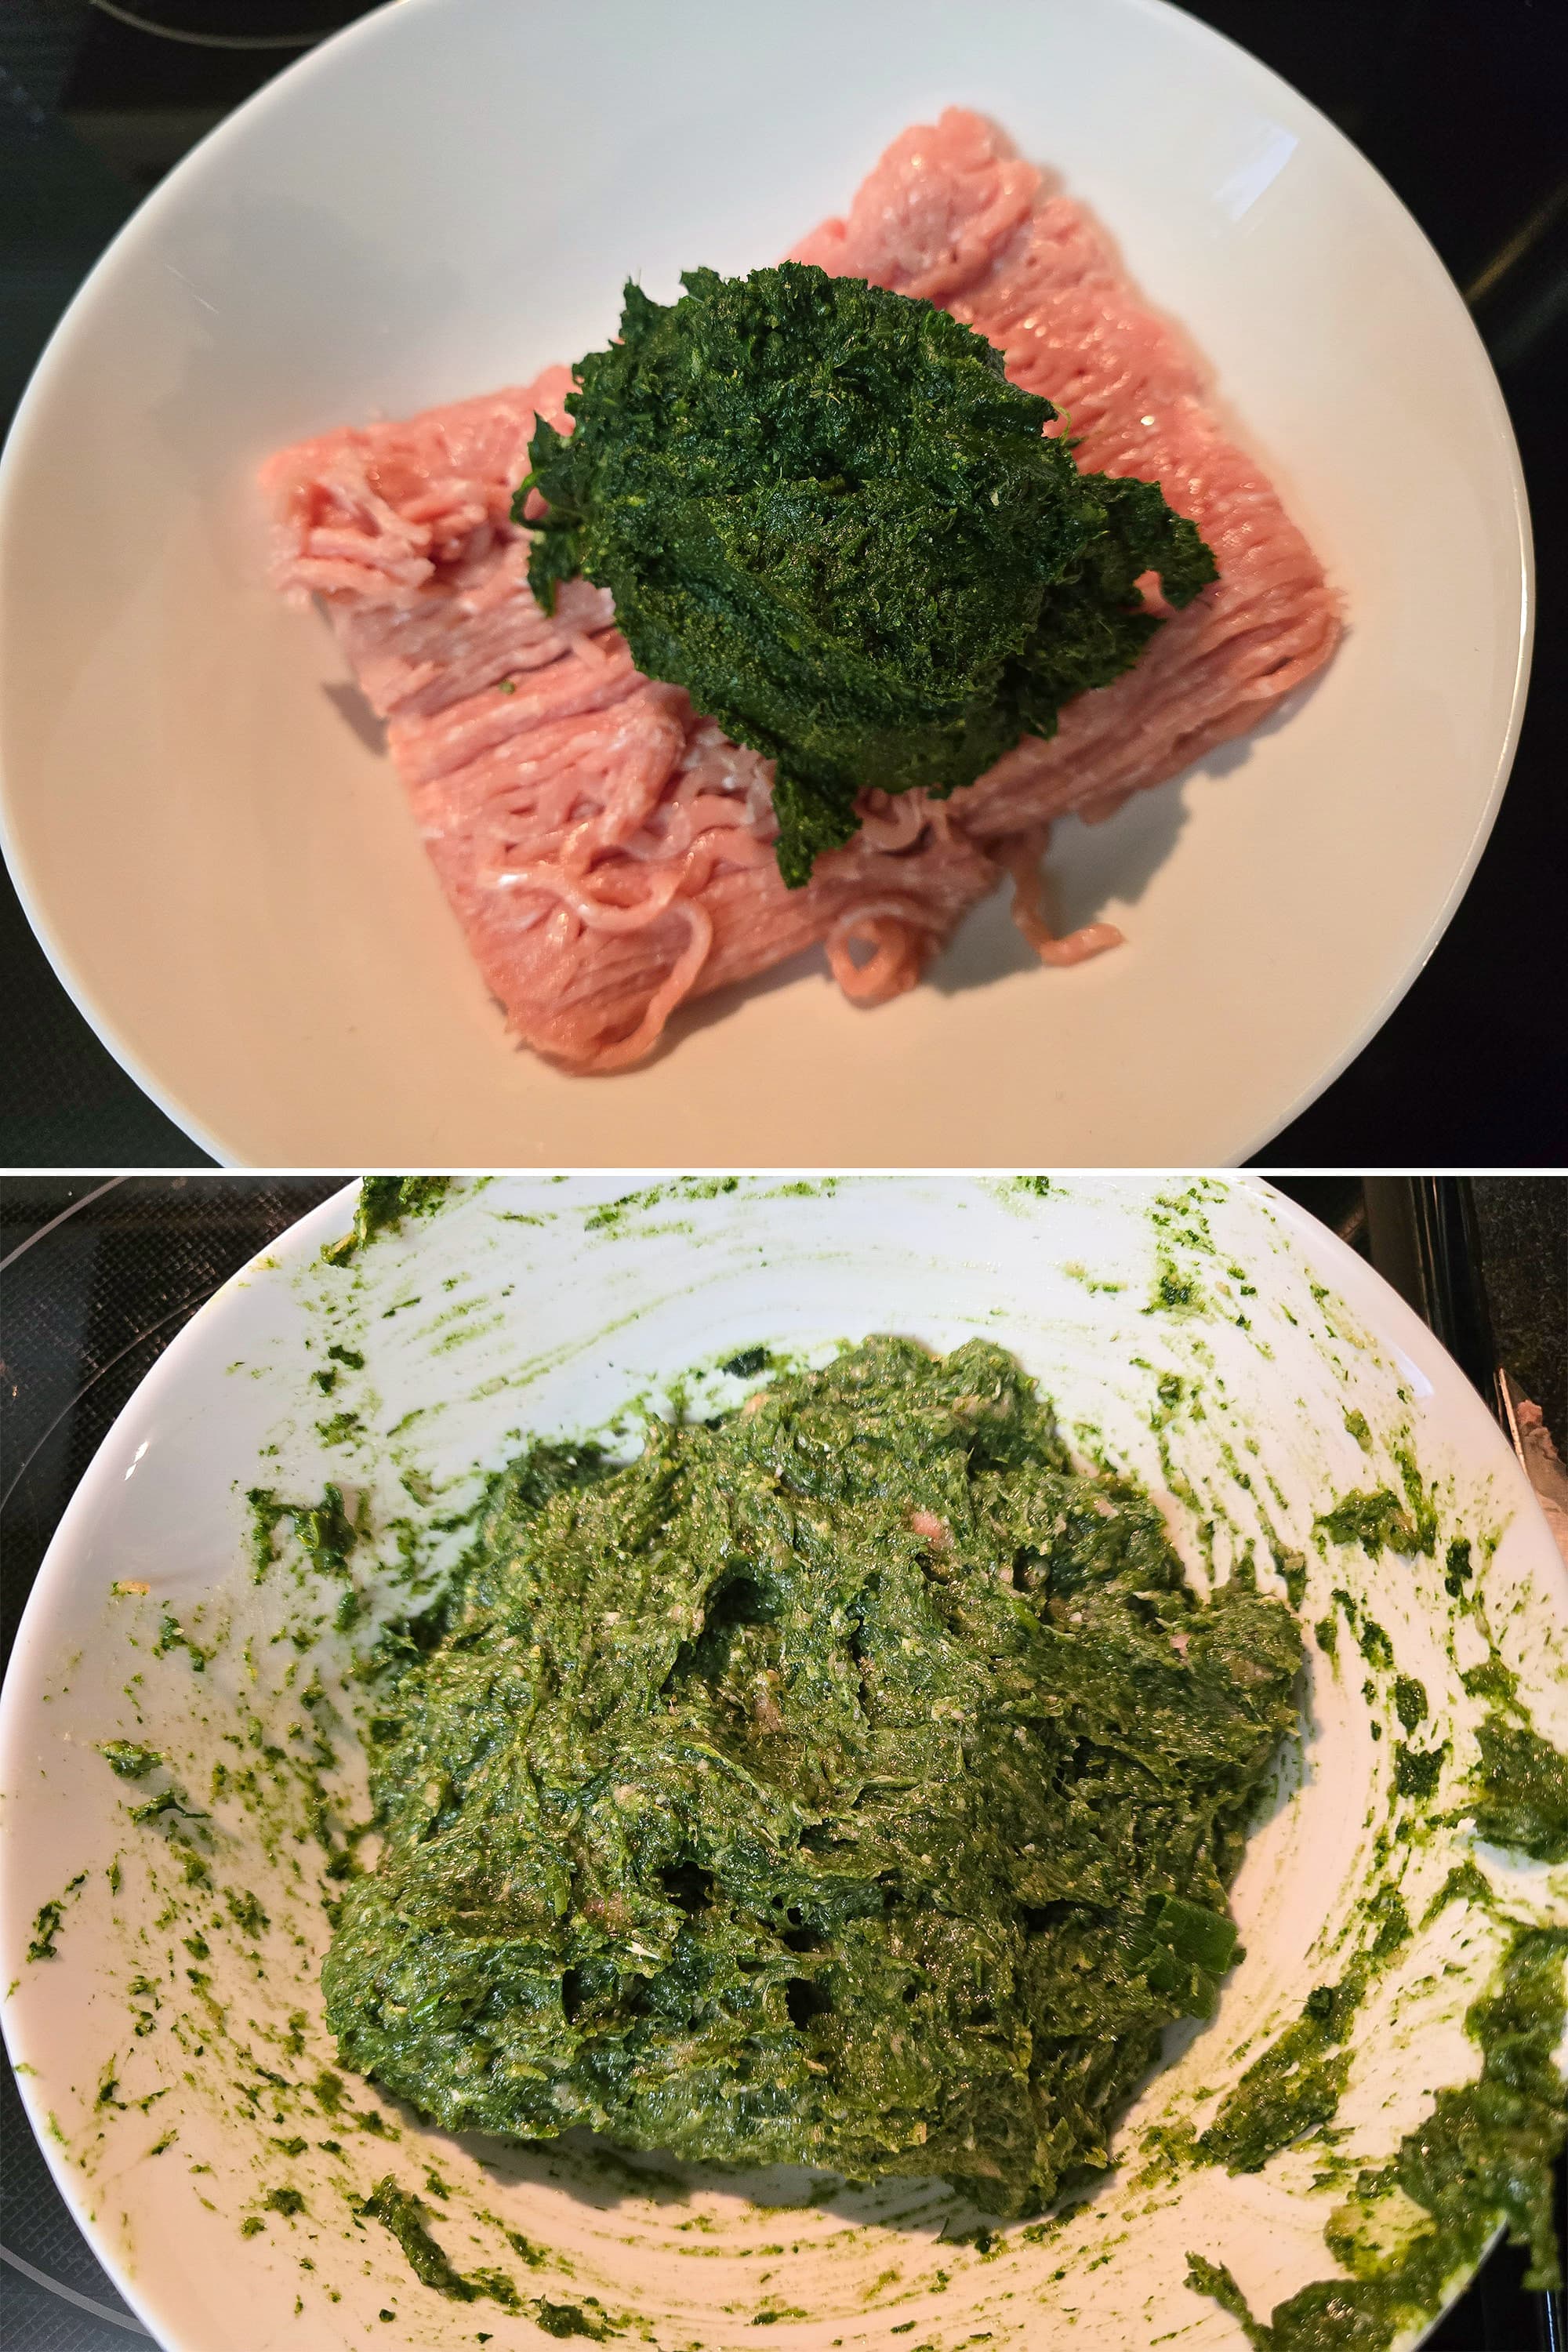
Using freshly washed or gloved hands - combine ingredients well. REALLY well - it’s better to overhandle it, than to under-mix it.
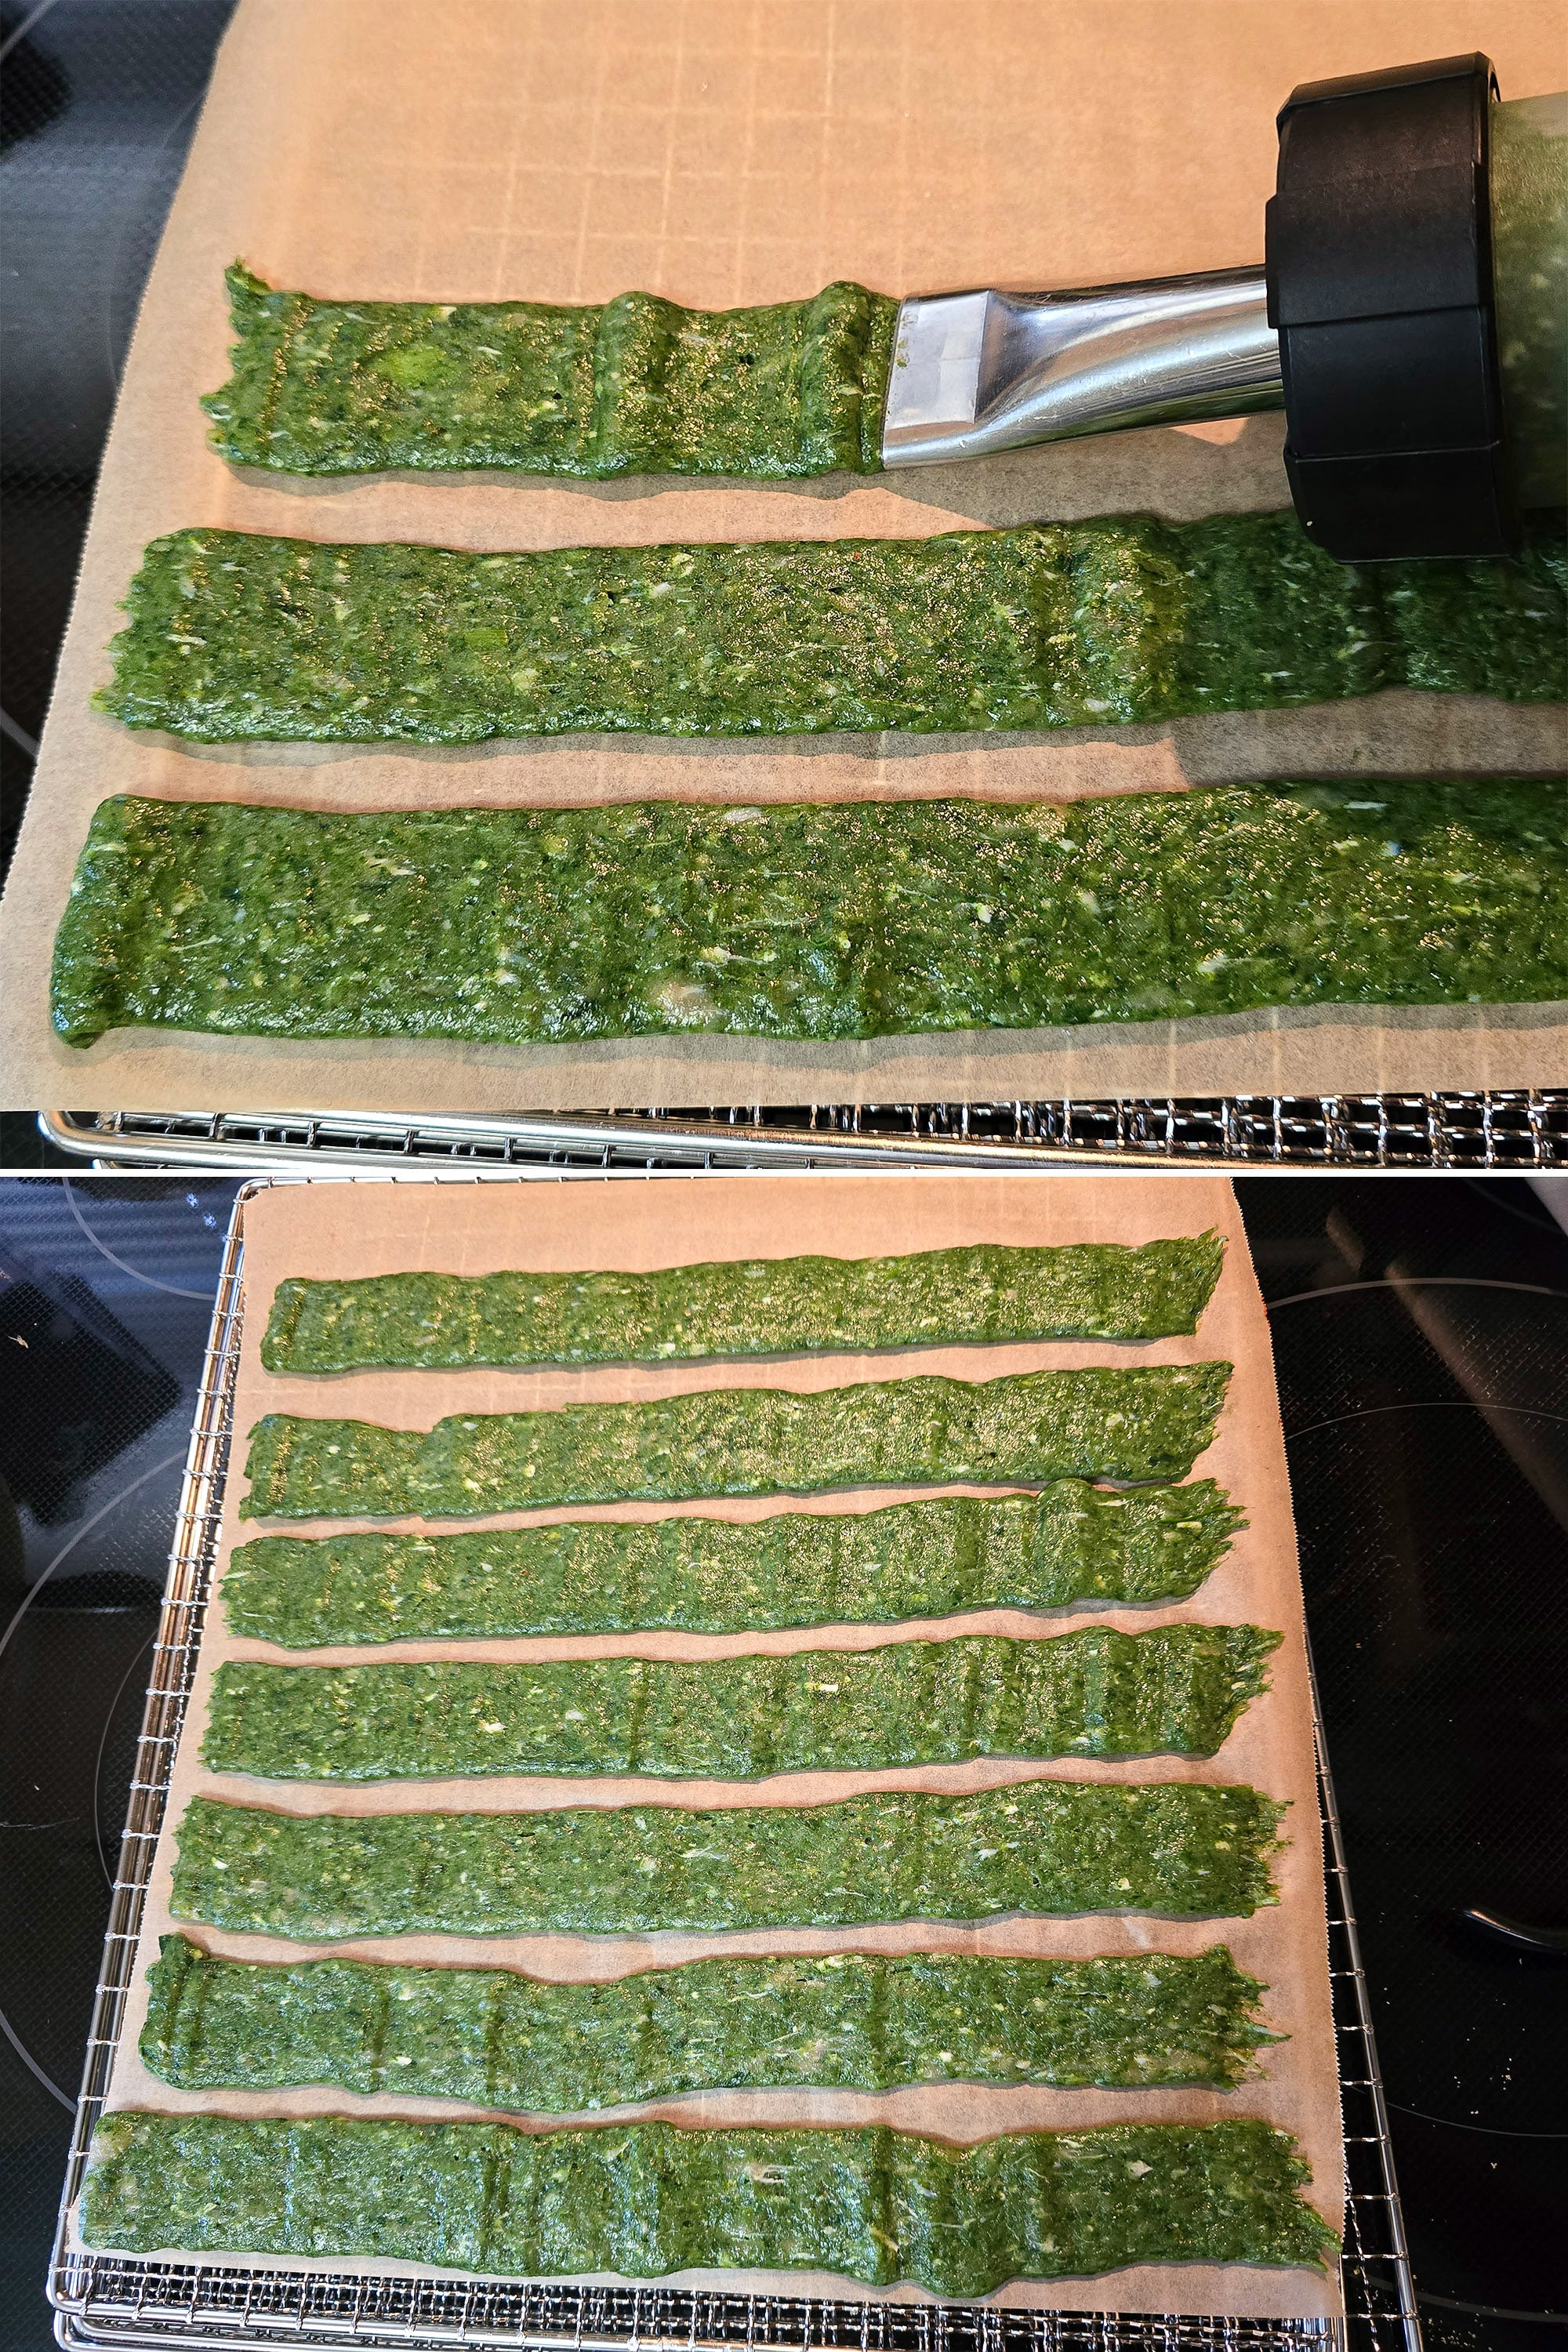
Line your dehydrator racks with the cut parchment paper, then pipe your jerky strips out onto them, leaving some space in between each.
Dehydrate in a food dehydrator at 165 F for 1.5-2 hours.
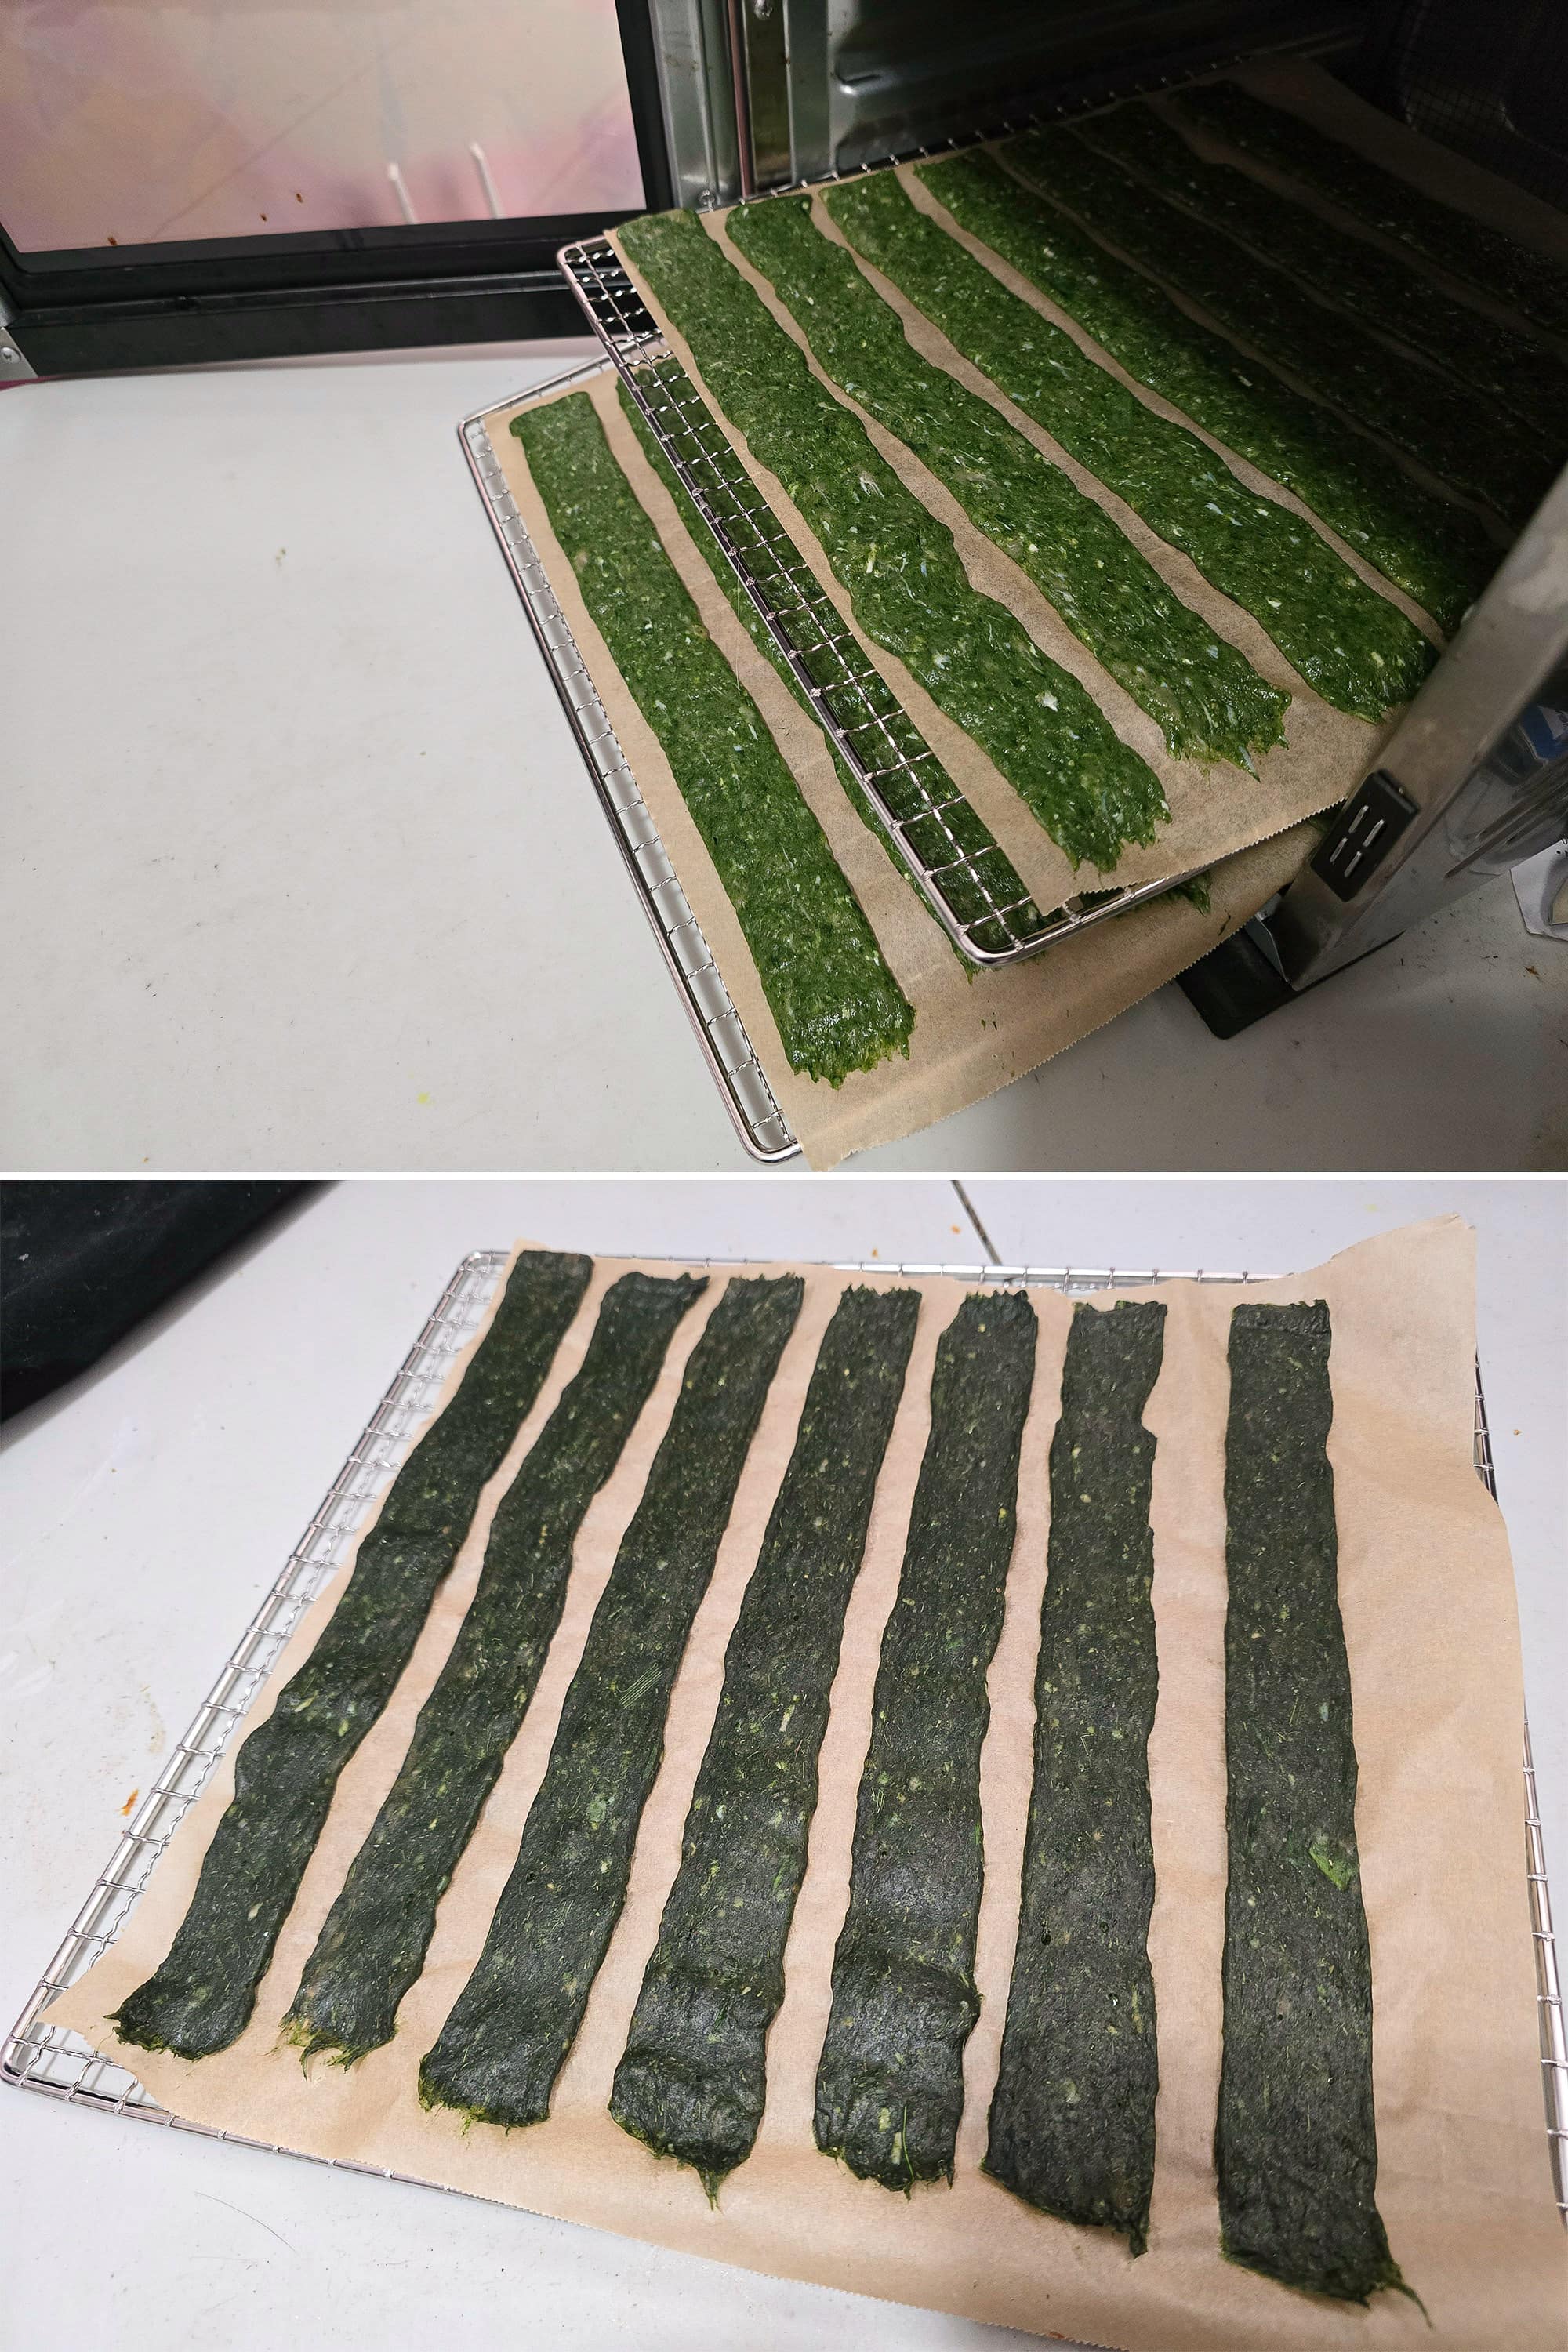
Return to the dehydrator and continue dehydrating at 165 F for another 1.5 - 3 hours.
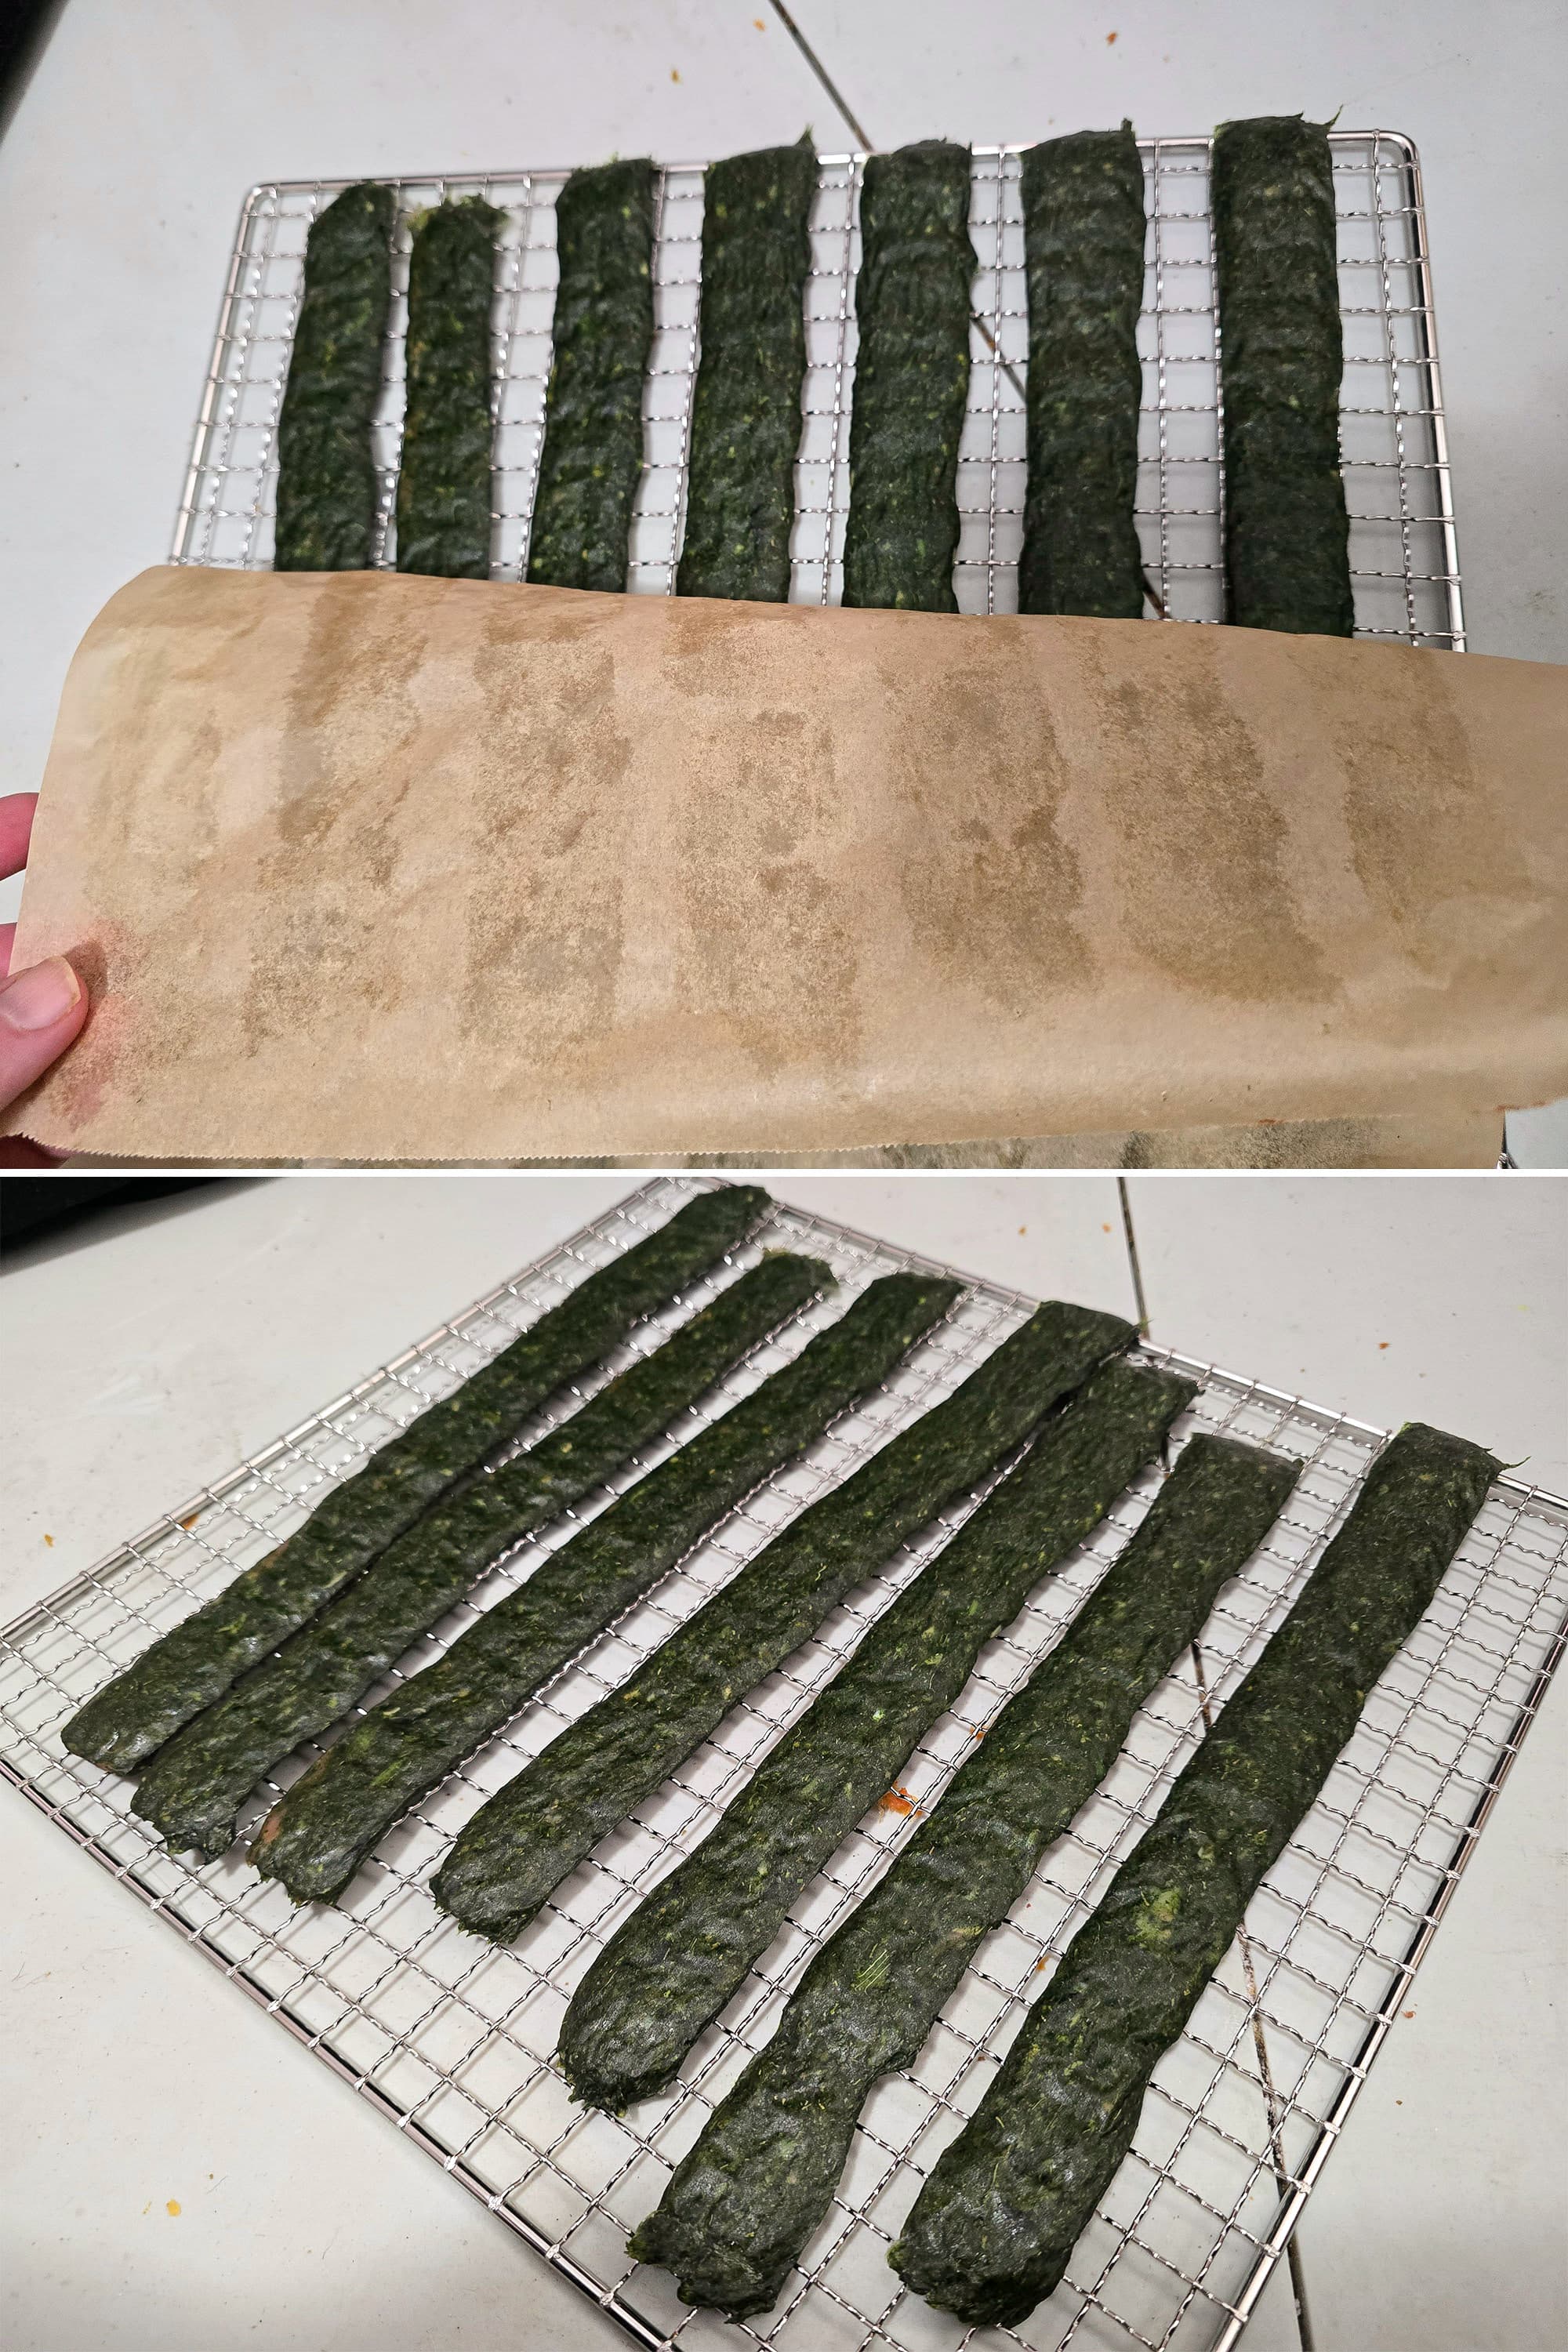
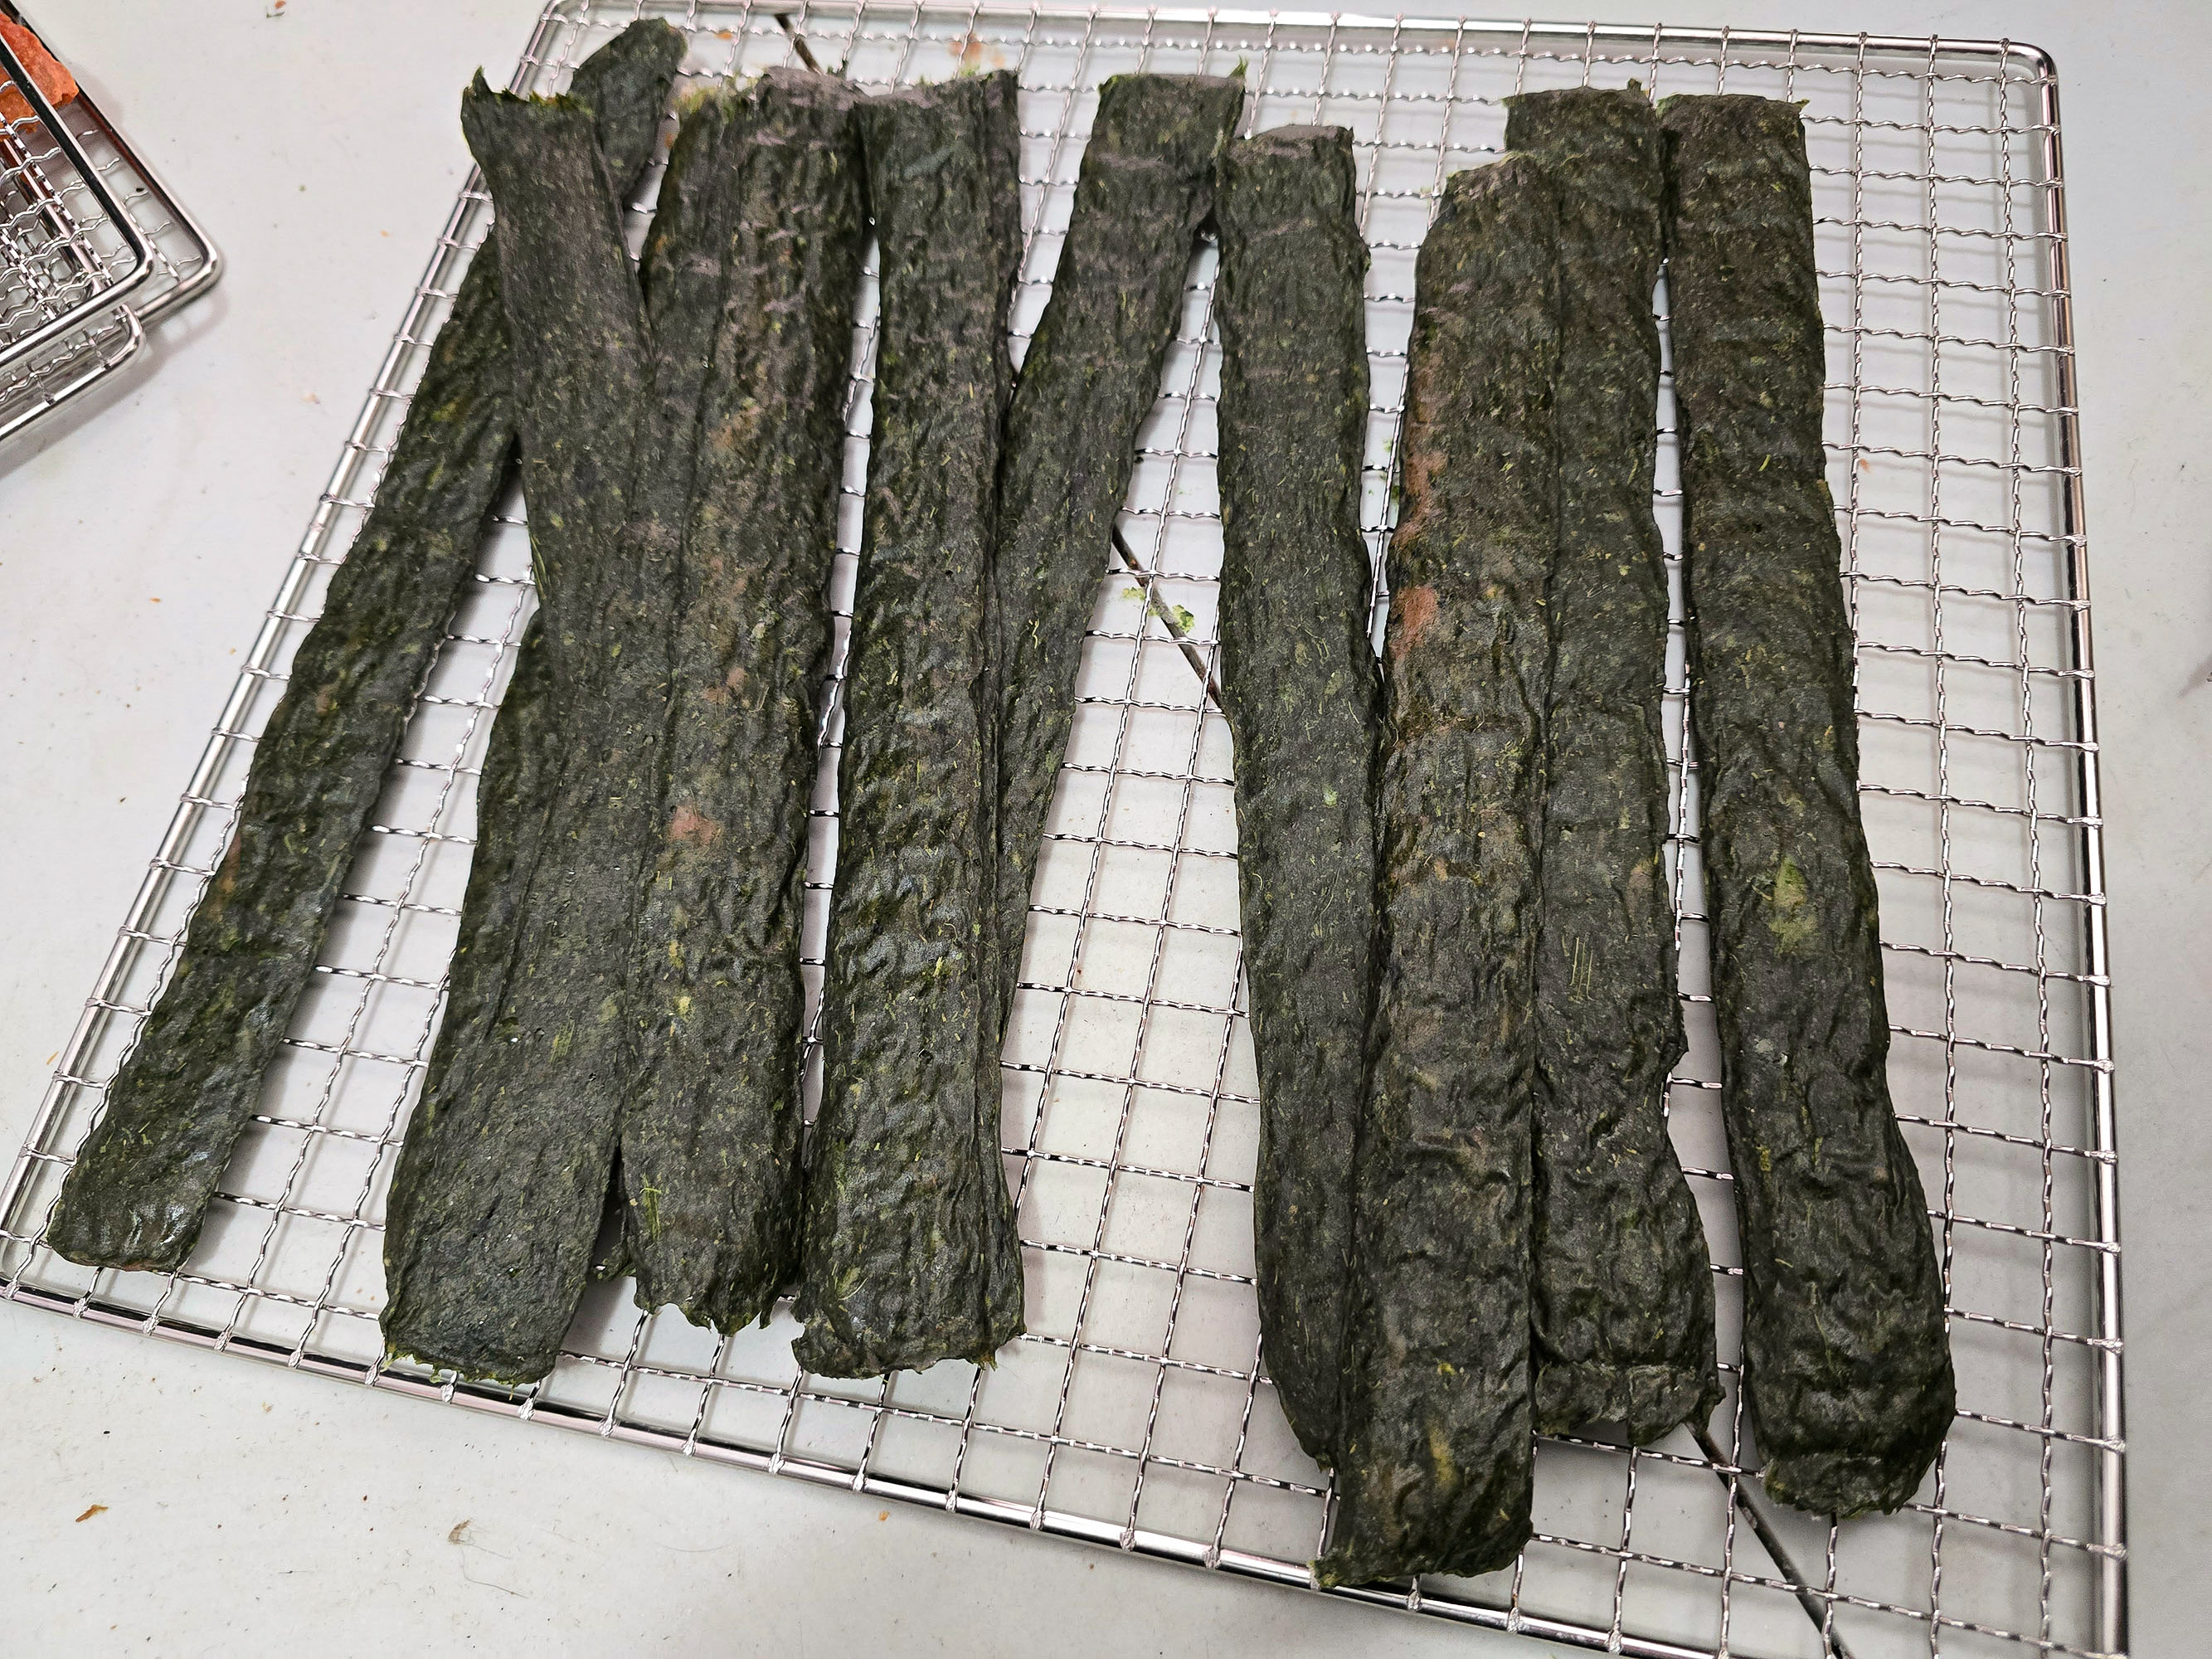
Allow jerky to cool COMPLETELY to room temperature before packaging.
Storage
Jerky will keep at room temperature (in a cool dark place) for a week so, or a few weeks in the fridge.
If sealed into an airtight container WITHOUT OXYGEN, it should be good for a month or so in a cool dark place, a couple months in the fridge, and 6 months or so in the freezer.
Once you open your vacuum sealed bag of jerky, it should be eaten within a couple days - or a week, if put in the fridge after opening.
More Homemade Jerky Recipes
Are you someone who loves to bring jerky on road trips, hiking trails, and when camping? Me too! Here are some of my go-to recipes for homemade jerkies!
Basic Ground Beef Jerky
Blueberry Bison Jerky
Chipotle Chicken Jerky
Ginger Beef Jerky
Ground Venison Jerky
Homemade Salmon Jerky
Honey Garlic Chicken Jerky
Jalapeno Chicken Jerky
Jerk Chicken Jerky
Lingonberry Elk Jerky
Mango Habanero Chicken Jerky
Mushroom Jerky, 2 Ways
Pumpkin Spice Chicken Jerky
Rosemary & Blueberry Beef Jerky
Spicy Garlic Chicken Jerky
Sriracha Chicken Jerky
Tofu Jerky, 2 Ways
Pepperoni Jerky
Spanakopita Chicken Jerky [Ground Chicken Jerky]
Equipment
- 1 Jerky Gun
- 1 Food Dehydrator
Ingredients
- 1 lb Lean Ground Chicken
- ½ lb Baby Spinach chopped
- 2 Green Onions Chopped
- 2 Garlic Cloves Minced or pressed
- 1 tablespoon Dill Weed Dry
- 1 tablespoon Dried Parmesan Powder
- 1 teaspoon Dried Parsley
- 1 teaspoon Garlic Powder
- 1 teaspoon Onion Powder
- ½ teaspoon Granulated Sugar
- ½ teaspoon Lemon Zest
- ¾ teaspoon Salt
- Pinch Nutmeg
- ¼ teaspoon Prague Powder #1 Cure
Instructions
- Cut 2 or 3 squares of parchment paper slightly smaller than your dehydrator racks, set aside.
- Measure spinach into a large, nonstick skillet - do NOT add any oil! Cook over medium-high heat, stirring frequently, until the spinach is fairly wilted.
- Add the green onions, cook until the spinach is almost completely wilted - with no moisture in the pan. Add the garlic, and cook for another minute.
- Remove from heat, allow to cool a bit.
- Add the spinach mixture to a mini food processor, blitz until a relatively smooth paste forms. Add remaining ingredients - aside from the chicken - and blitz again to form a paste.If it’s too thick, add a SMALL amount of water to help it get going. Start with 1 tsp.
- Add the spinach paste to a medium mixing bowl, along with the ground chicken. Using freshly washed or gloved hands - combine ingredients well. REALLY well - it’s better to overhandle it, than to under-mix it.
- Use a spoon to load the mixture into a jerky gun, taking care to avoid creating air bubbles.
- Line your dehydrator racks with the cut parchment paper, then pipe your jerky strips out onto them, leaving some space in between each.
- Dehydrate in a food dehydrator at 165 F for 1.5-2 hours.
- Once two hours has passed, remove the jerky strips from the parchment, flip them over, and place them directly onto the dehydrator racks.
- Return to the dehydrator and continue dehydrating at 165 F for another 1.5 - 3 hours.
- To test for doneness, remove a piece of jerky from the dehydrator and let it cool to room temperature. It should feel dry to the touch and be able to bend to 90 degrees without breaking. (A bit of cracking or crackling is ok!)
- Allow jerky to cool COMPLETELY to room temperature before packaging.
Notes
Nutrition
Thanks for Reading!If you loved this post - or have any questions about it - please leave a comment below! We'd also love it if you would consider sharing the link on social media! |


Porters
Absolutely one of our favourite chicken jerky recipes to date. Hope you love it as much as we do!