
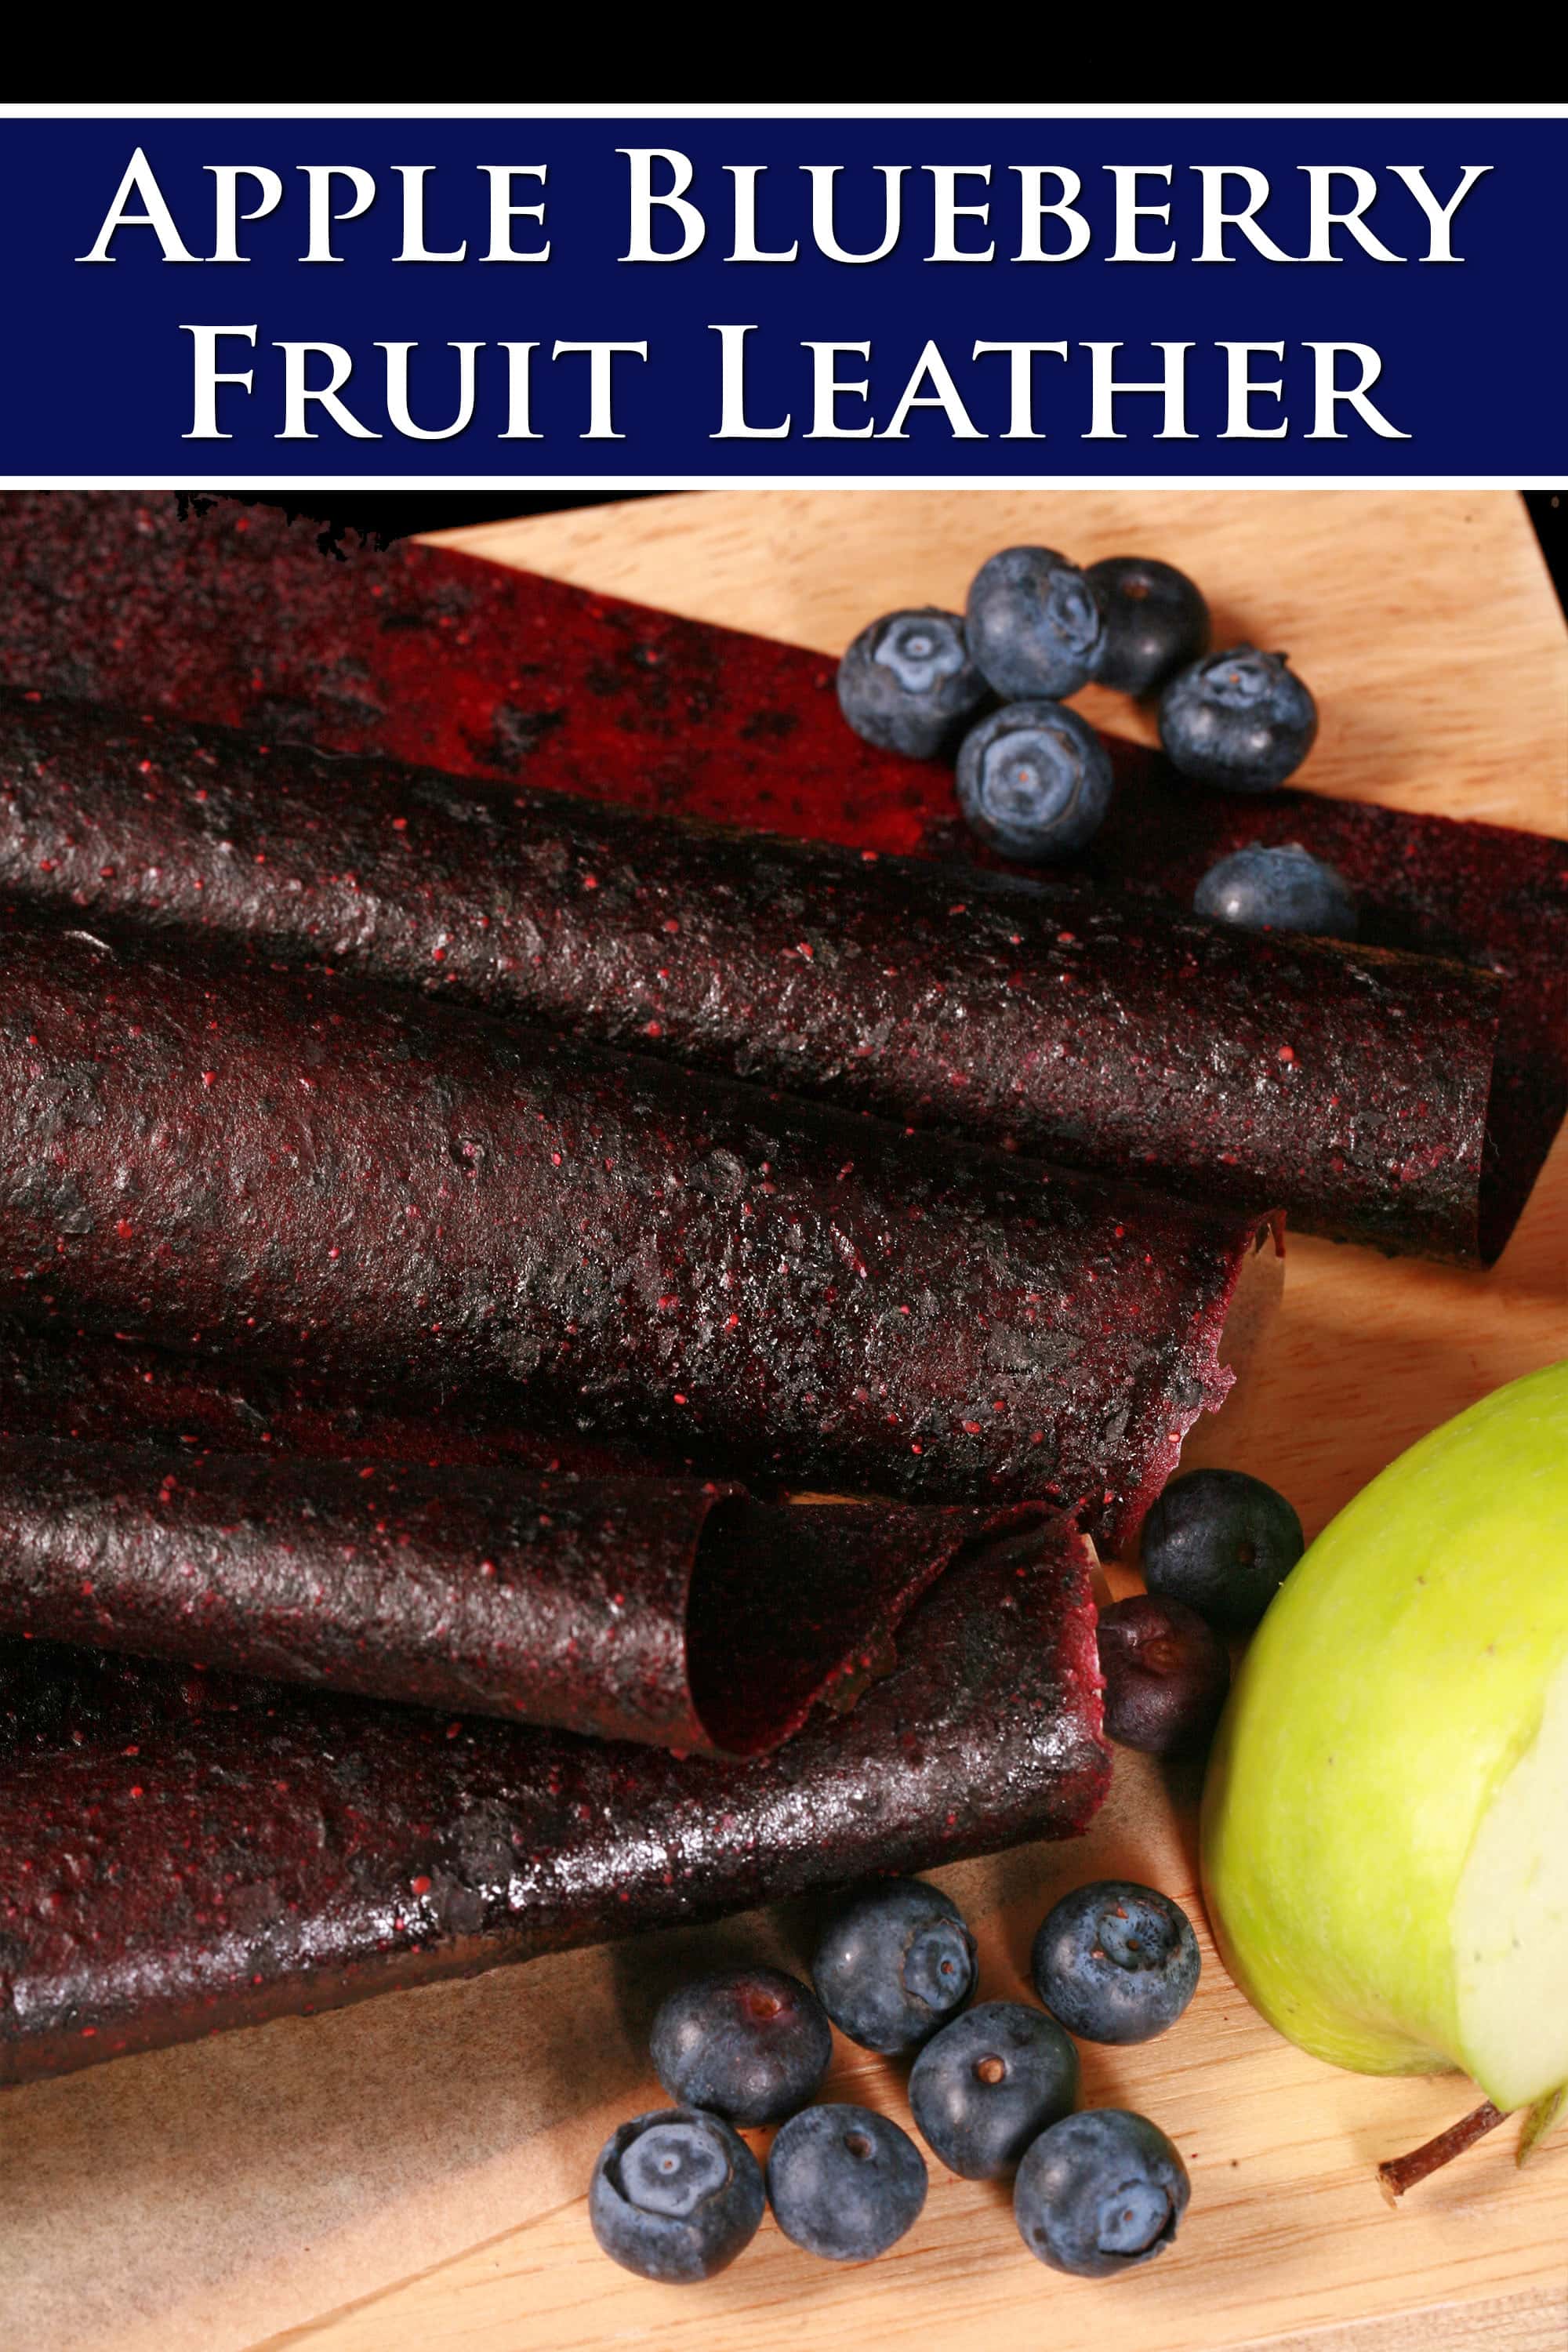
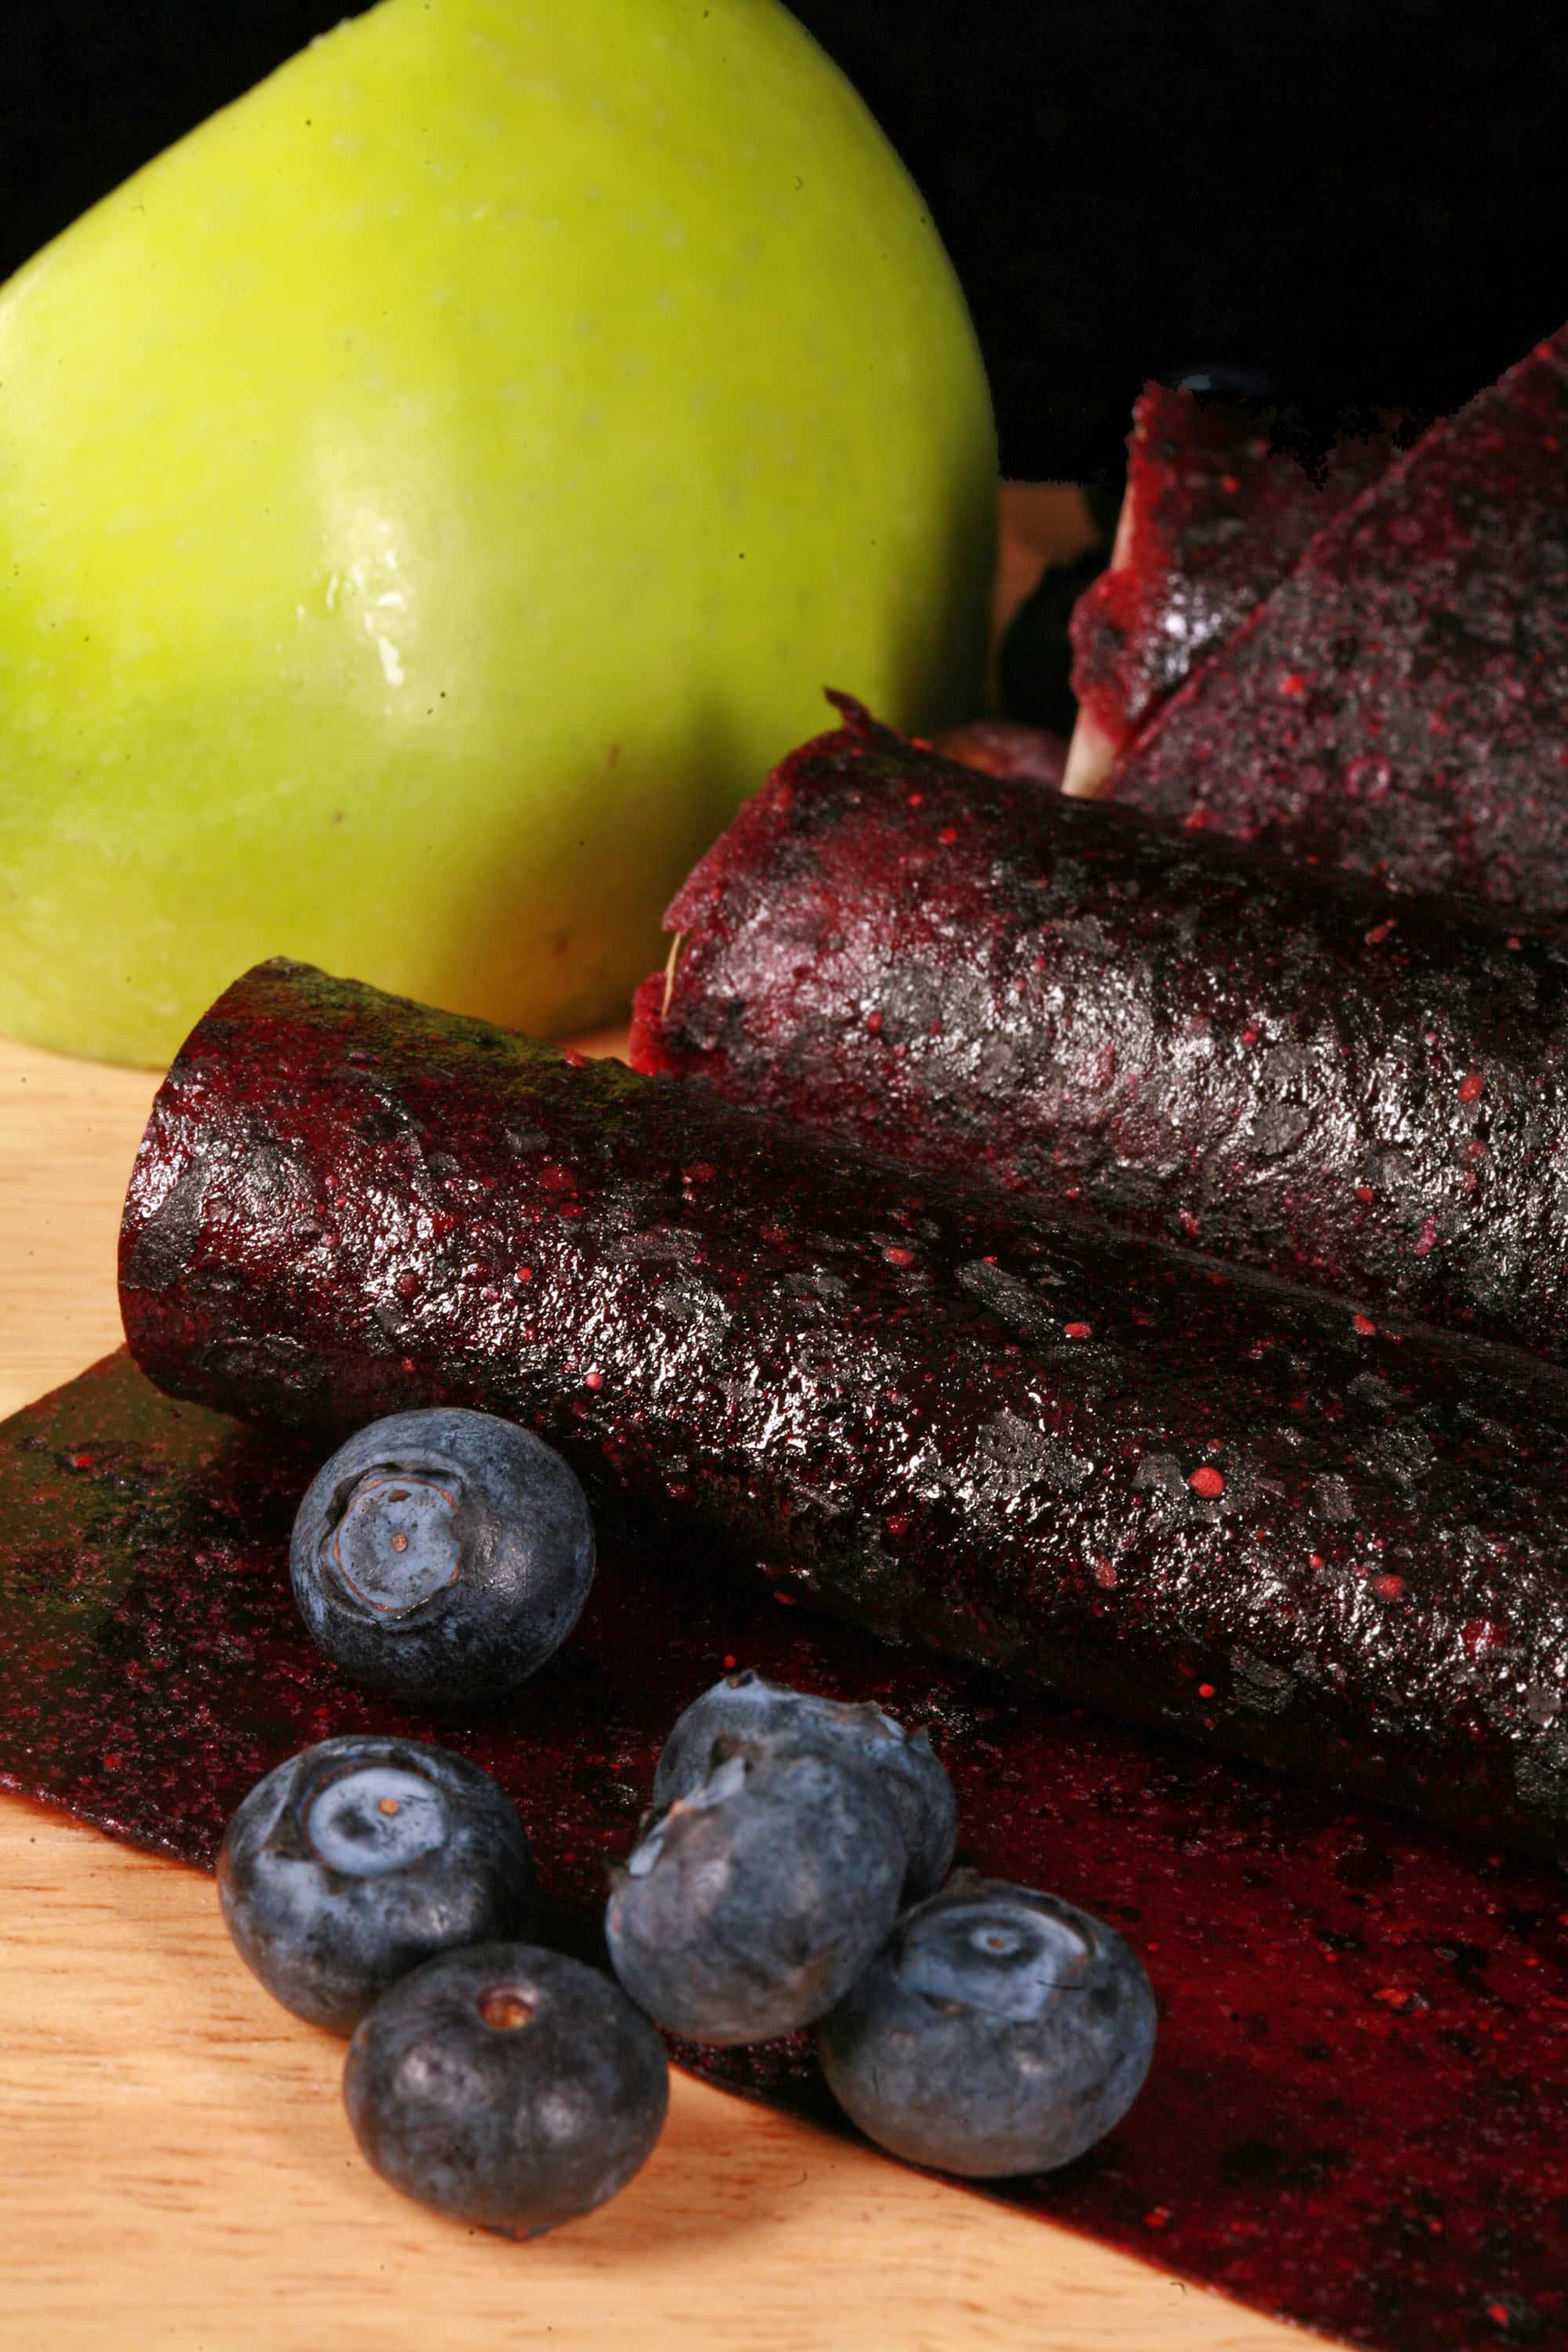
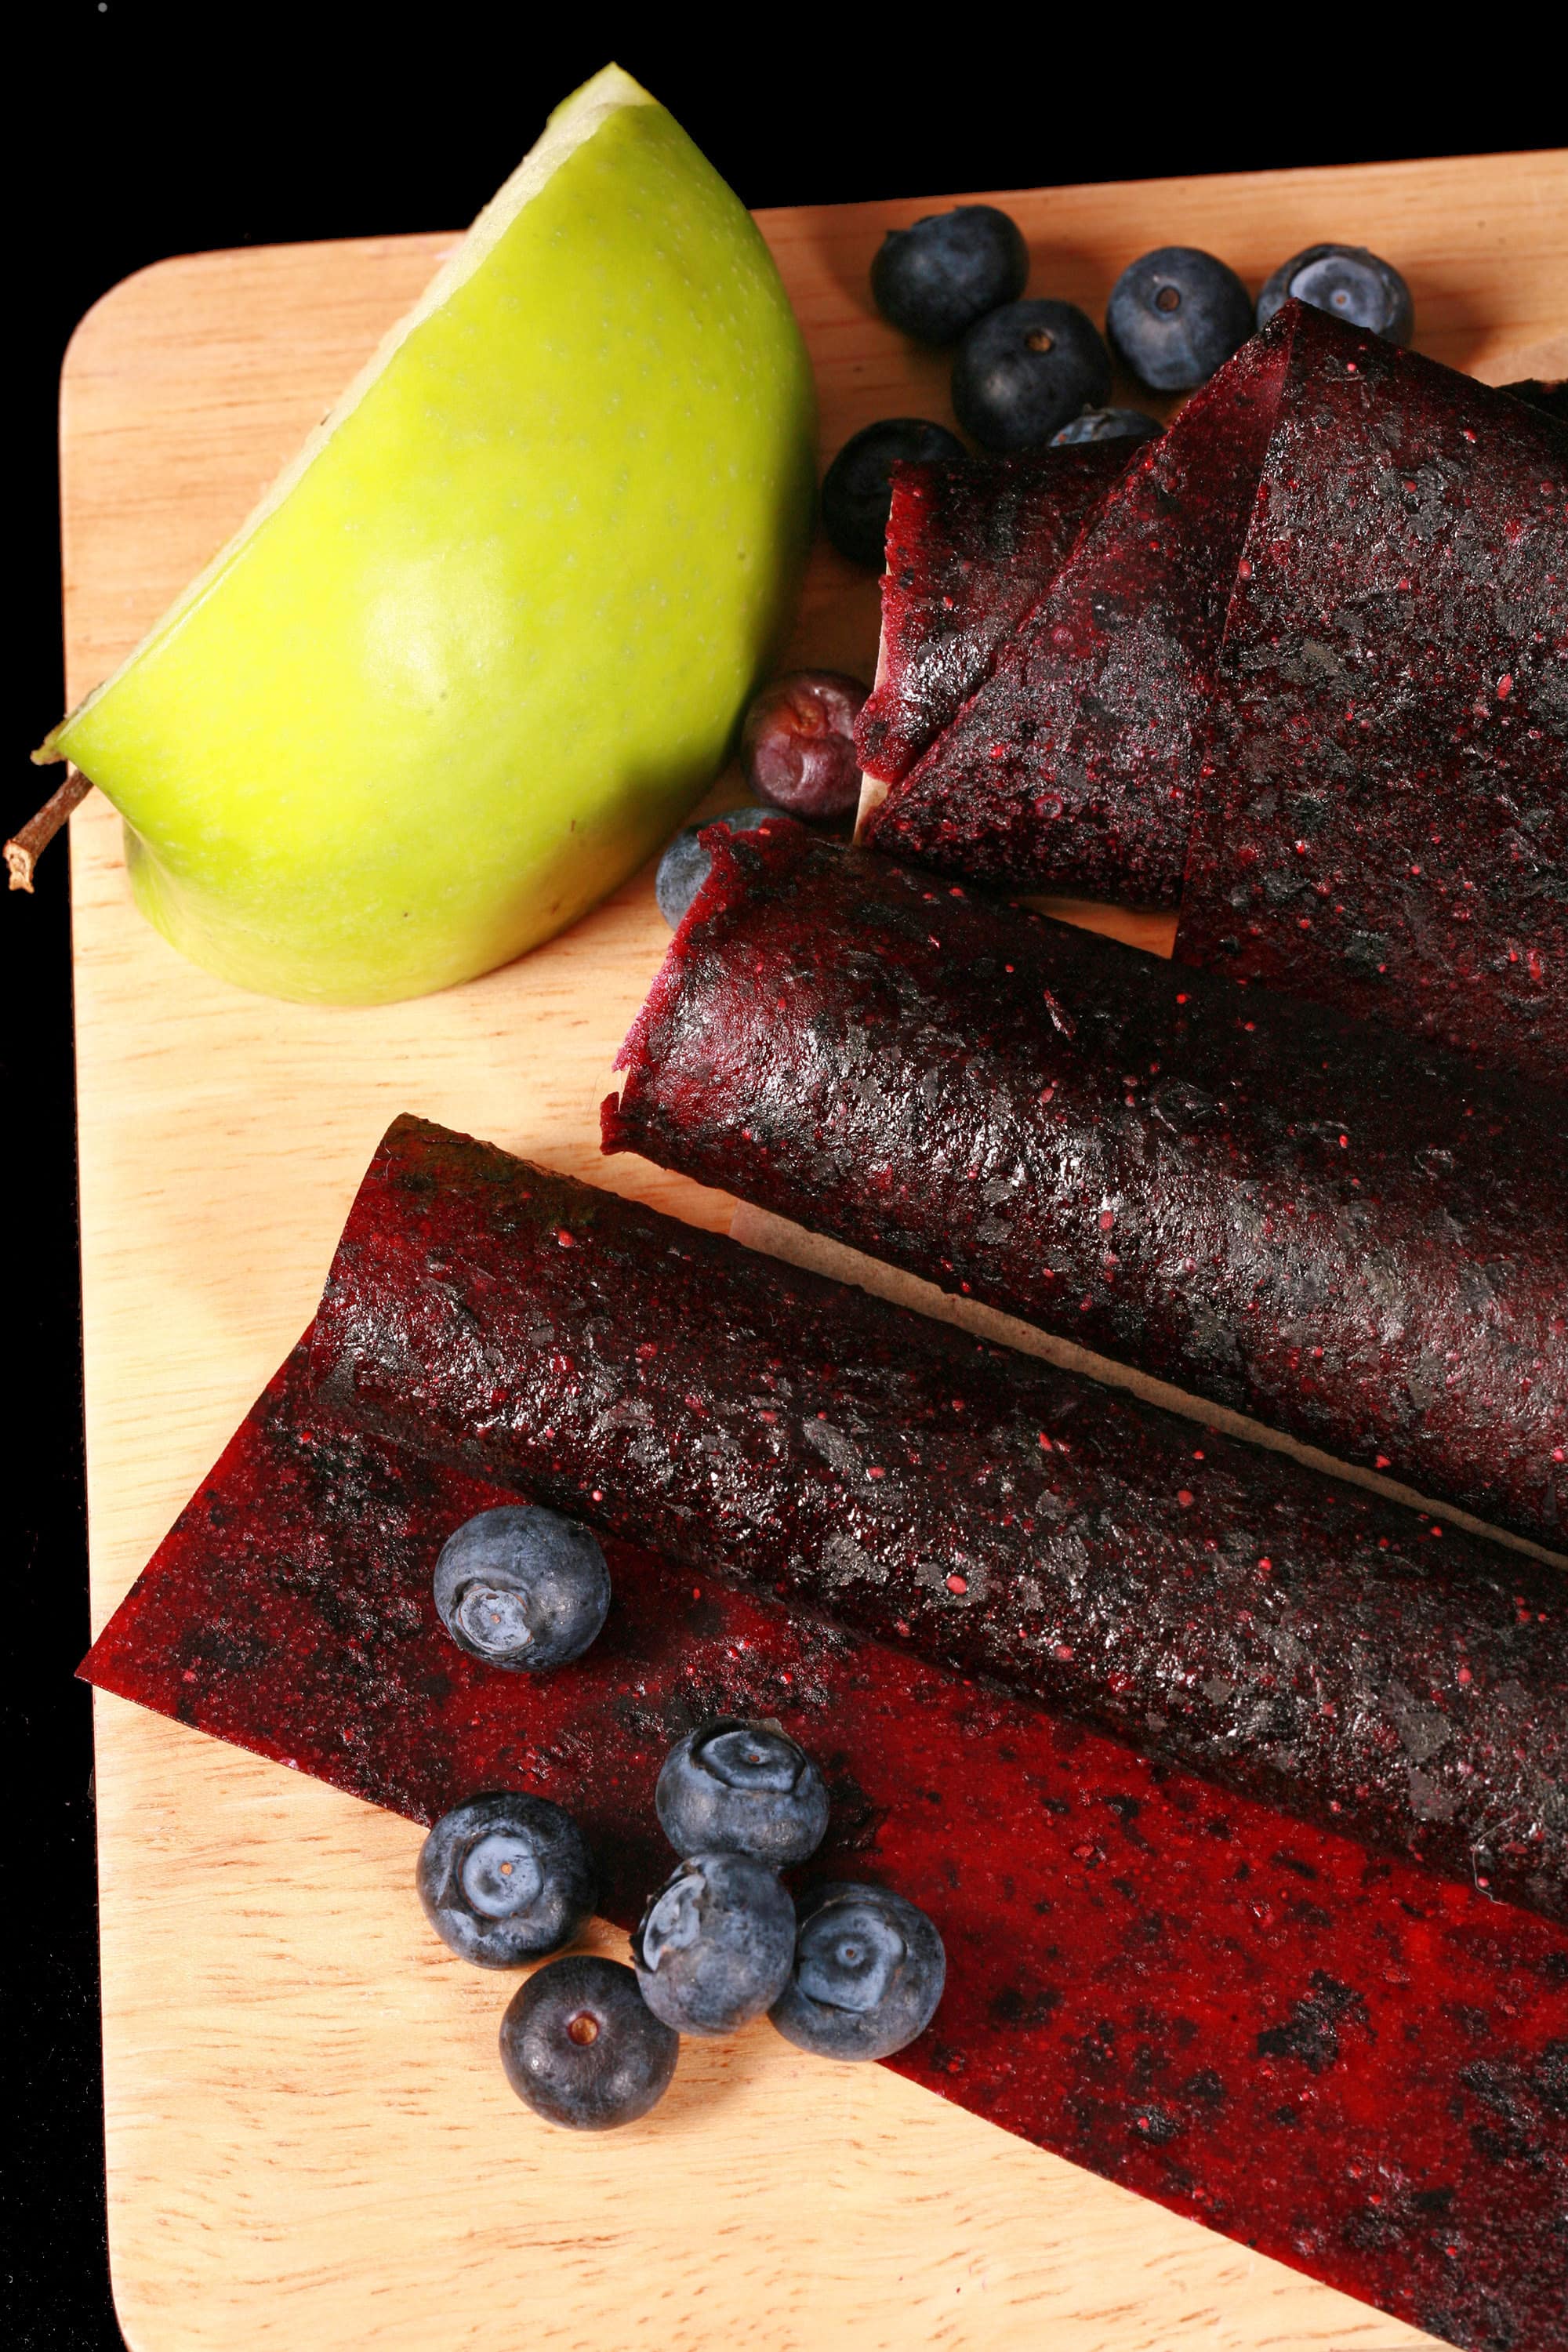
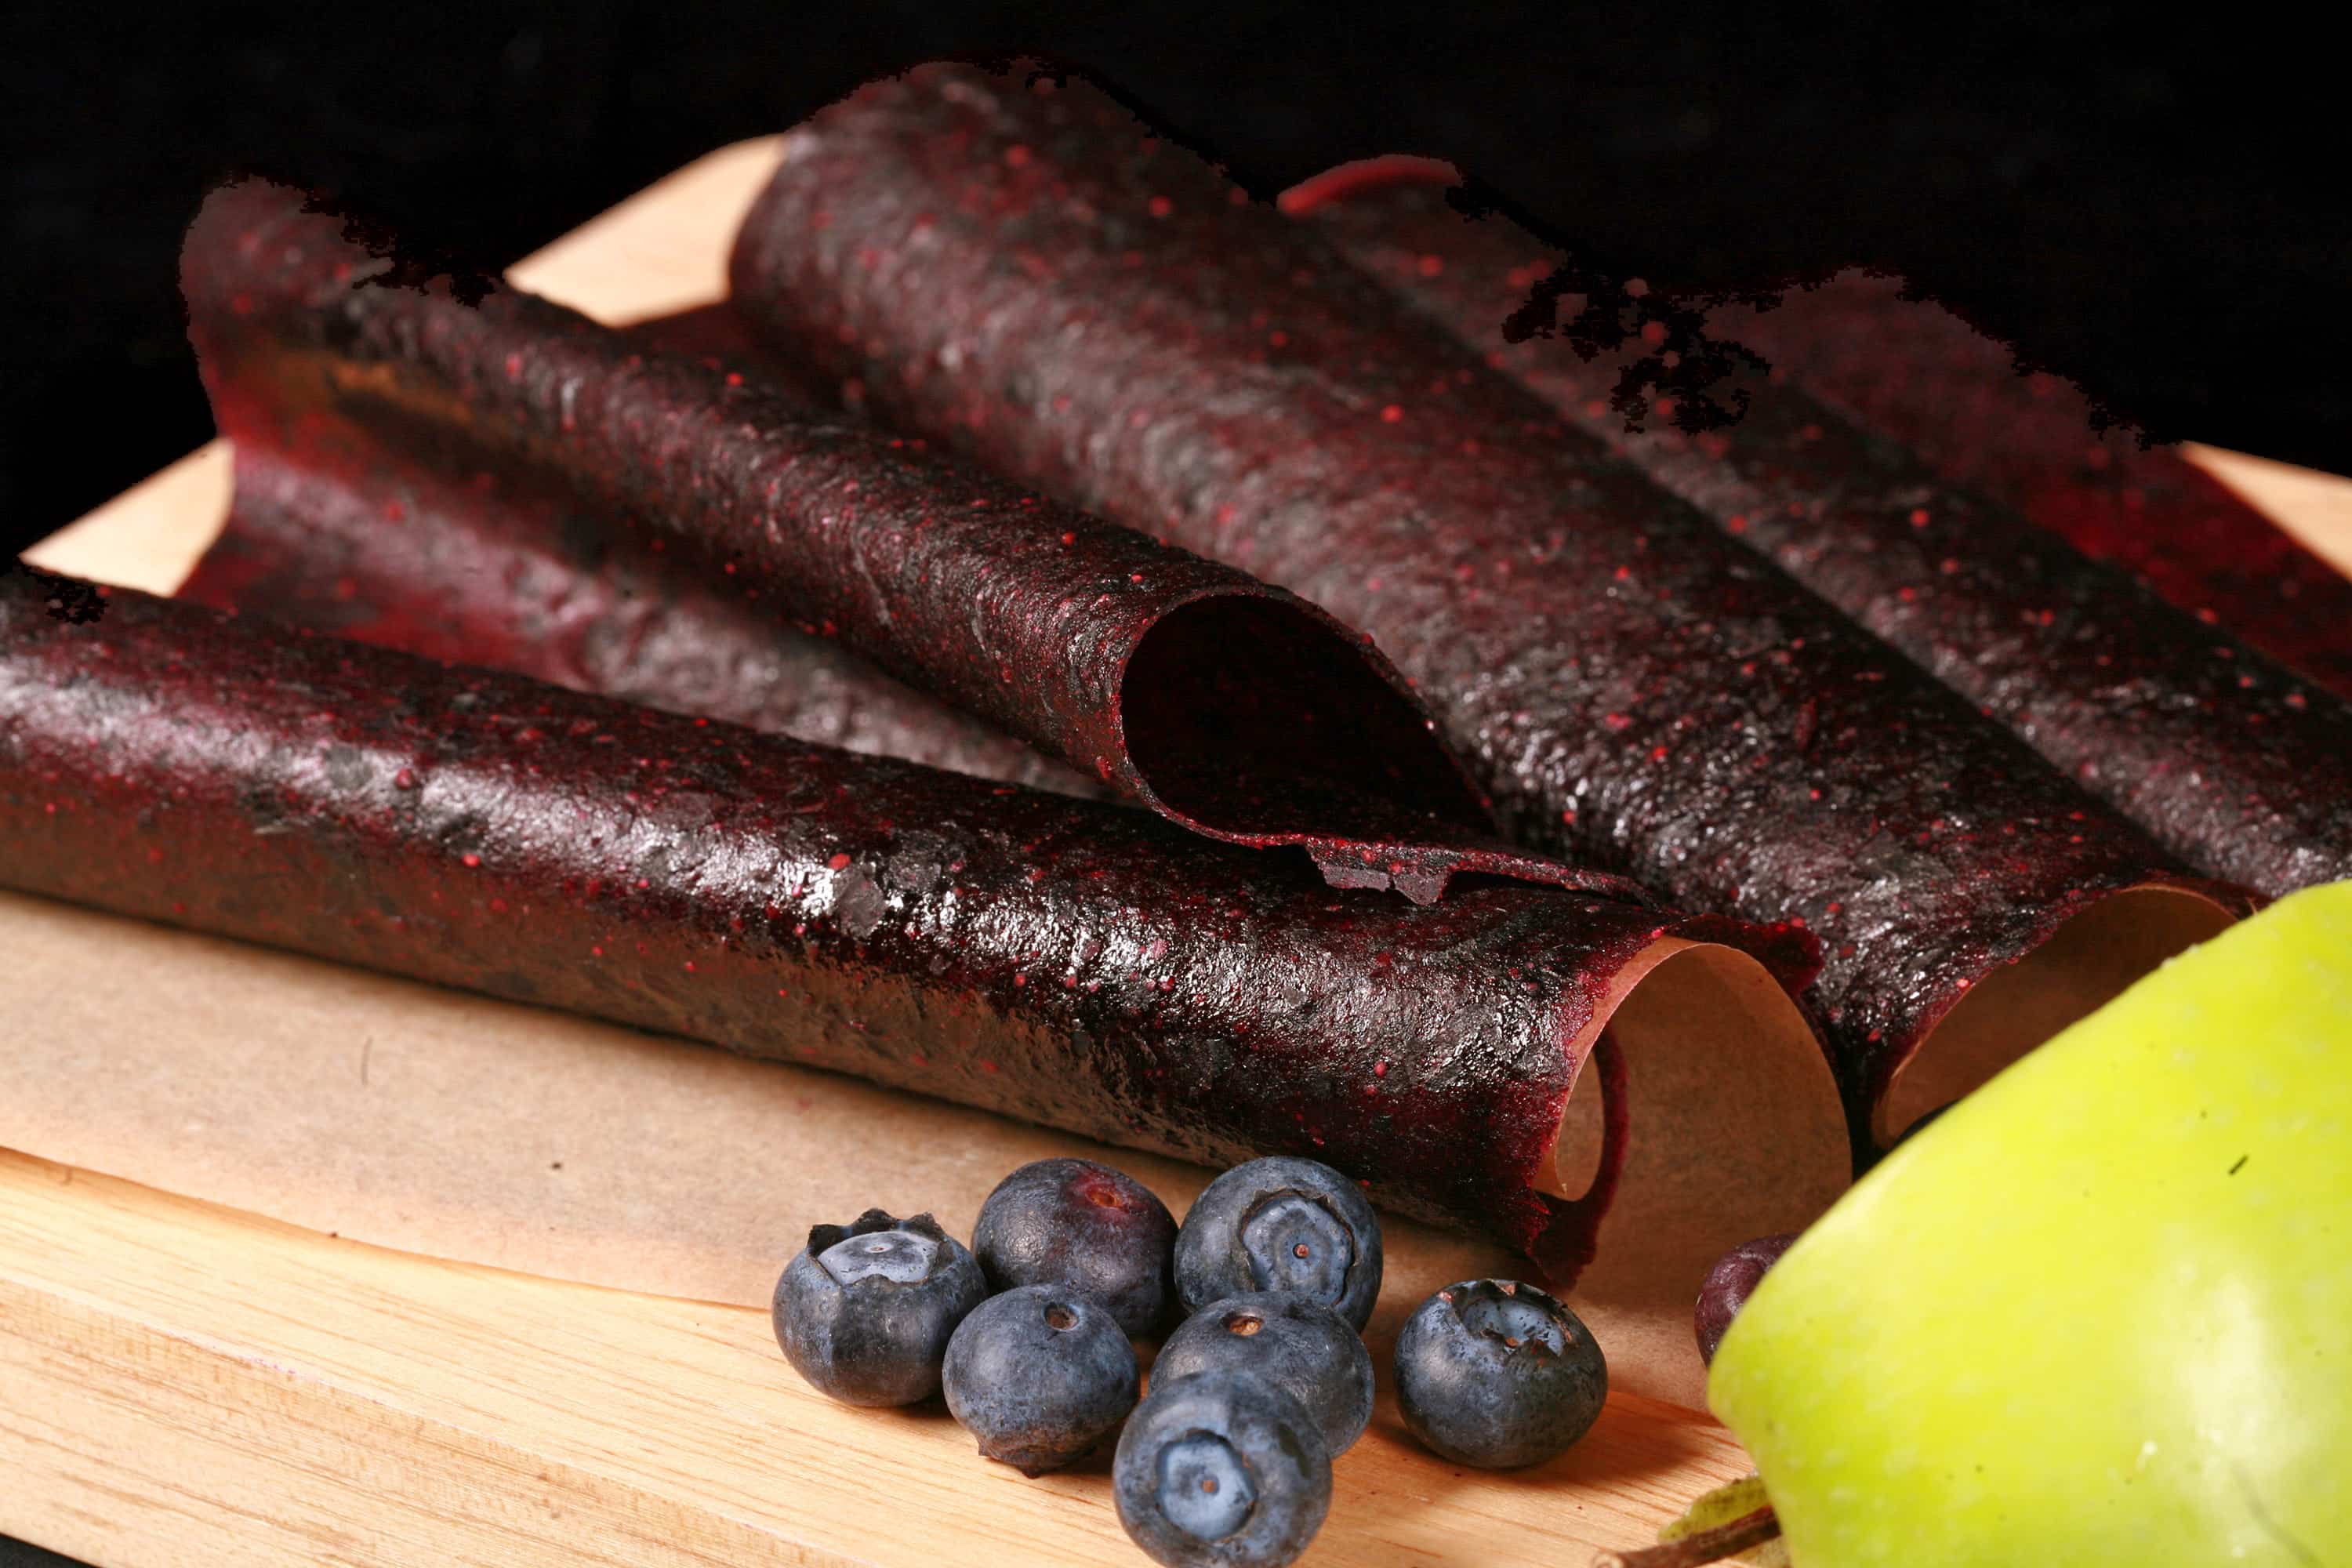
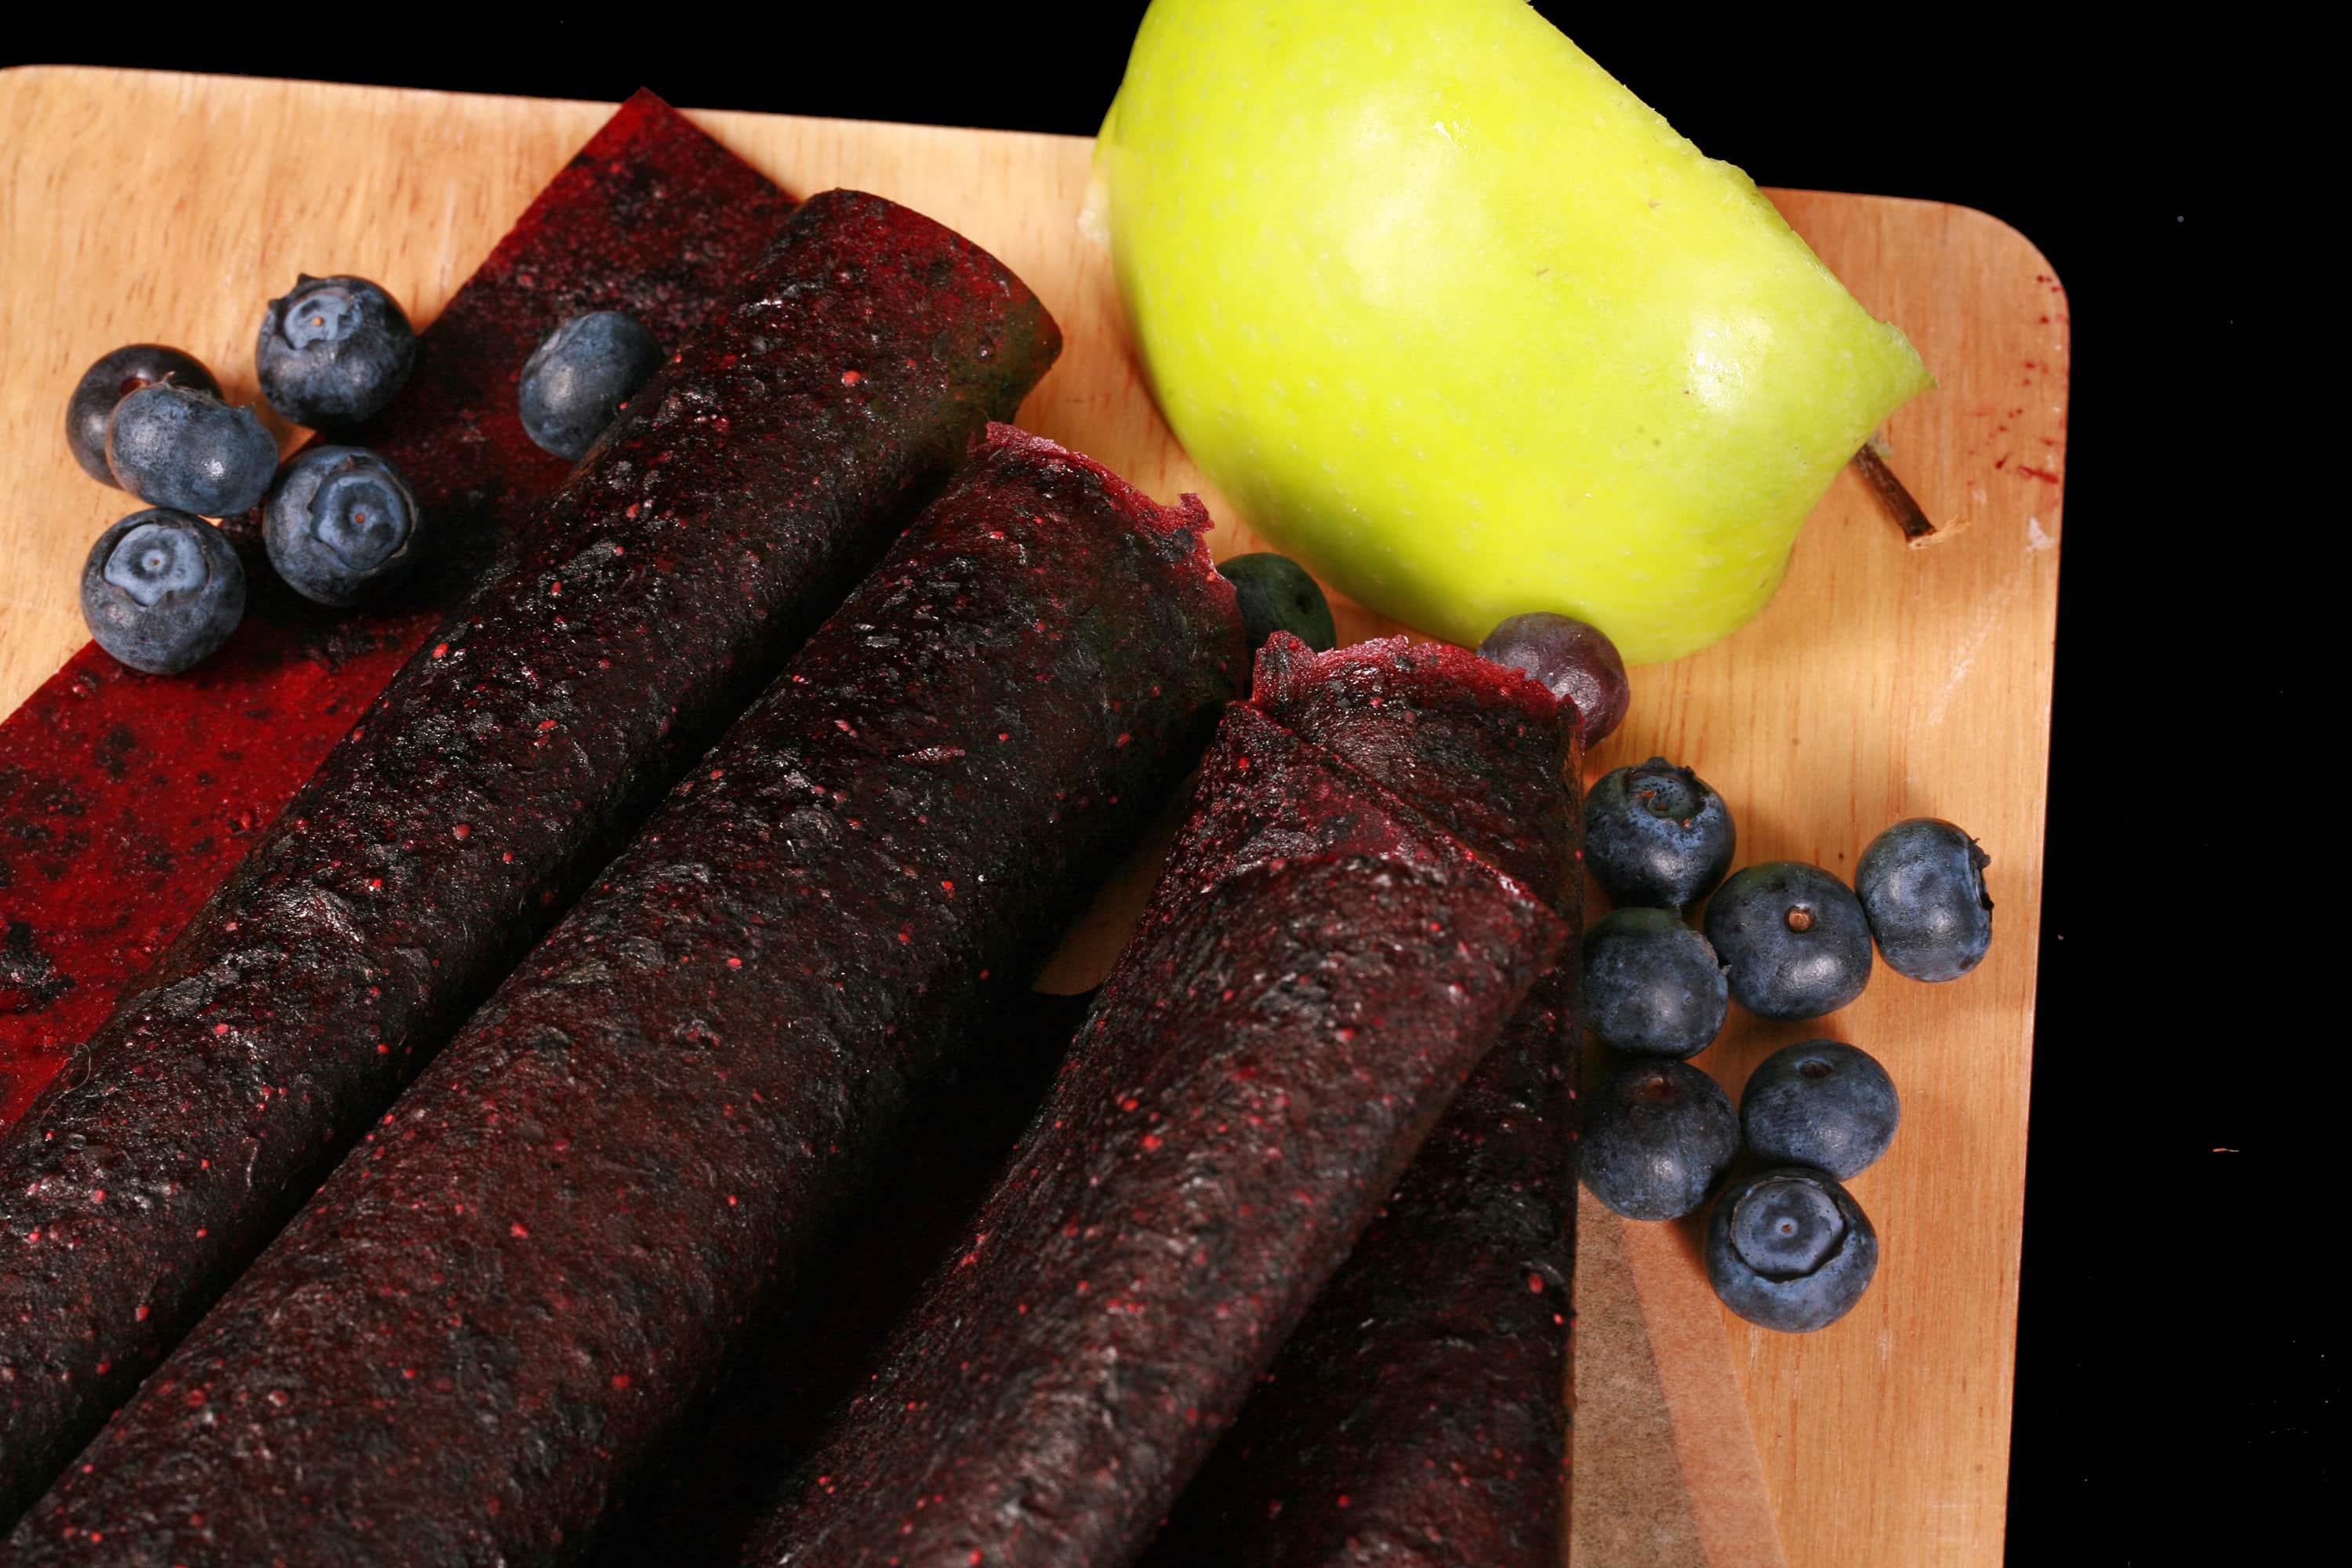
This homemade Apple Blueberry Fruit Leather recipe takes only a few minutes of work. SO much better than store bought fruit roll-ups, too!
I used to love this flavour as a kid, when we’d buy the sticks of fruit leather - so it was definitely one I was going to make, when we started making our own fruit leather.
The way I make ours gives you the flavour and nutrutional profile of those sticks, but in the format of fruit roll-ups.
So.... homemade fruit roll-ups, but far more natural, rather than a corn syrup based candy. It’s just pureed fruit, with a small amount of added sugar to balance the flavours and really make them pop!
Overall, still a really healthy snack - much more so than most store-bought versions!
Blueberries, by weight, are far more expensive than apples, so I’m using the apple here to bulk out the recipe a bit, and stretch the blueberries further.
Still a ton of great blueberry flavour, just with the added bonus of a bit of apple sweetness coming through, as well.
Anyway, it’s a super simple recipe, so let’s look at what you’ll need to have on hand, so you can get right to making your own Apple Blueberry fruit roll-ups.
Ingredients
This homemade fruit leather recipe uses super basic ingredients - you won’t have any trouble finding everything you need, in pretty much any grocery store.
As always, I have a few notes for you:
Fresh Apples
I recommend using Granny Smith apples for this recipe, though Mutsu is another great option. They both have great flavour, cook down to a good consistency, and take the additional flavouring and colours well.
When it comes down to it, though, anything you’d make applesauce with would work!
Blueberries
You can use fresh or frozen blueberries.
If using frozen, just measure while frozen, then thaw them before pureeing them, that’s all!
Everything Else
Rounding out this recipe, all you need is sweetener and a little salt.
As far as the sweetener goes, I recommend Honey, Maple Syrup, or White Sugar.
Choose whatever best suits your taste and dietary needs - White Sugar has the most neutral flavour, while honey and maple syrup both add their own distinct flavours to the fruit mixture.
Equipment
There are two specialized pieces of equipment that I use for making jerky, beyond basics like spoons, bowls, and measuring cups:
A Food Dehydrator
While you can apparently make homemade fruit leather in a conventional oven, I’m not a fan of running one for hours on end.
A few years ago, I since upgraded from a food dehydrator with no controls, to a Cosori 6 Tray Food Dehydrator, and LOVE it.
It was only like $200 Canadian, and it’s paid for itself MANY times over, between all the Maple Cinnamon Apple Chips and jerkies I’ve been making!
Think of it this way - The same size of jerky that I tend to make goes for about $4 in a gas station.
I get about 10-15 strips out of a batch (varying by recipe) - let’s average that out to 12. That’s $48 worth of jerky, for $8 or less. Make 5 batches, that’s your $200 in savings!
Anyway, we’re using a dehydrator a LOT more, now that we have a nice one. Having the control over the temperature really opens up the possibilities.
Silicone Dehydrator Trays
You’ll need a couple Silicone Dehydrator Trays, with a bit of a rim.
The ones you’ll buy will depend on the size of your dehydrator. For our dehydrator, we use these Silicone Dehydrator Mats Compatible with Cosori CP267-FD.
Share the Love!If you’ve made one of our recipes, be sure to take some pics of your handiwork! If you post it to Bluesky, be sure to tag us - @CelebrationGen. We're also on Pinterest, so you can save all your favourite recipes to a board! Also, be sure to subscribe to our free email newsletter, so you never miss out on any of our nonsense. Well, the published nonsense, anyway! |
How to Make Apple Blueberry Fruit Leather
The full recipe is in the printable recipe card at the bottom of this post; here is the pictorial walk through:
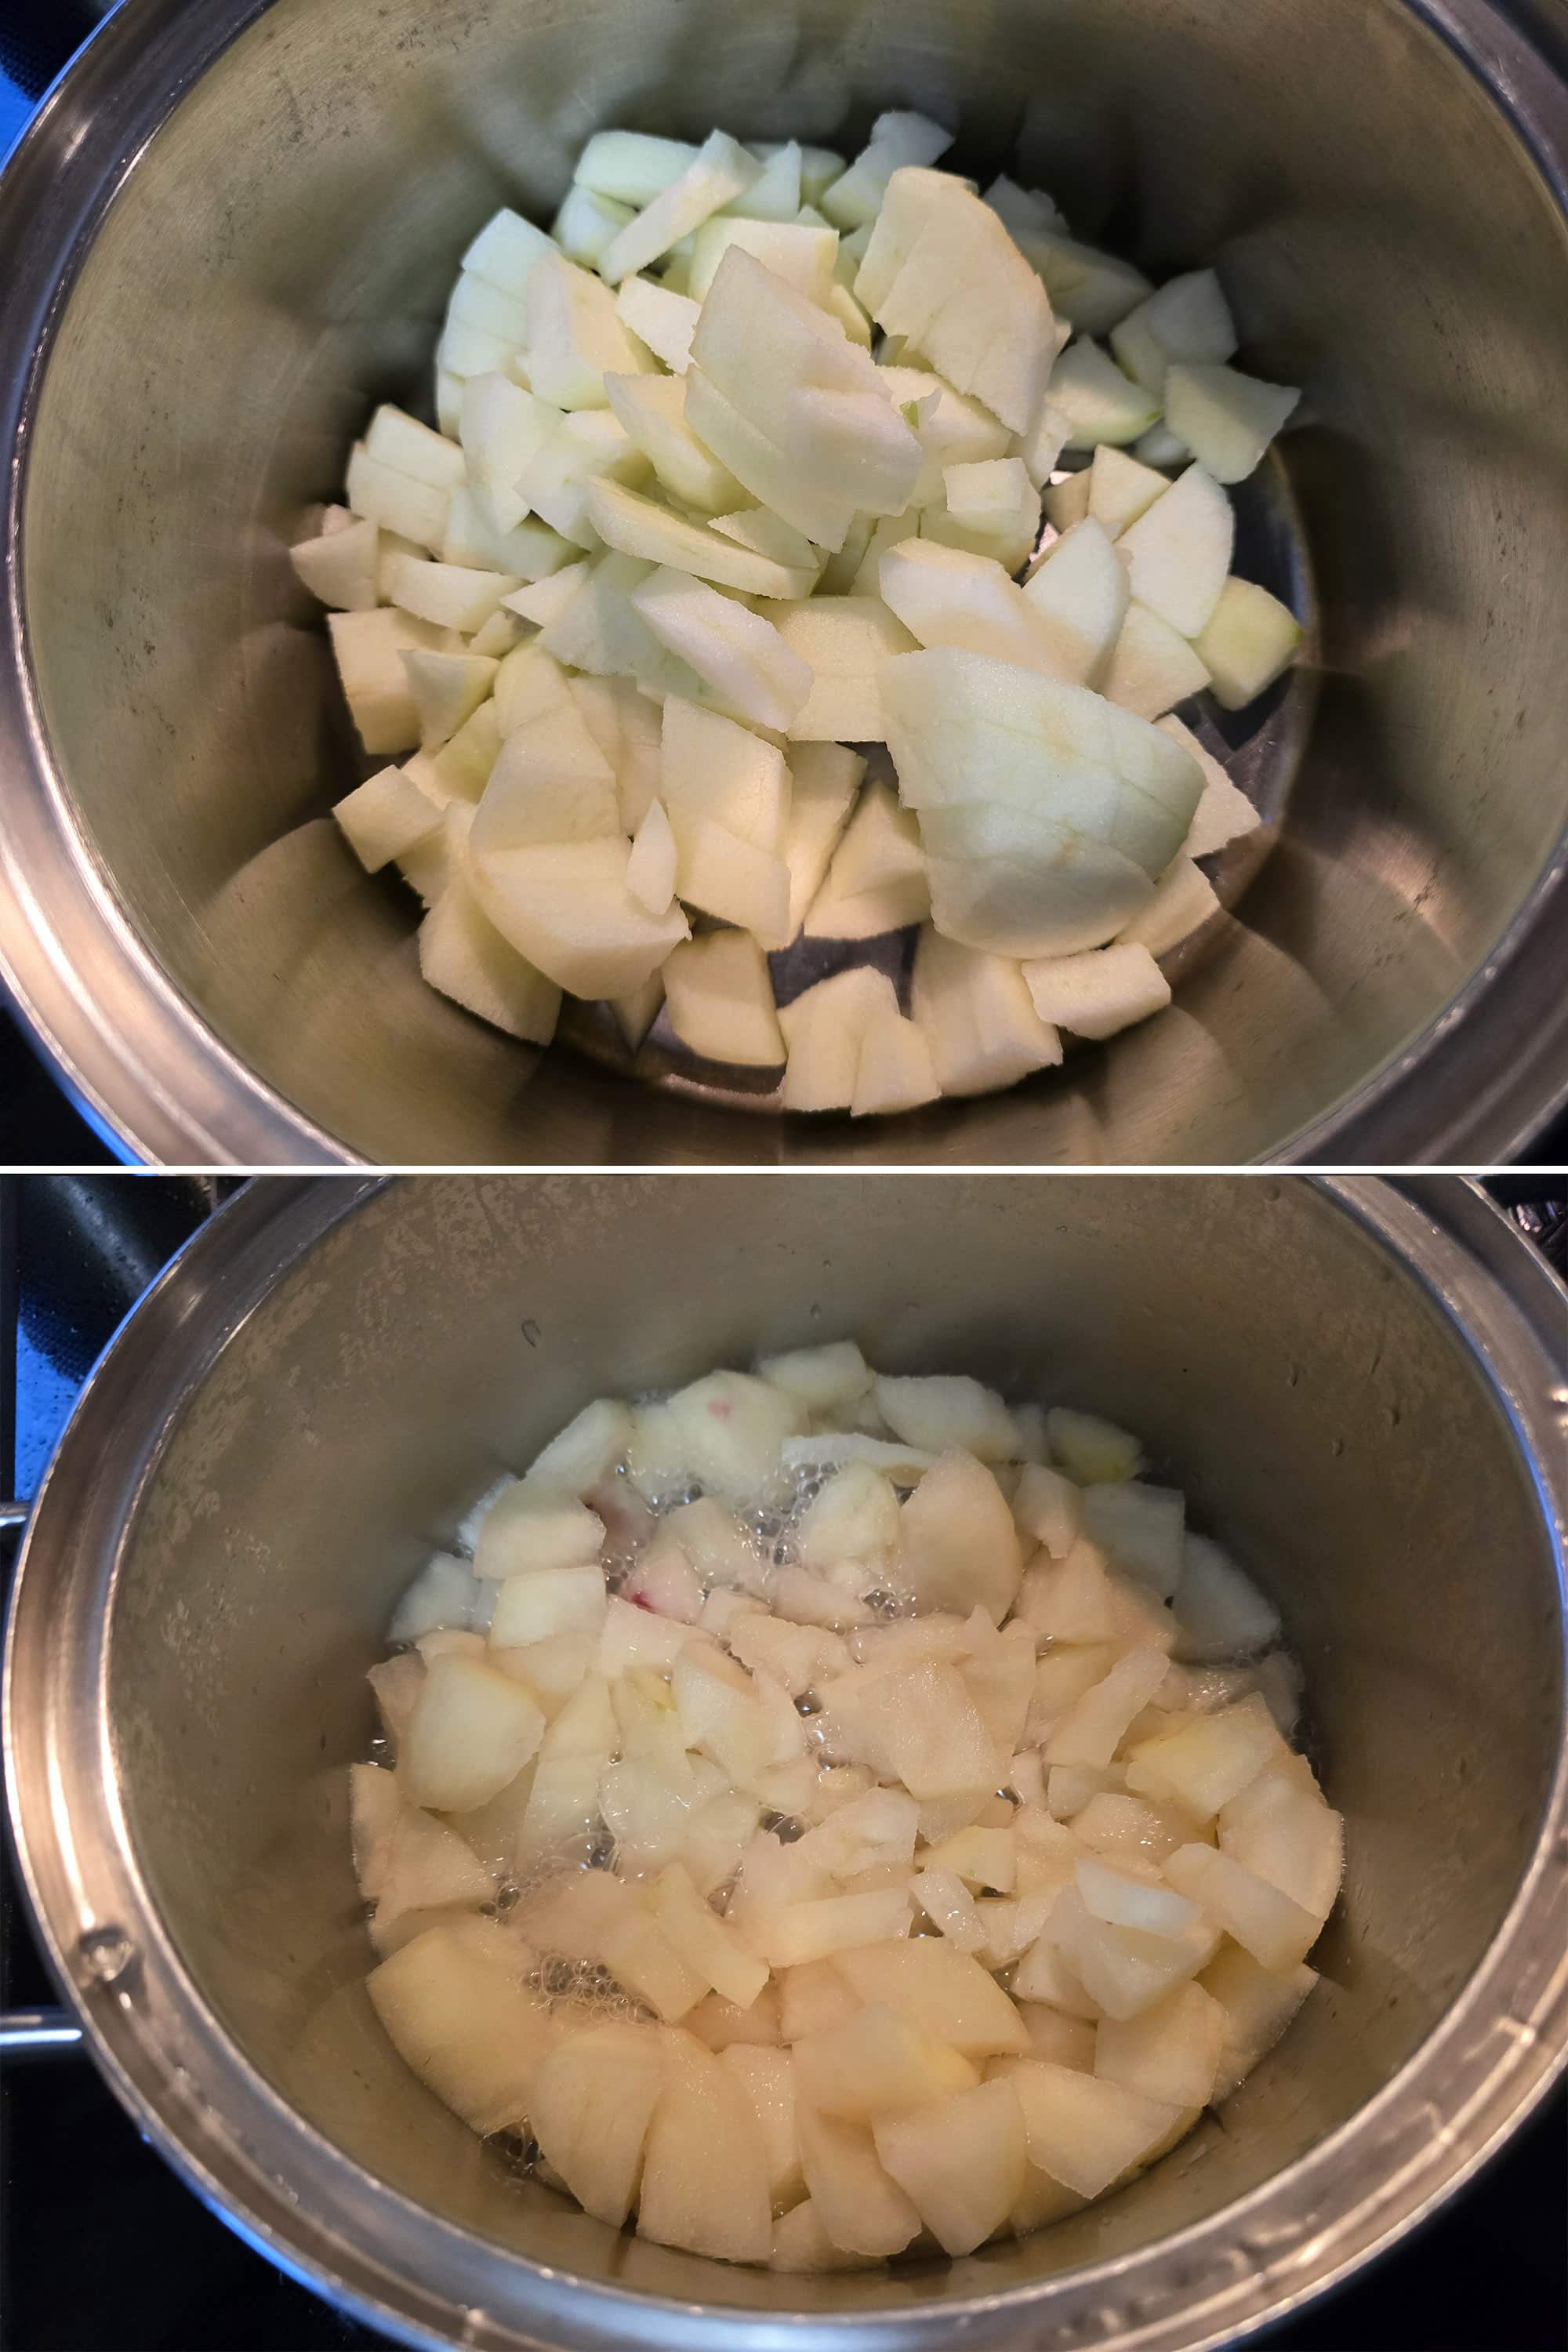
Simmer chopped apples and water - covered - for 10-15 minutes, or until the apples are cooked through and soft.
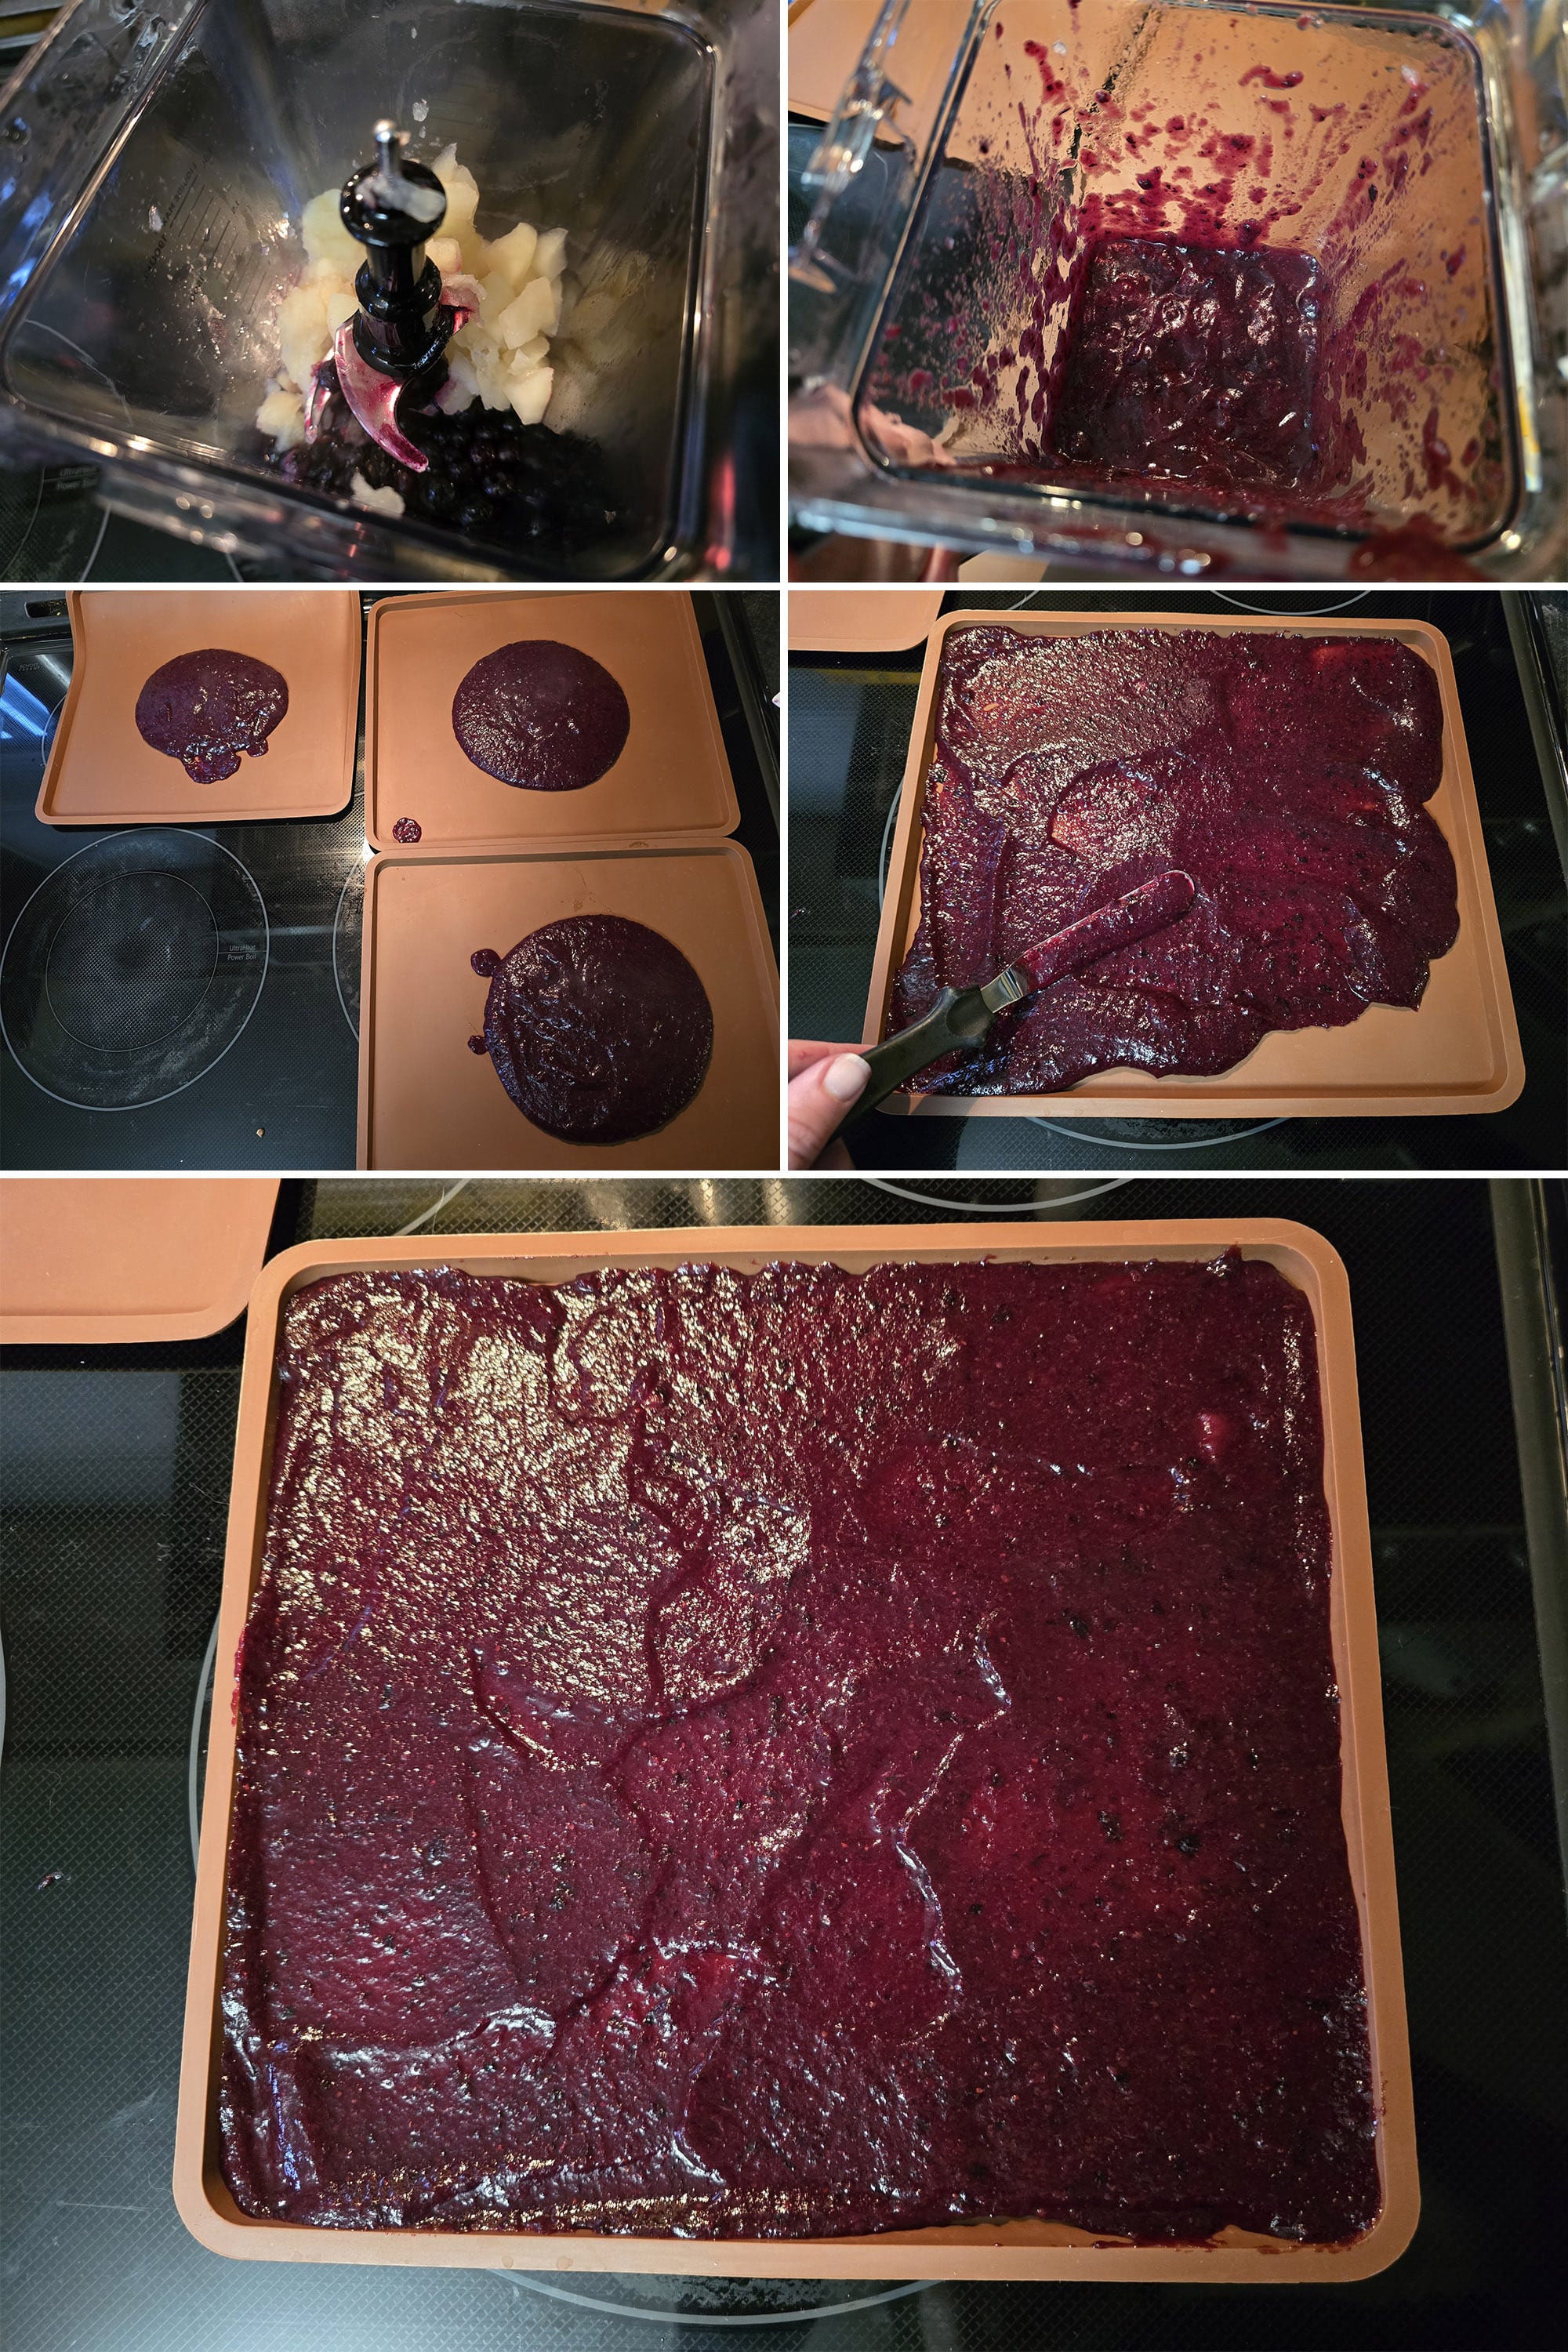
Blend into a smooth puree - you can add a little water if you find the mixture is too think to properly blend.
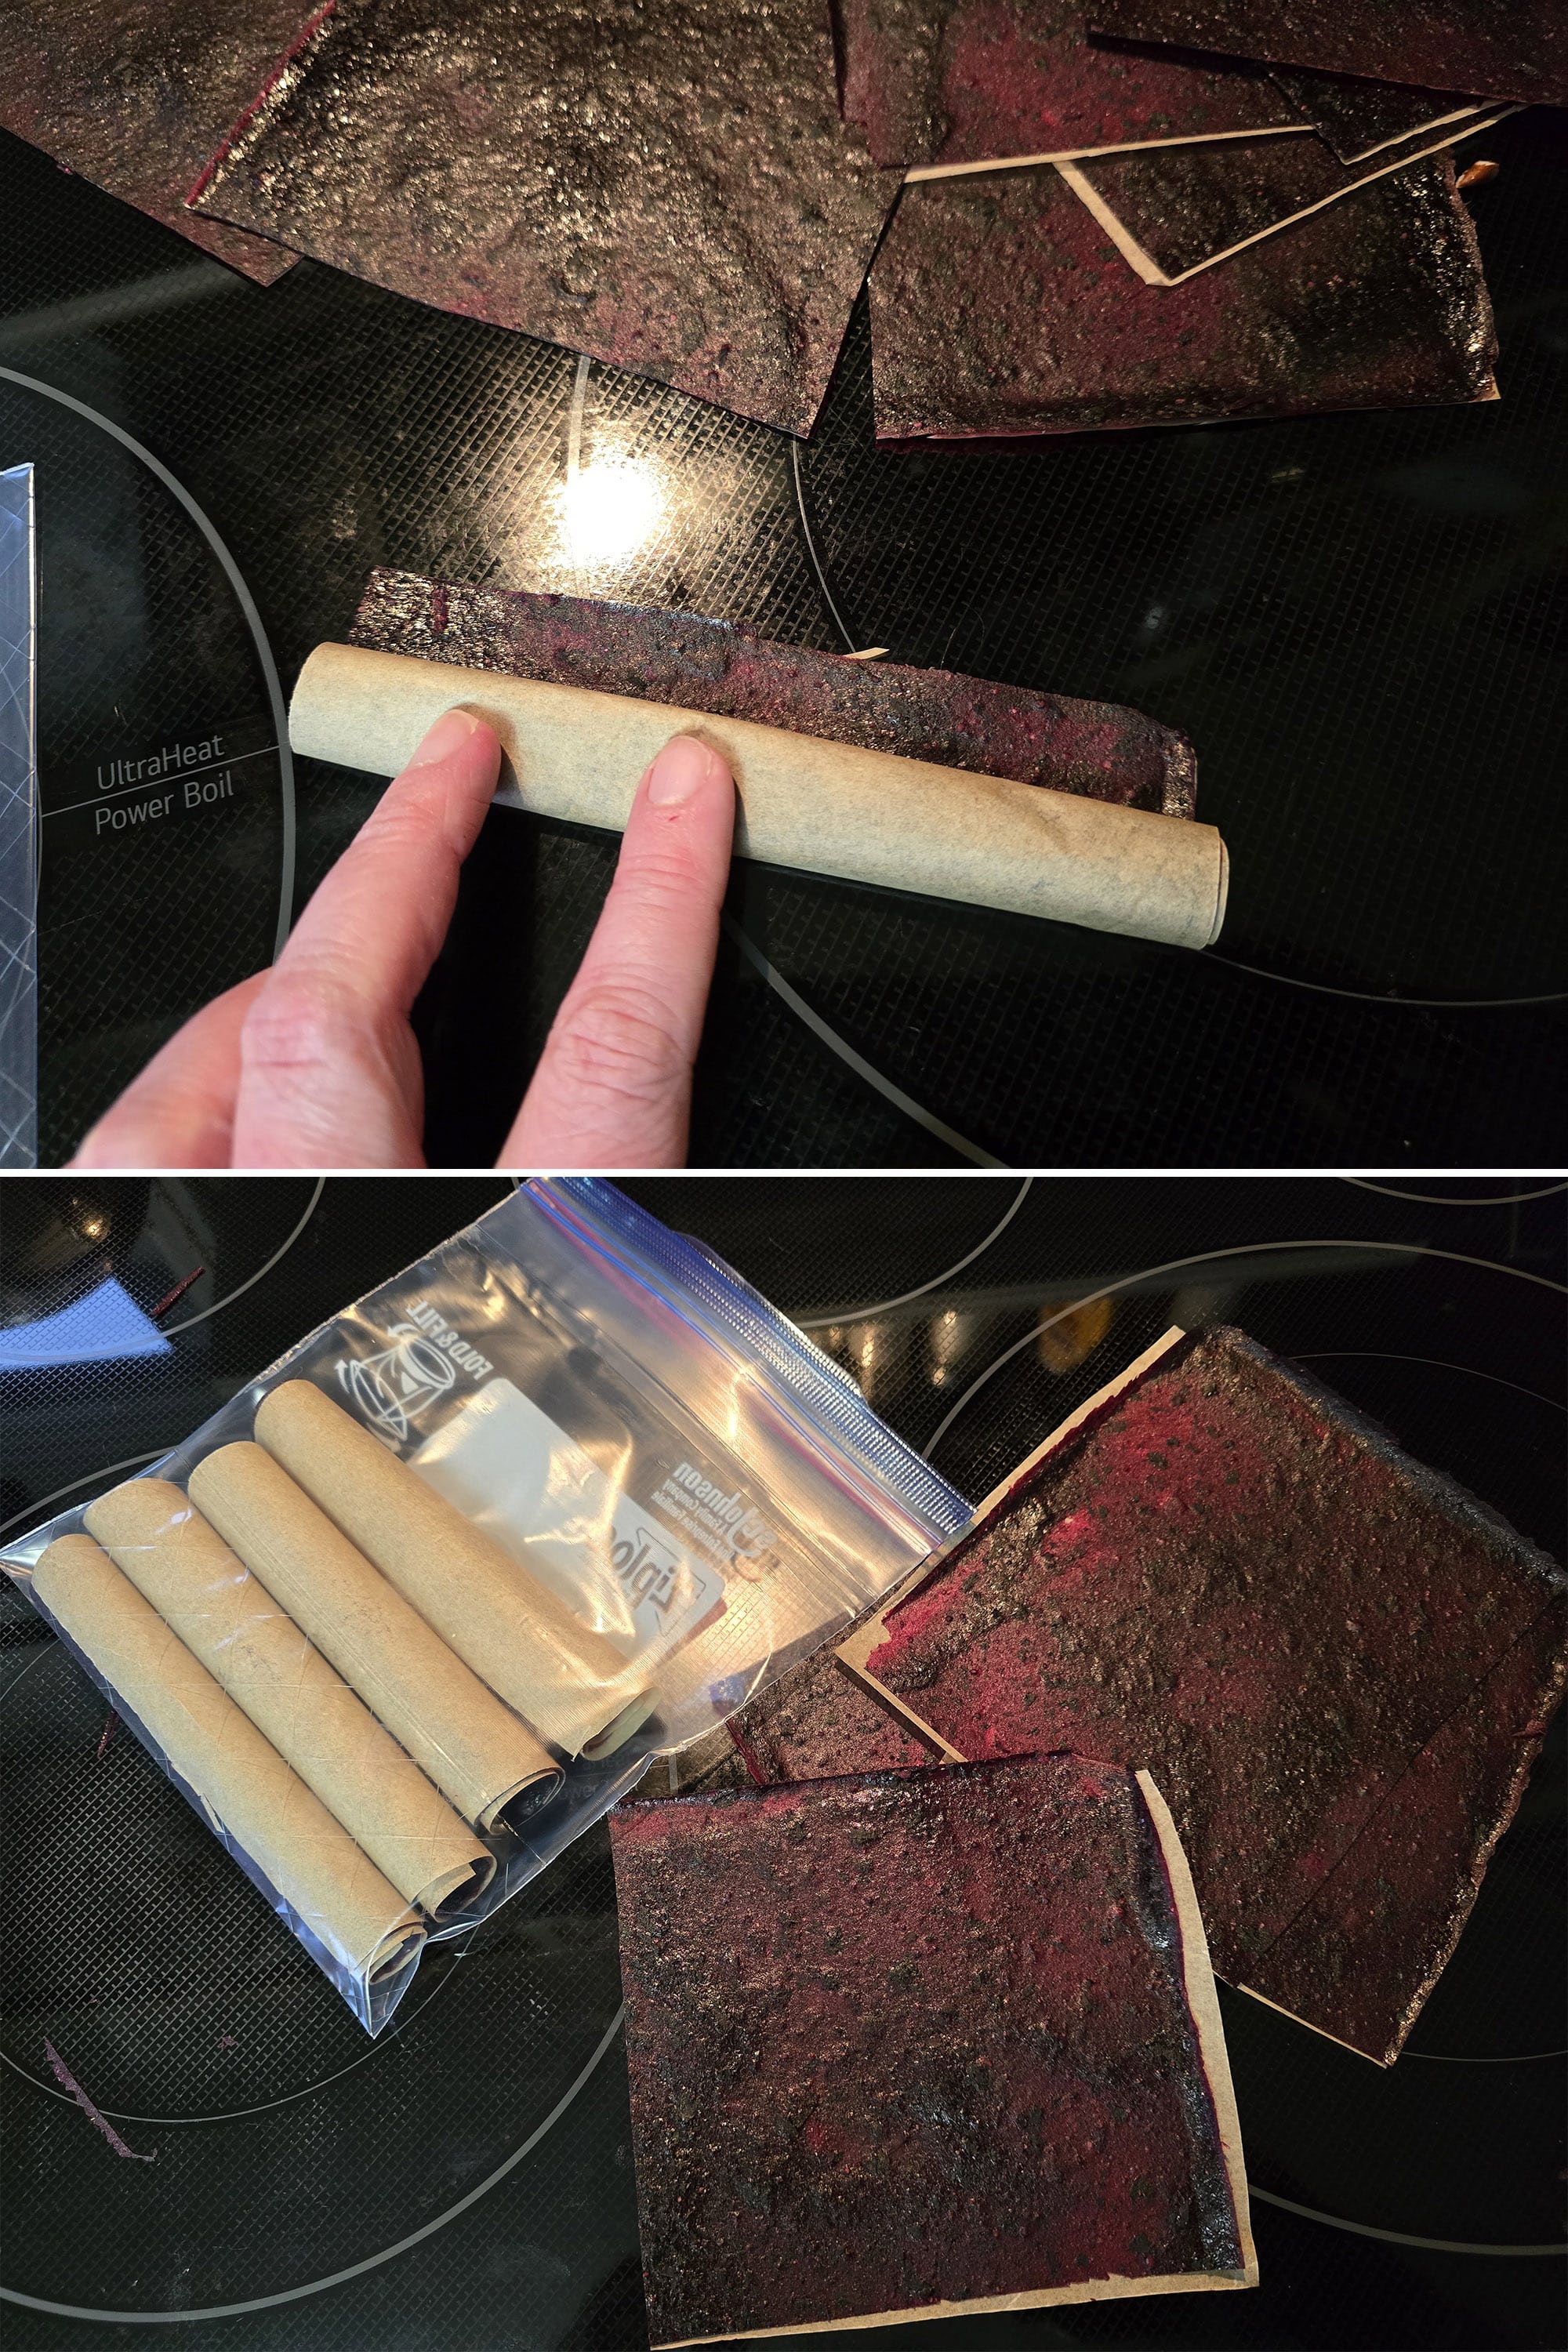
Divide fruit mixture between three silicone dehydrator trays. Use an offset spatula to spread the mixture to a thin layer - of even thickness - on each tray.
Note: For best results, put each silicone mat on one of the trays of your dehydrator BEFORE spreading the fruit puree.
Note: dehydrating time can vary, but I find it always ends up in the 6-8 hours. If you added extra liquid or a spread it as a thicker fruit leather, it will have a longer drying time than thinner-spread fruit leather.
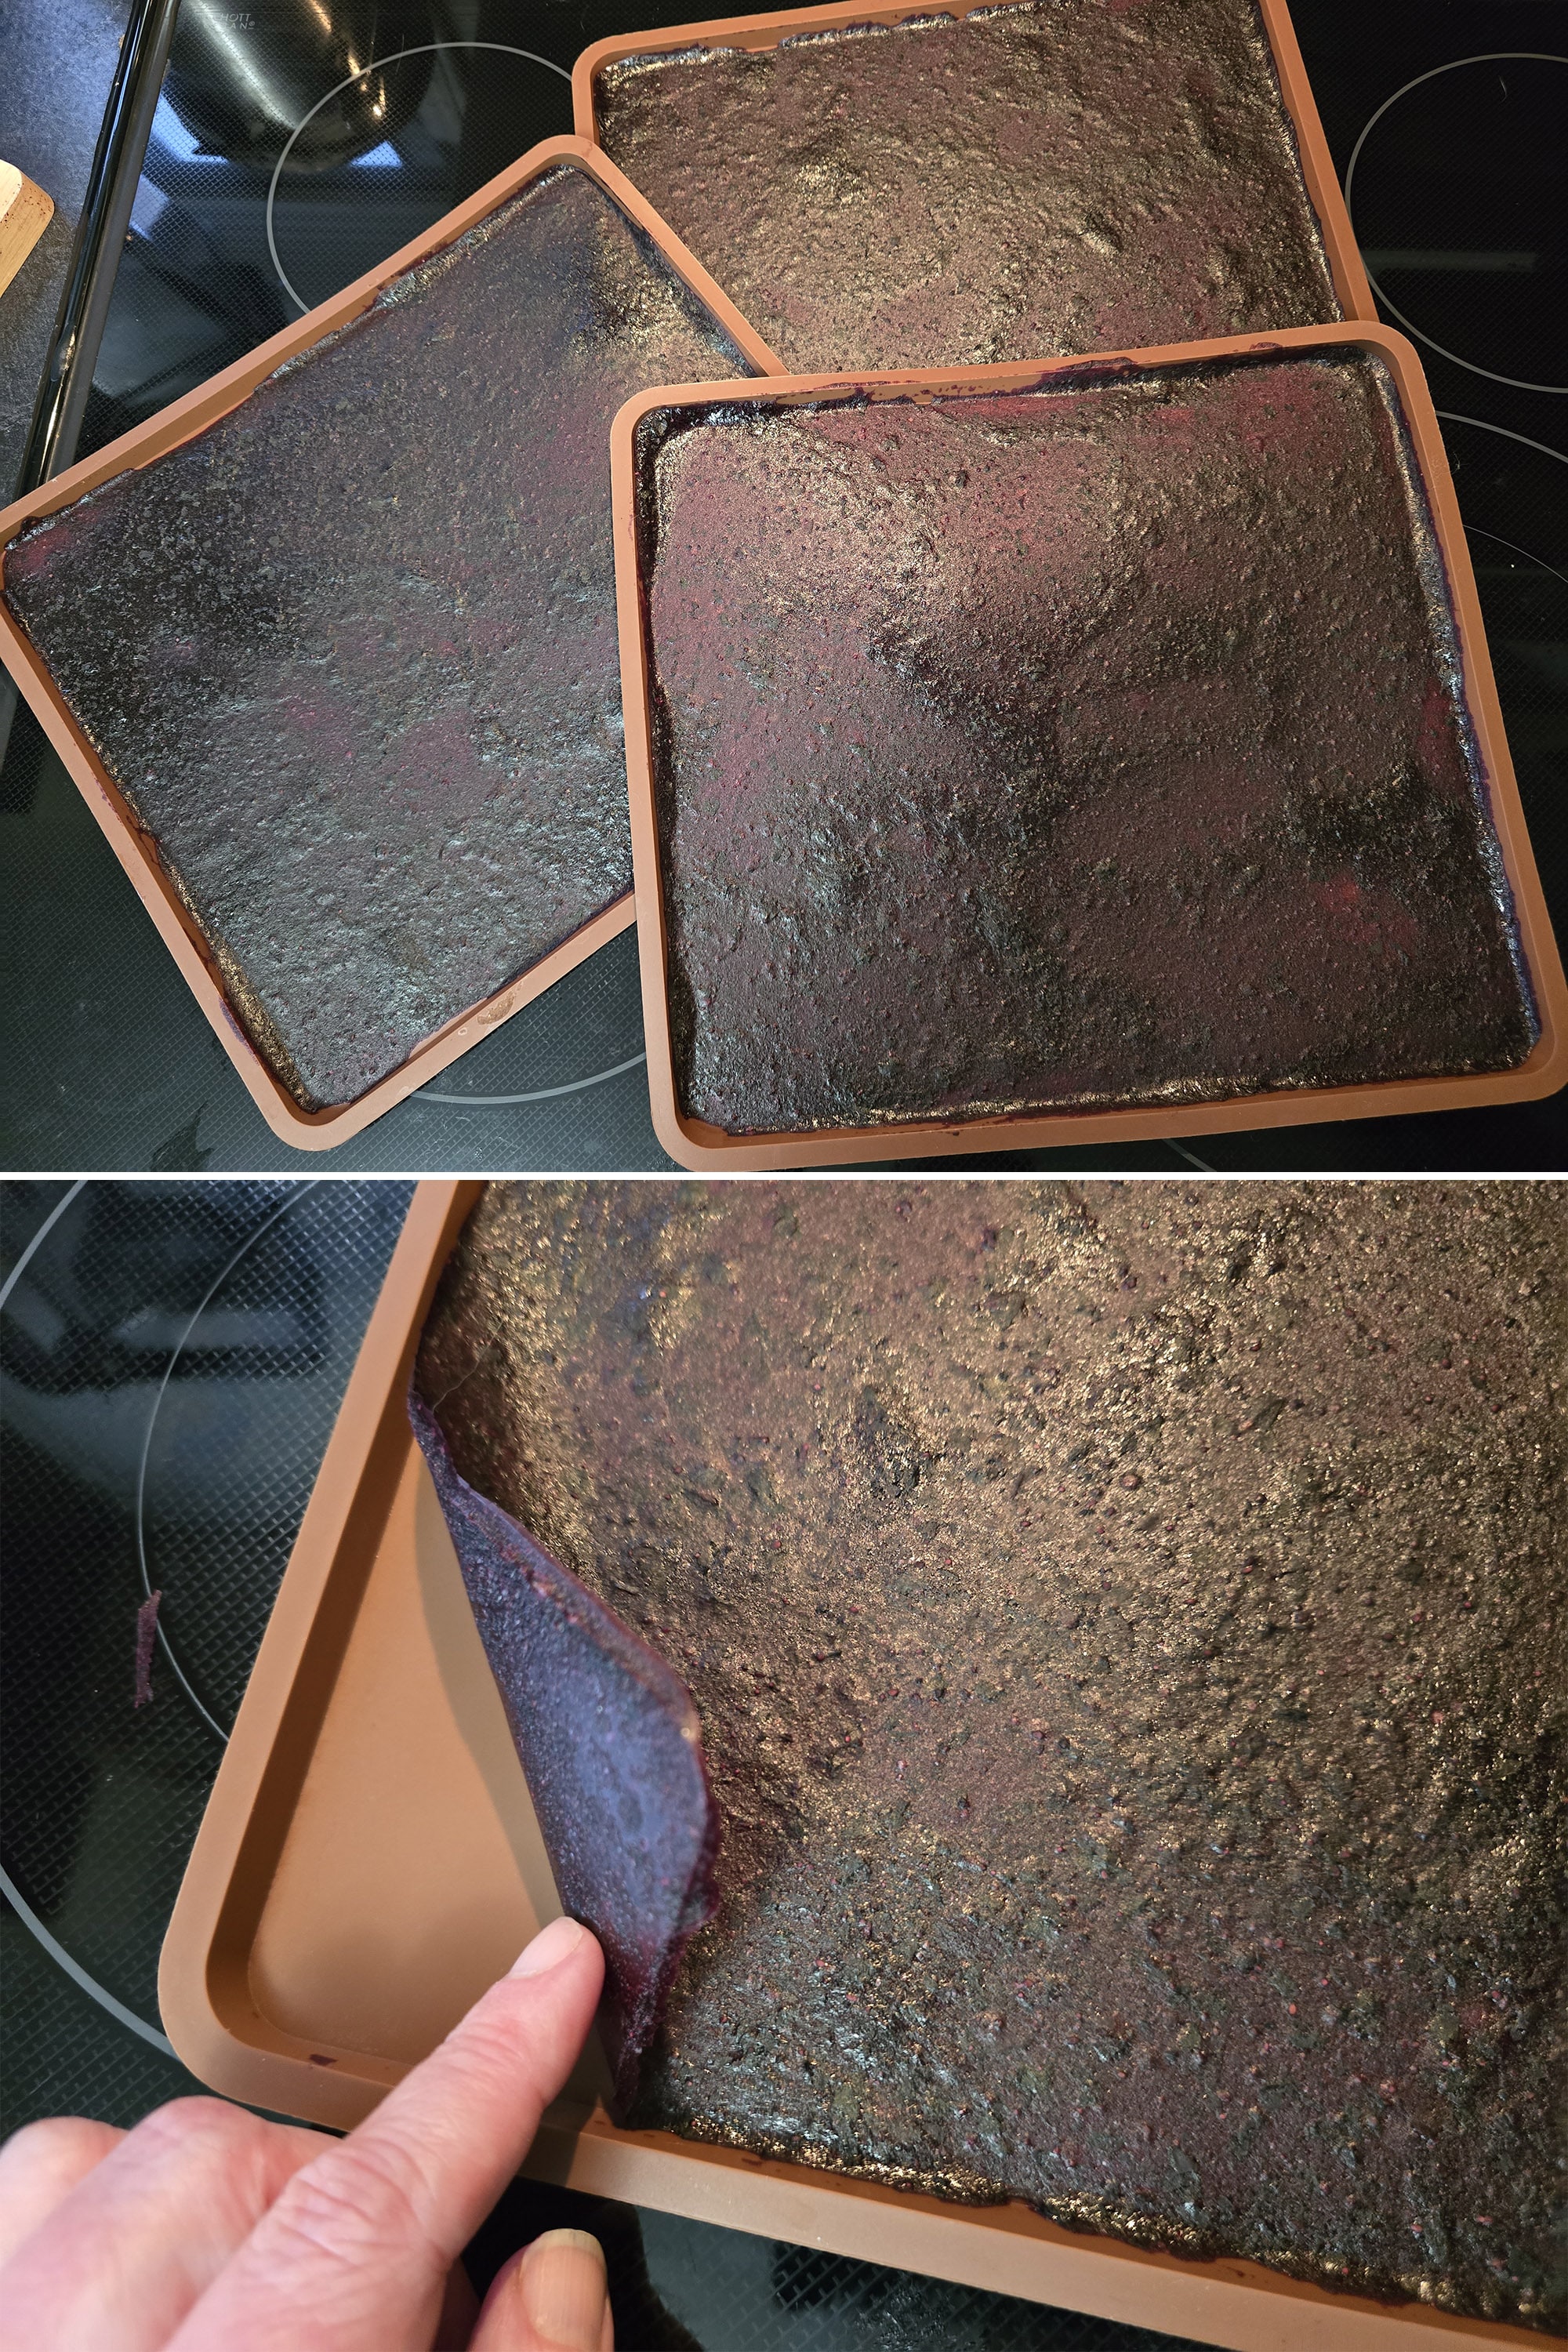
At 6 hours, check your fruit leather. It should pull up from the silicone relatively easily, and be soft without being sticky. If it’s not dried yet, put it back in the food dehydrator until it is.
Once you’re happy with the dryness, remove the pans from the food dehydrator and allow to cool to room temperature.
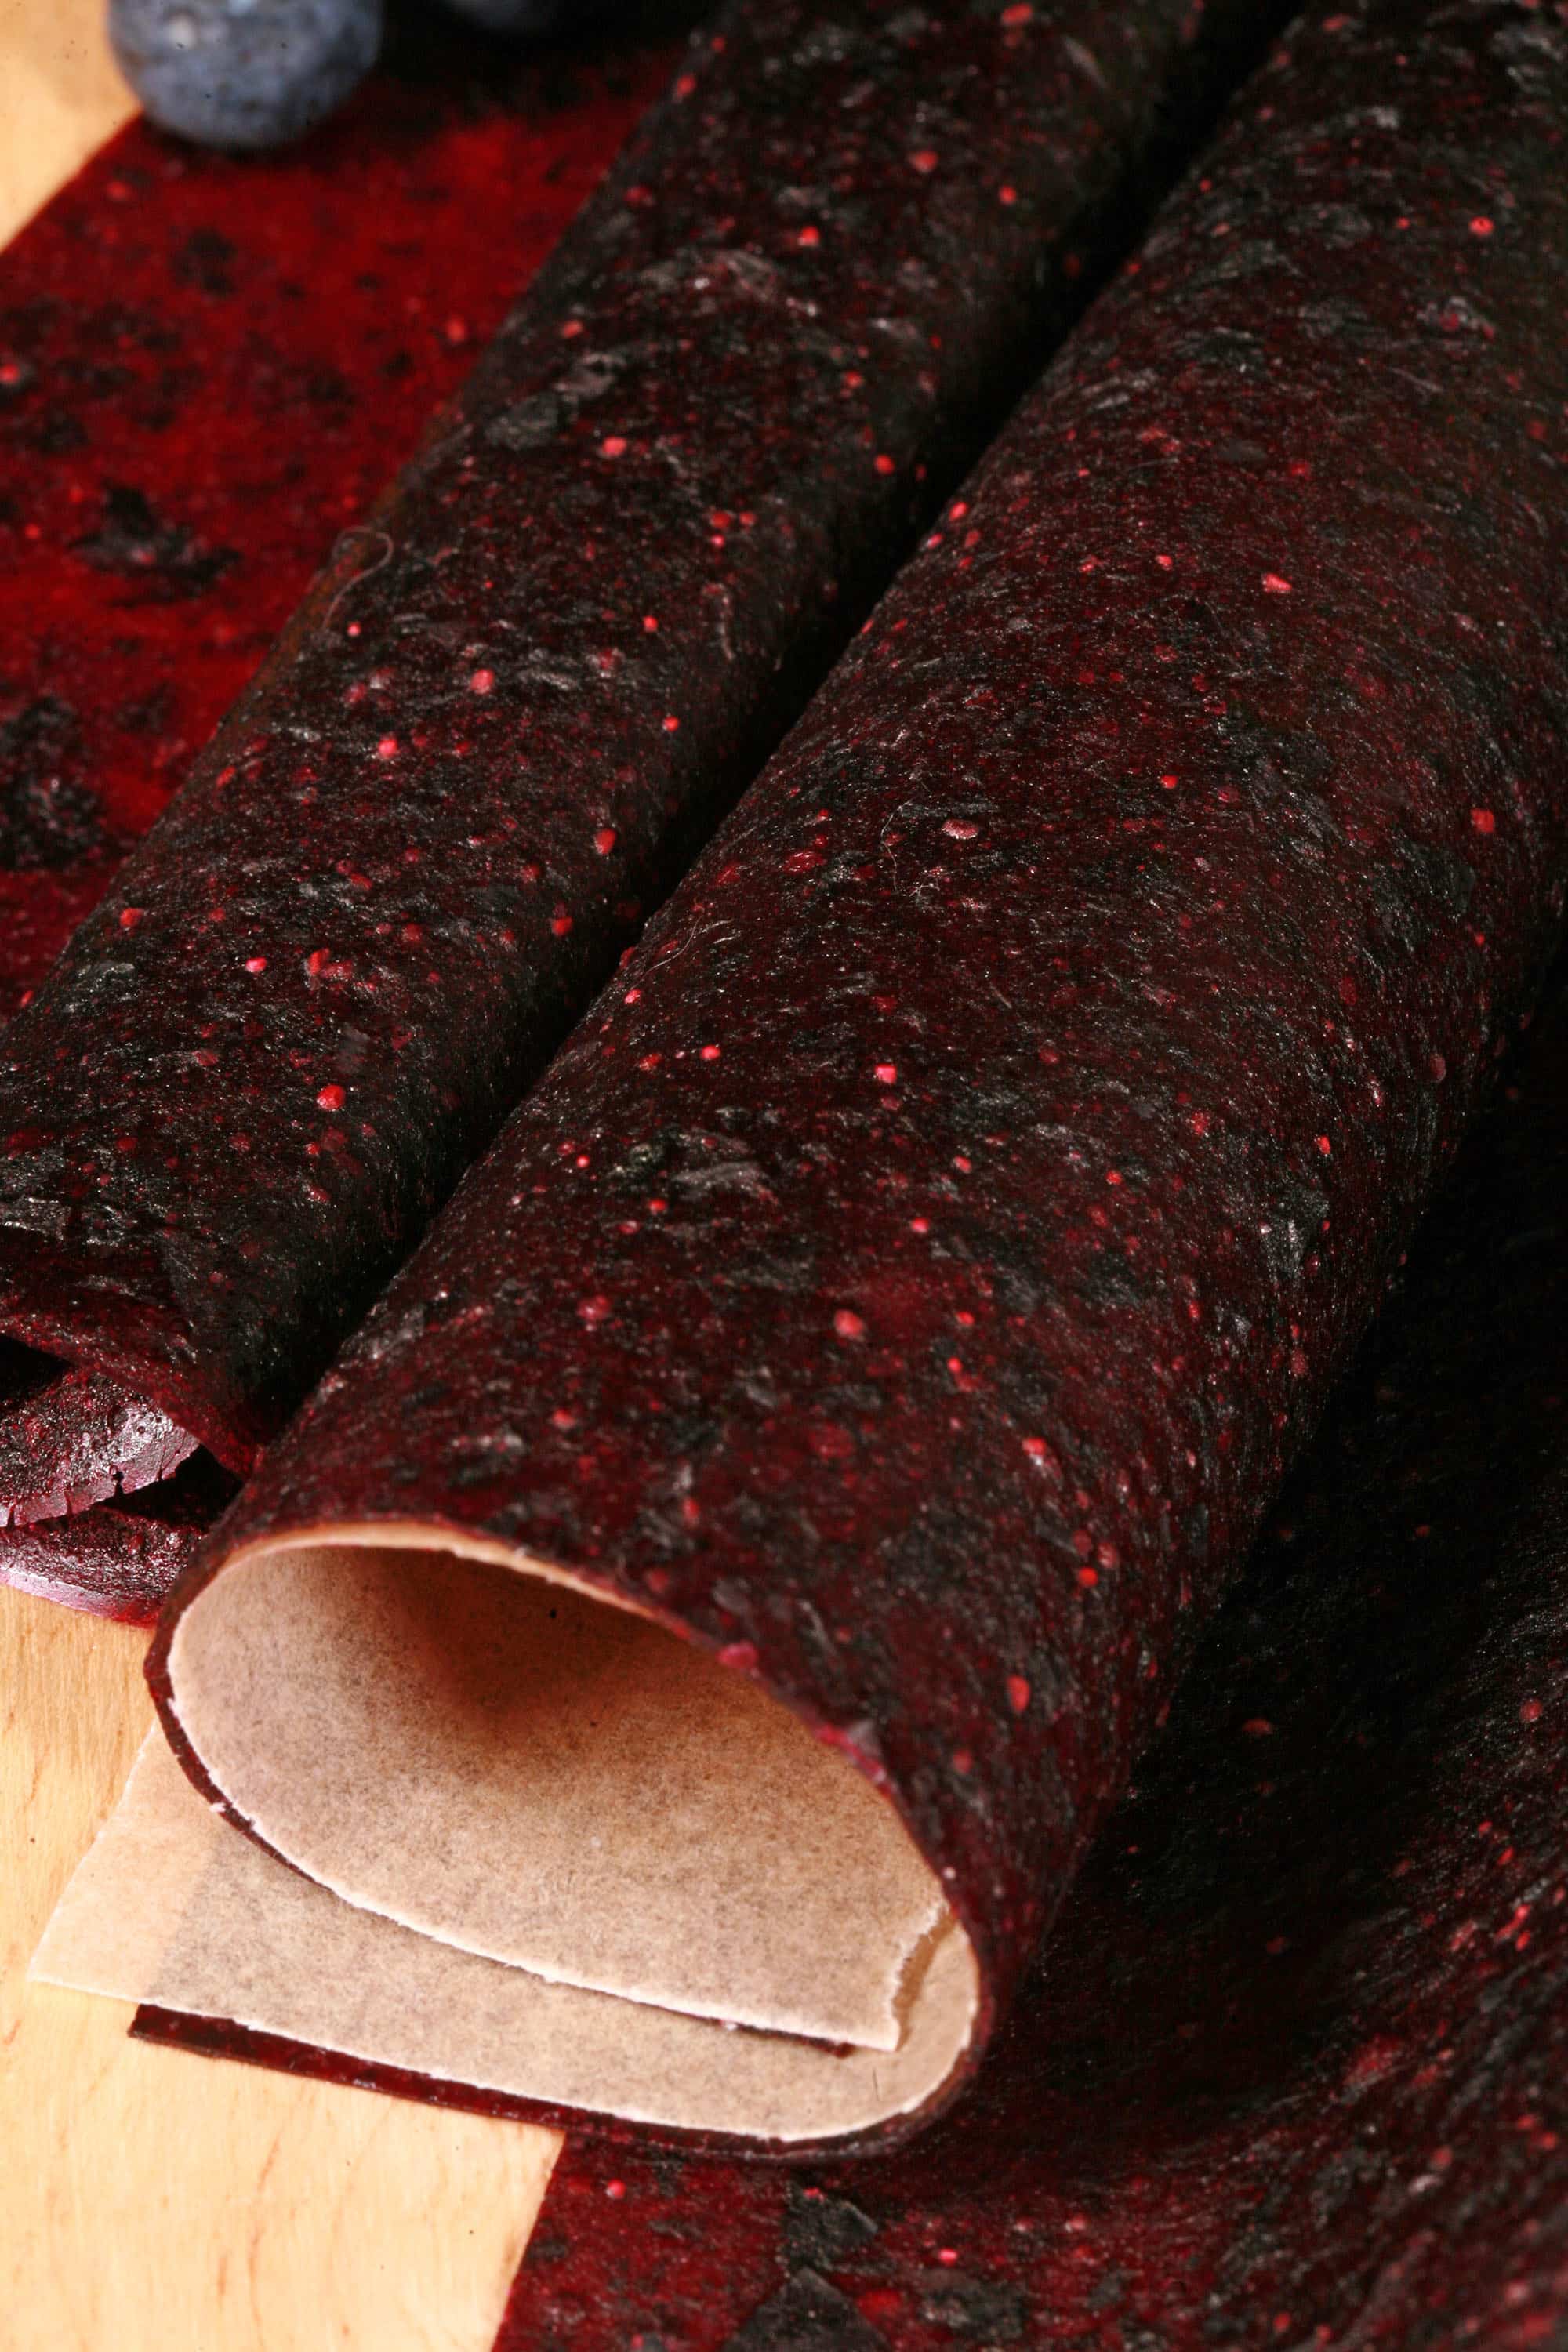
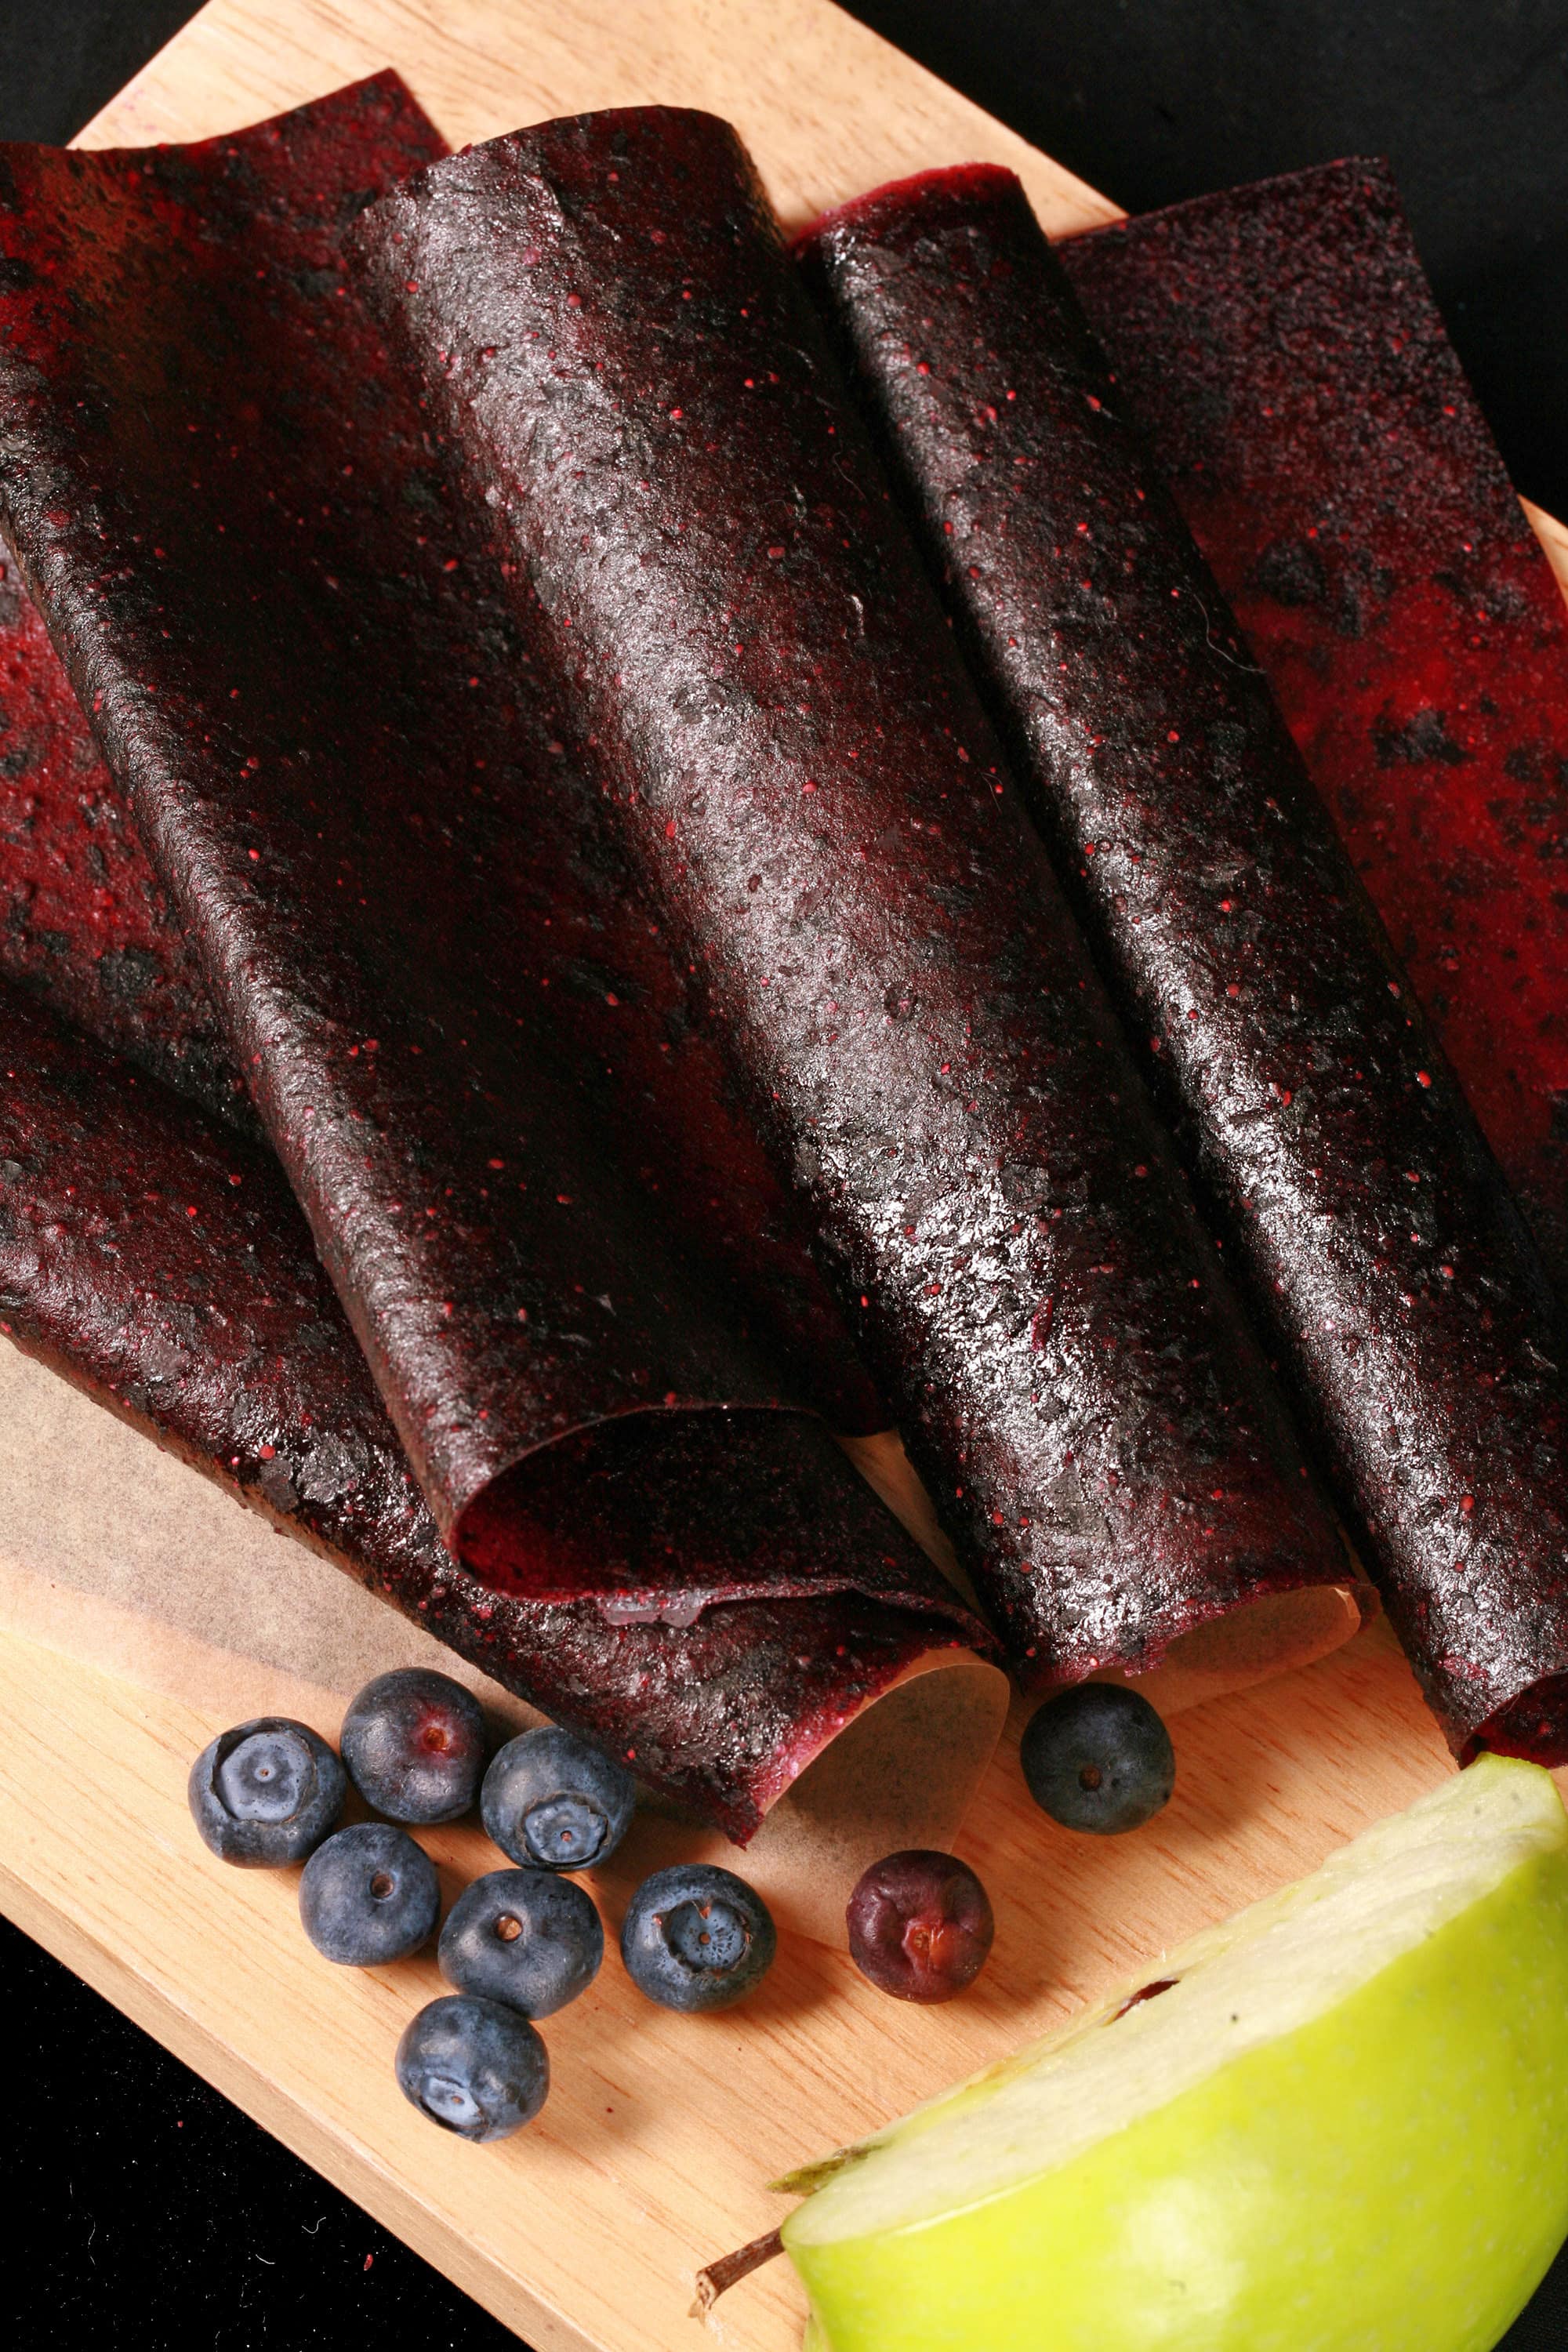
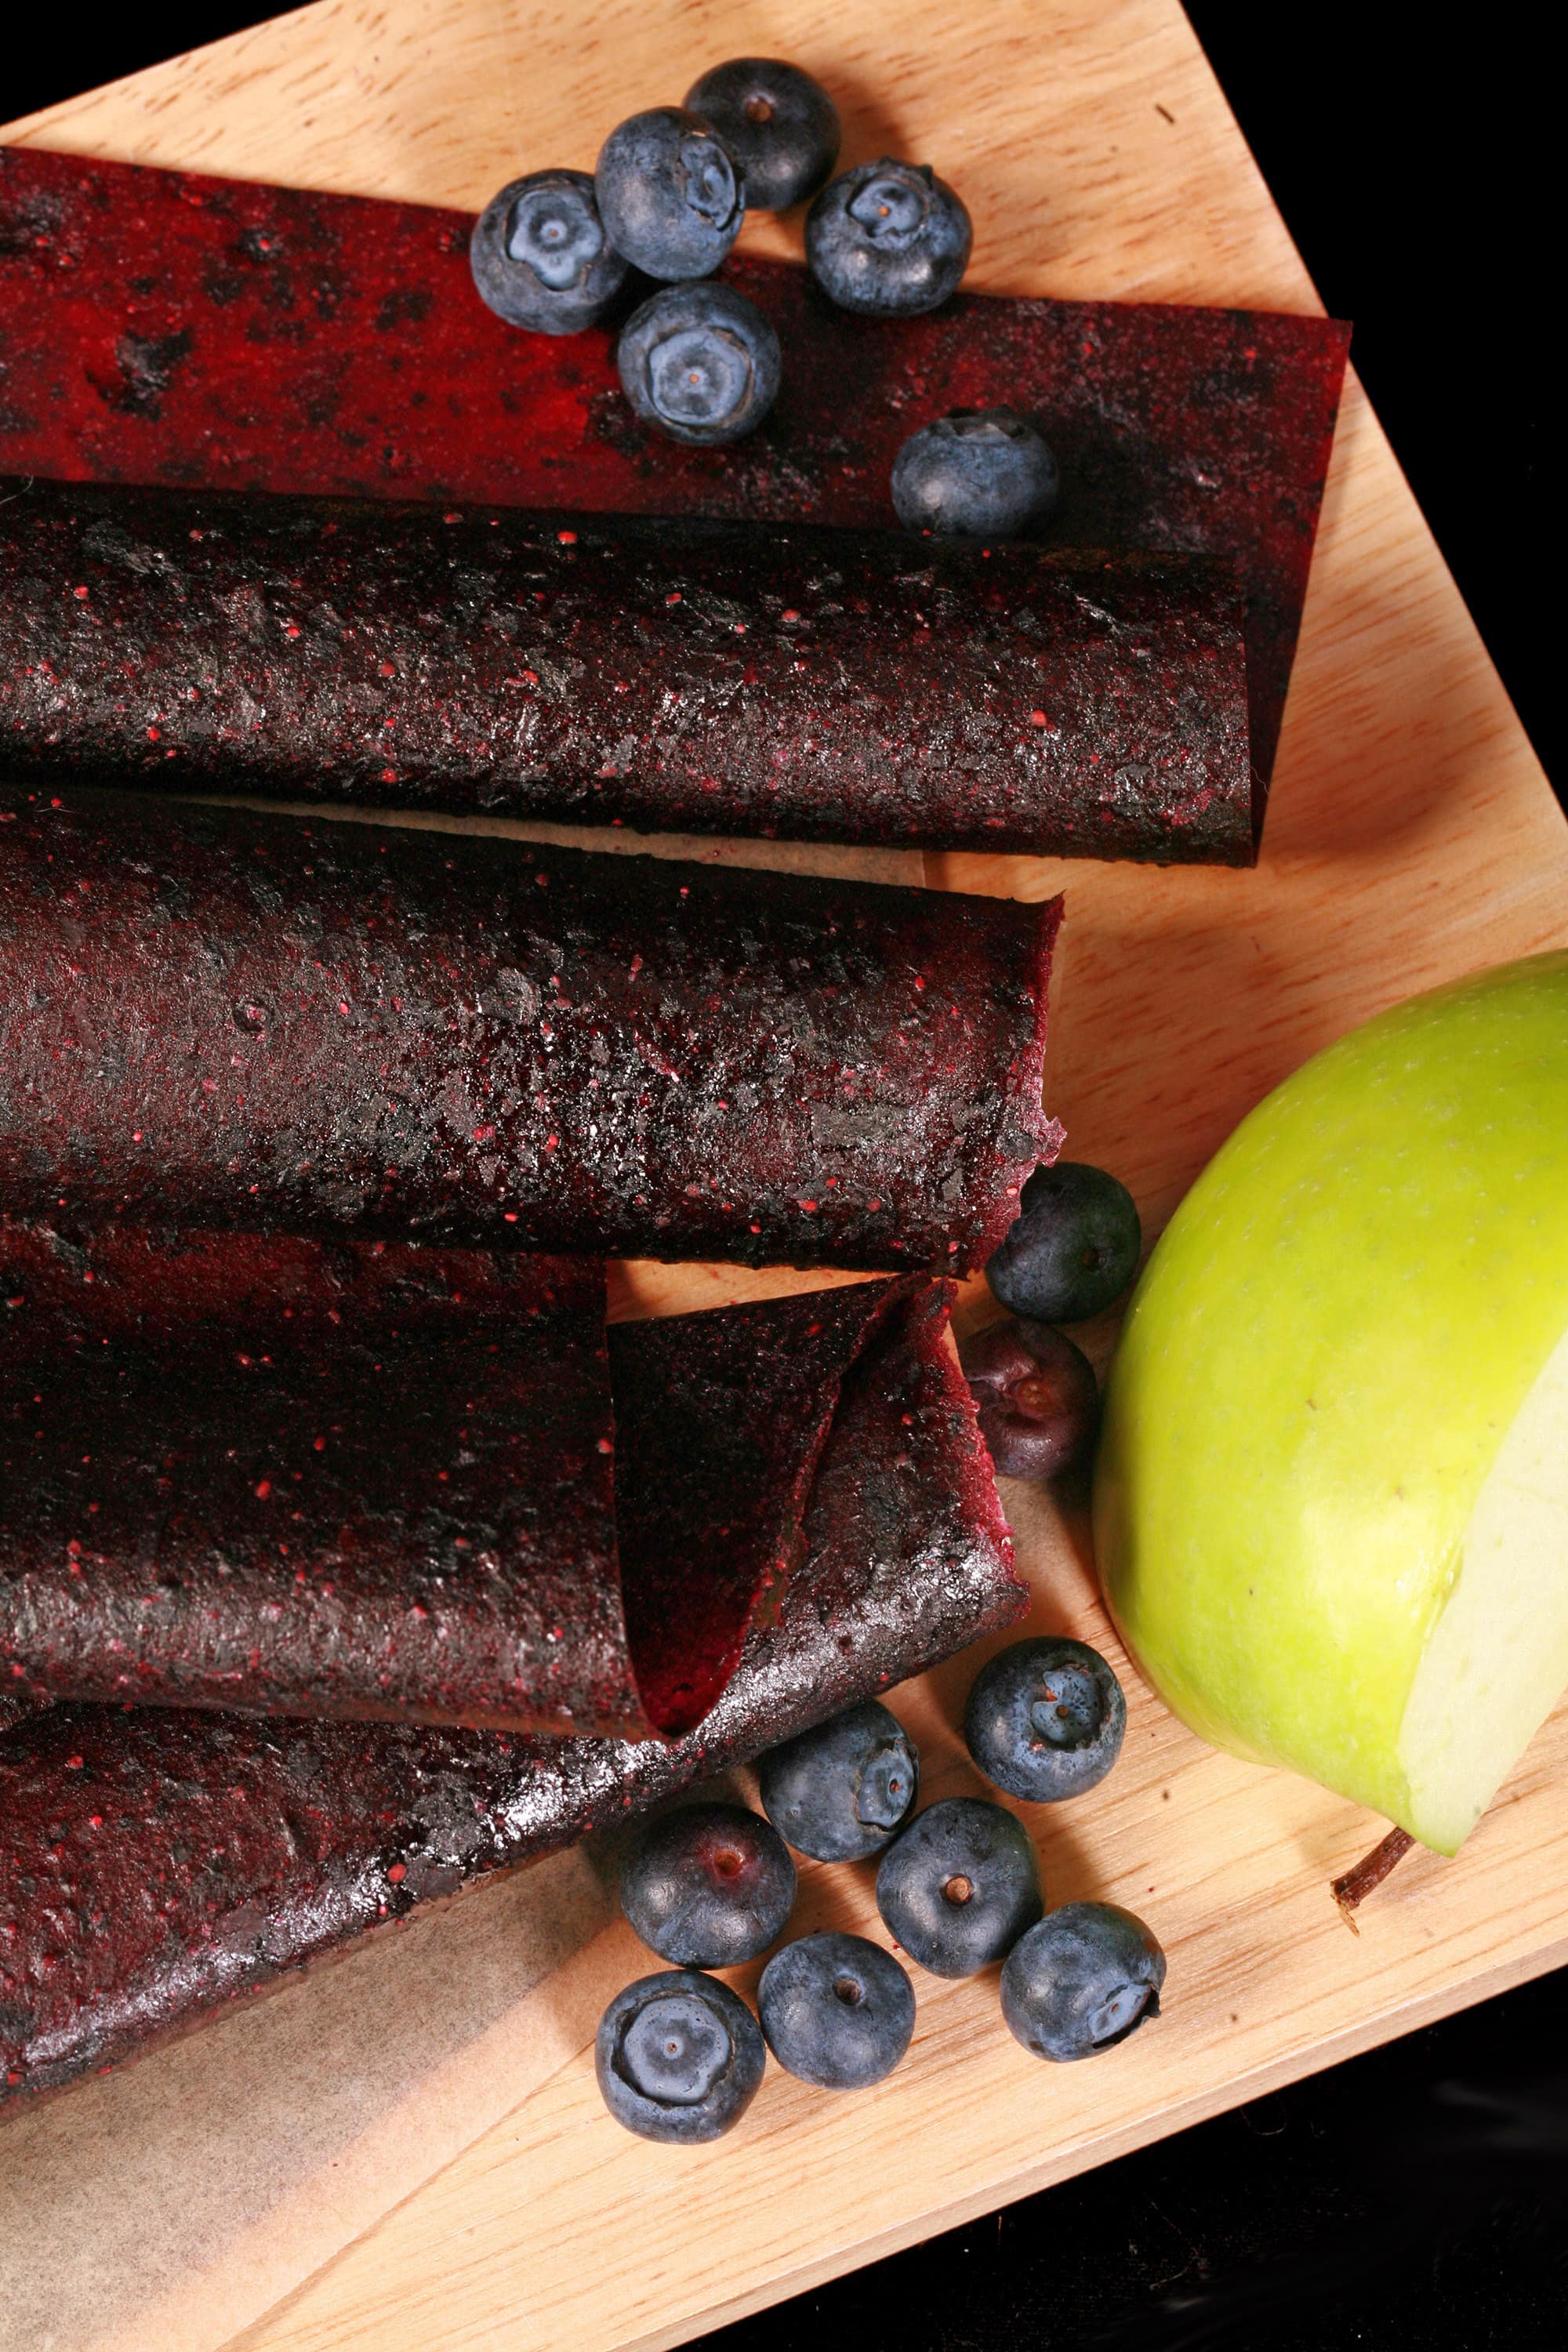
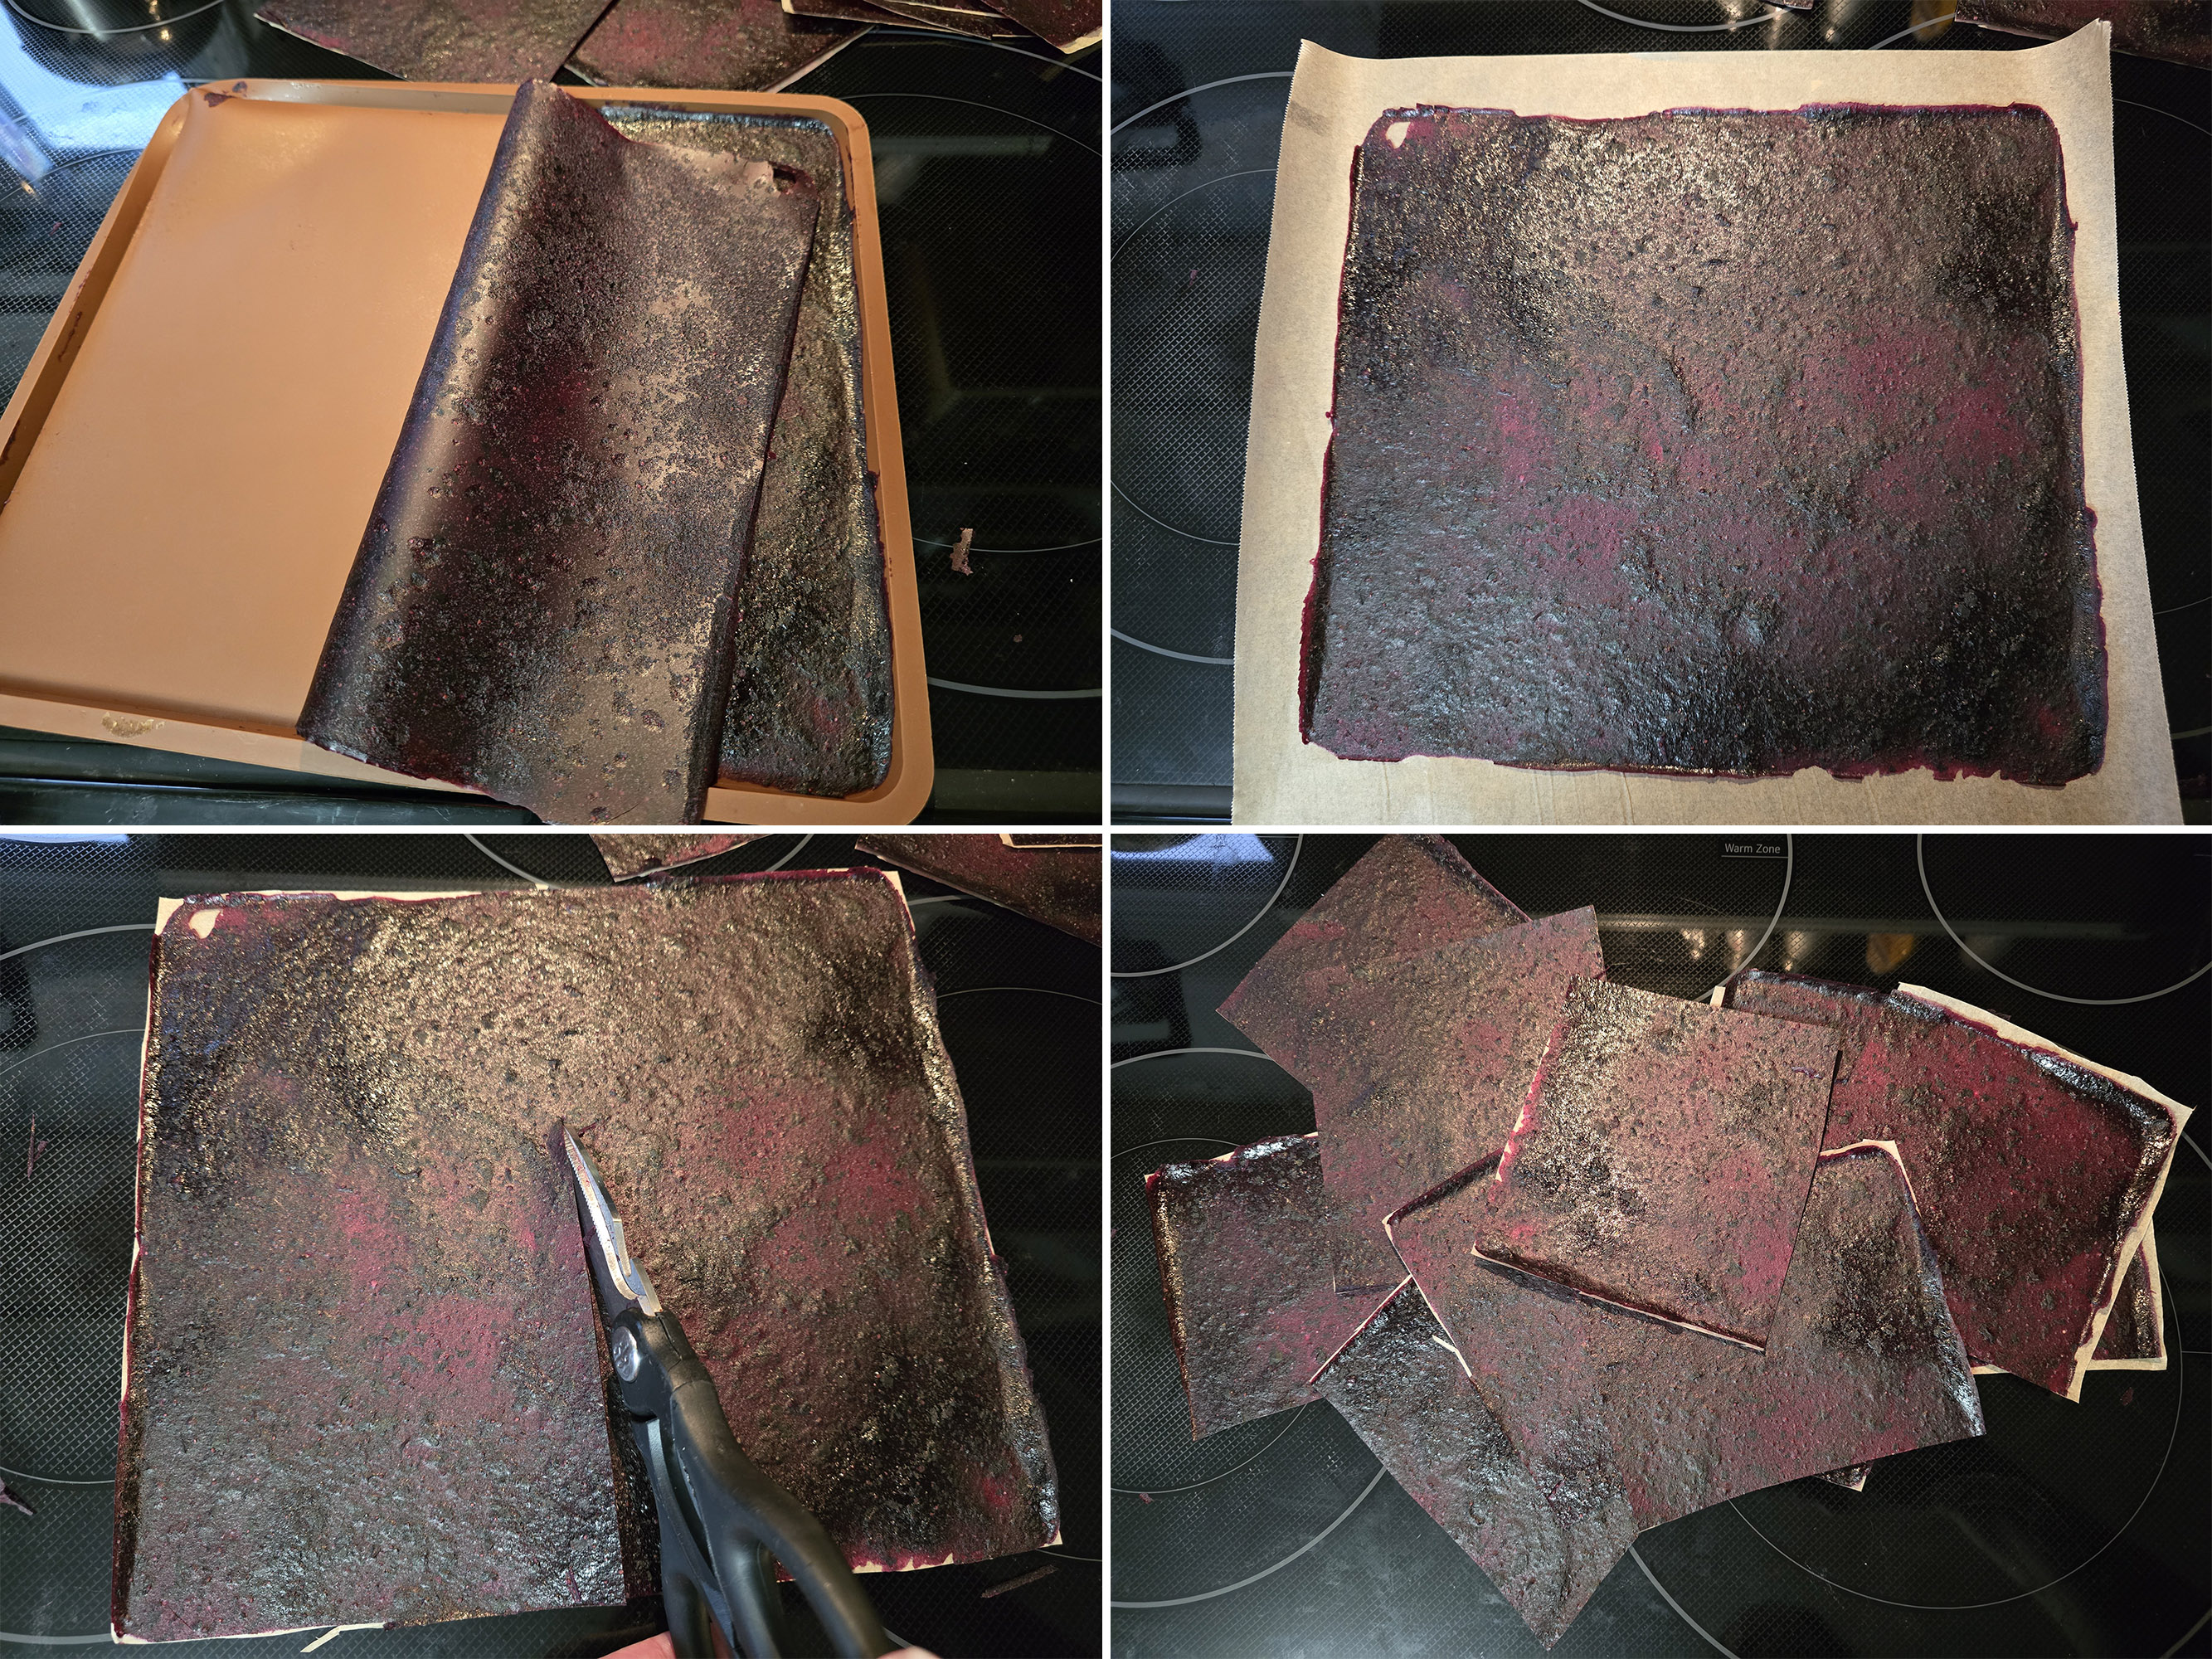
We like to set the fruit roll-up pieces on parchment paper (wax paper should also work):
Store apple-blueberry fruit rollups in an air-tight container - see notes below on how to condition homemade fruit rollups, for longer storage.
Condition the Apple Blueberry Leather
Keep an eye on the fruit leather for the first 3 days or so.
If you see any evidence of residual moisture in that time frame - droplets on the bag, etc - return the blueberry apple leather to the dehydrator and let it dry a bit more.
If at any point you see any evidence of mold, throw the batch out.
Once you’re sure the apple blueberry leather is fully dry and moisture isn’t coming out, transfer them to an airtight container for longer term storage.
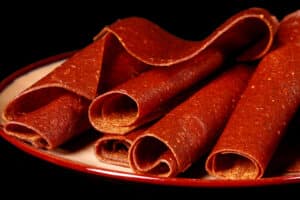
Other Dried Fruit - and Vegetable! - Recipes
Looking for fruit leather and other dried fruit recipes? Here are a few to get started:
Apple Cinnamon Fruit Leather
Bananas Foster Banana Chips
Bananas Foster Fruit Leather
Beet Chips
Caramel Apple Fruit Leather
Cardamom Pear Chips
Chili-Lime Mango Fruit Leather
Mango Fruit Leather
Maple Cinnamon Apple Chips
Pumpkin Spice Chicken Jerky
Pumpkin Spice Fruit Leather
Strawberry Banana Fruit Leather
Apple Blueberry Fruit Leather [Blueberry Apple Fruit Roll-Ups!]
Equipment
- 1 Food Dehydrator
- 3 Rimmed Silicone Dehydrator Trays
Ingredients
- 1 ¼ lb Granny Smith Apples Cored, Peeled, and Chopped.
- 2 cups Frozen Blueberries measure before thawing
- ¼ cup Water
- 2 tablespoon Sweetener of Choice: Honey Maple Syrup, or White Sugar
- Pinch Salt
Instructions
- Simmer chopped apples and water - covered - for 10-15 minutes, or until the apples are cooked through and soft.
- Transfer apples and any remaining water to a high speed blender or food processor, along with the thawed blueberries, sweetener, and salt. Blend until smooth.
- Divide mixture between three silicone dehydrator trays. Use an offset spatula to spread the mixture to an even thickness on each tray.
- Dehydrate at 135 F for 6 hours.
- At 6 hours, check your fruit leather. It should pull up from the silicone relatively easily, and be soft without being sticky. If it’s not dried yet, put it back in the food dehydrator until it is.
- Once you’re happy with the dryness, remove the pans from the food dehydrator and allow to cool to room temperature.
- Use a pizza wheel or sharp knife to cut the blueberry apple fruit leather into strips, then store in an airtight container - see notes on how to condition it.
Notes
Nutrition
Thanks for Reading!If you loved this post - or have any questions about it - please leave a comment below! We'd also love it if you would consider sharing the link on social media! |


Porters
One of our favourite fruit leather recipes- hope you love it as much as we do!